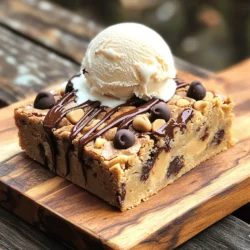
Craving a sweet treat that’s both easy and delicious? You’re in the right place! My Peanut Butter Chocolate Chip Blondies recipe mixes rich peanut butter with sweet chocolate chips for a gooey, melt-in-your-mouth experience. Whether you’re a beginner baker or a kitchen pro, this step-by-step guide will help you whip up these blondies in no time. Grab your ingredients, and let’s get started on this delightful dessert!
Ingredients
List of Ingredients
To make peanut butter chocolate chip blondies, gather these items:
– 1 cup creamy peanut butter
– 1/2 cup packed brown sugar
– 1/4 cup granulated sugar
– 1/2 cup coconut sugar (or substitute with additional brown sugar)
– 2 large eggs, at room temperature
– 1 teaspoon pure vanilla extract
– 1 teaspoon baking powder
– 1/2 teaspoon baking soda
– 1/4 teaspoon sea salt
– 1 cup all-purpose flour
– 1/2 cup semisweet or dark chocolate chips
– Optional: 1/4 cup chopped nuts (such as walnuts or peanuts)
Tips for Choosing Ingredients
Choosing quality ingredients makes a big difference. Here are some tips:
– Peanut Butter: Use creamy peanut butter for smooth texture. Natural brands work, but check for added sugar.
– Sugars: Using a mix of sugars adds depth. Brown sugar gives moisture, while granulated sugar adds crispness.
– Chocolate Chips: Select your favorite chocolate type. Dark chocolate adds richness, while semisweet is classic.
– Eggs: Room temperature eggs blend better. They help to create a fluffy blondie.
Ingredient Substitutions
You can swap ingredients if needed:
– Peanut Butter: Use almond or cashew butter for a different flavor.
– Sugars: If you don’t have coconut sugar, just use more brown sugar.
– Flour: For a gluten-free option, use a gluten-free flour blend.
– Eggs: Use flax eggs (1 tablespoon flaxseed meal + 2.5 tablespoons water = 1 egg) for a vegan choice.
– Add-ins: Feel free to add dried fruits or seeds for a healthy twist!
These choices help you tailor the recipe to your taste and needs.
Step-by-Step Instructions
Prepping the Oven and Pan
First, set your oven to 350°F (175°C). This step ensures your blondies bake evenly and rise well. Grab an 8×8 inch baking pan. You can grease it lightly or line it with parchment paper. Lining helps you remove the blondies easily later.
Mixing the Batter
In a large bowl, mix the creamy peanut butter, packed brown sugar, granulated sugar, and coconut sugar. Use a spatula or an electric mixer to blend until smooth. Next, add the eggs one at a time. Make sure to mix well after each egg. Then, stir in the pure vanilla extract.
In another bowl, whisk the baking powder, baking soda, sea salt, and all-purpose flour together. This step helps distribute the dry ingredients evenly. Gradually add this dry mixture to the peanut butter mixture. Stir gently until combined, but don’t overmix. The batter should stay soft and tender. Finally, fold in the chocolate chips and nuts if you want.
Baking and Cooling Instructions
Pour the blondie batter into your prepared pan. Use a spatula to smooth the top. Place the pan in the oven and bake for 20-25 minutes. Check if they are done by inserting a toothpick in the center. It should come out mostly clean; a few crumbs are okay.
After baking, let the blondies cool in the pan for about 10 minutes. Then, move them to a wire rack to cool completely. Slice into 16 squares when they are cool. Enjoy your delicious treat!
Tips & Tricks
Perfecting the Texture
To get the best texture in your blondies, remember a few key points. First, use creamy peanut butter for smoothness. This gives your blondies a rich, velvety feel. Next, mix the batter just until combined. Overmixing can make them tough. Lastly, bake them until the edges are golden brown. If they are too soft in the middle, they will firm up as they cool.
Serving Suggestions
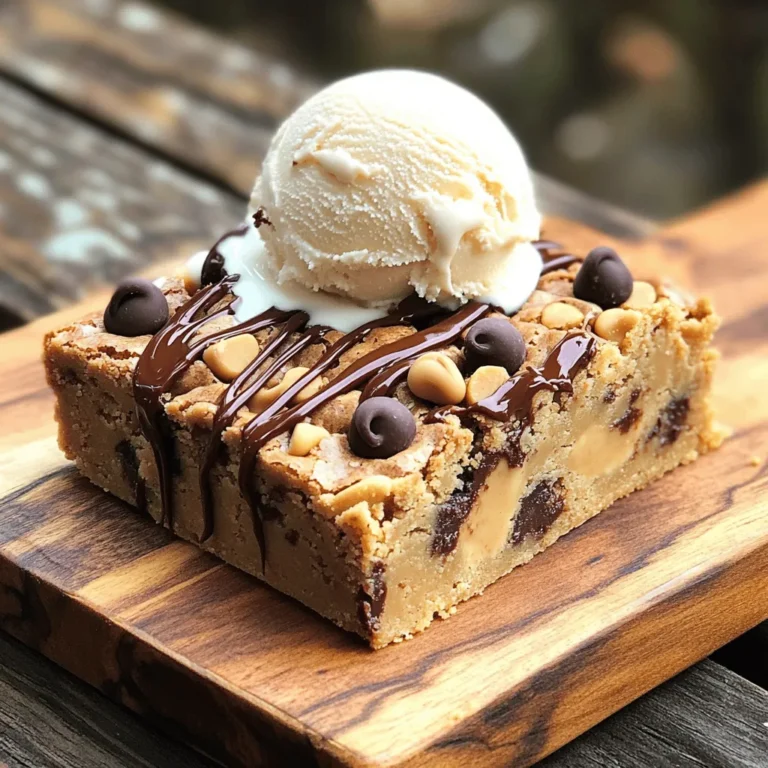
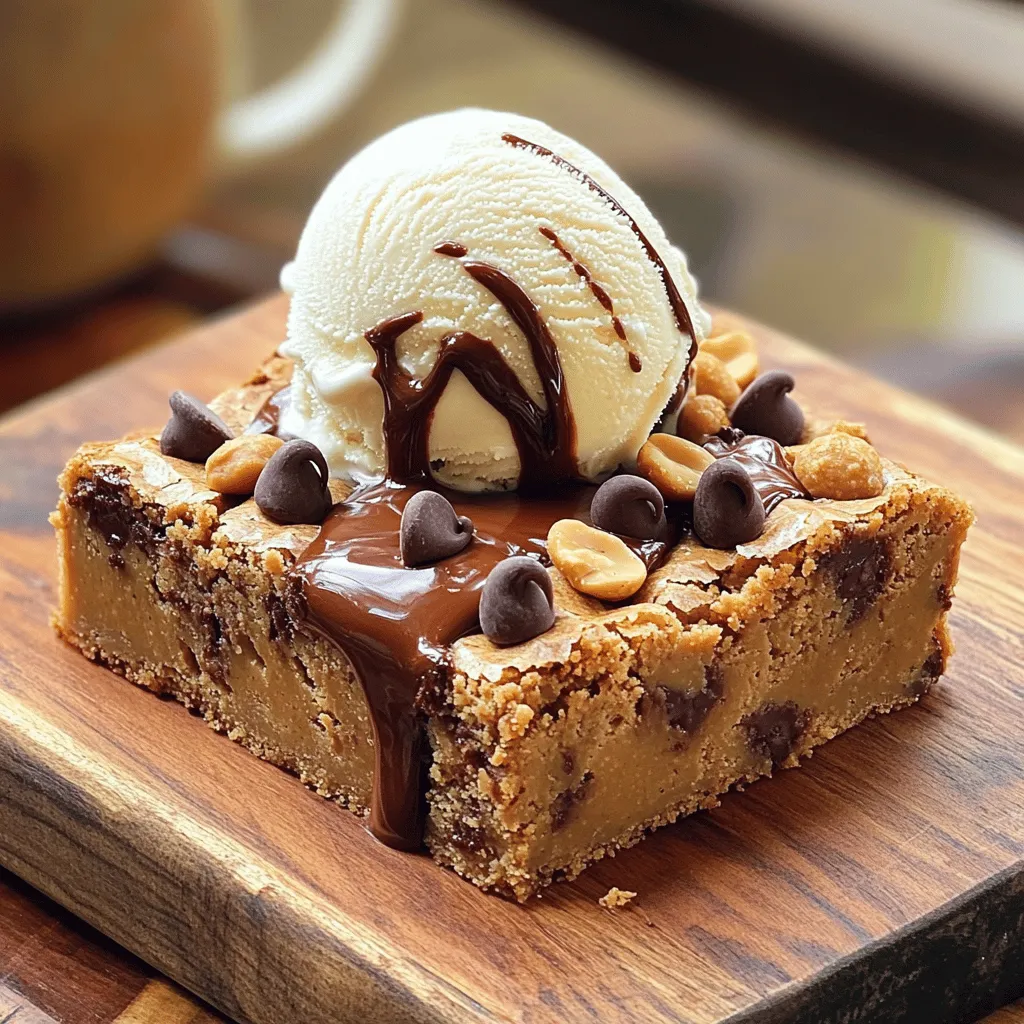
These blondies are great warm or at room temperature. For a fun twist, top them with a scoop of vanilla ice cream. Drizzle warm chocolate sauce on top for extra sweetness. You can also sprinkle some crushed peanuts for a nice crunch. Serve them at parties or enjoy them as an afternoon snack.
Troubleshooting Common Issues
Sometimes, blondies can turn out too dry or too gooey. If they are dry, check your oven temperature. Ovens can vary, and they may bake faster than you think. For gooey blondies, ensure you bake them a bit longer. A toothpick should come out with a few moist crumbs, not wet batter. If they puff up too much, reduce the baking powder slightly in your next batch.
Variations
Flavor Enhancements
To boost the flavor, try adding a pinch of cinnamon or nutmeg. These spices blend well with peanut butter. You can also switch the chocolate chips for white chocolate or butterscotch chips. Both add a nice twist to the blondies. For an extra kick, mix in a tablespoon of instant coffee or espresso powder. This gives a rich depth to the taste.
Dietary Adjustments (vegan, gluten-free)
You can easily make these blondies vegan. Replace the eggs with flax eggs. Mix one tablespoon of ground flaxseed with three tablespoons of water. Let it sit for five minutes until it thickens. For a gluten-free option, substitute the all-purpose flour with a gluten-free blend. Make sure the baking powder is gluten-free too.
Add-ins and Toppings
Get creative with your add-ins! You can mix in chopped nuts like walnuts or pecans for a crunch. Dried fruit, like cranberries or cherries, adds a sweet and tangy twist. Top the blondies with sea salt right before baking for a sweet-salty combo. For serving, consider drizzling with melted chocolate or a scoop of ice cream. These simple touches make the blondies even more special.
Storage Info
Best Storage Practices
To keep your peanut butter chocolate chip blondies fresh, store them in an airtight container. This helps them stay moist and soft. You can place a piece of parchment paper between layers to prevent sticking. Store them at room temperature for up to three days. If you want them to last longer, refrigerate them for up to a week.
How to Reheat Blondies
To enjoy warm blondies, reheat them in the microwave. Place one blondie on a microwave-safe plate. Heat it for about 10-15 seconds. Check to see if it’s warm enough. Avoid overheating, or the blondie could become tough. You can also warm them in the oven. Preheat the oven to 350°F (175°C). Place the blondies on a baking sheet for about 5-7 minutes.
Shelf Life and Freezing Tips
These blondies can last up to a week in the fridge. For longer storage, you can freeze them. Wrap each blondie tightly in plastic wrap, then place them in a freezer bag. They can stay fresh for about three months in the freezer. When you’re ready to enjoy one, let it thaw overnight in the fridge. You can also warm it up afterward.
FAQs
Can I use natural peanut butter?
Yes, you can use natural peanut butter. Natural peanut butter has less sugar and no added oils. This might change the texture a bit. Your blondies may be a little drier. To fix this, add a bit more sweetener or oil. I enjoy using natural peanut butter for its pure taste.
How do I know when my blondies are done?
You can tell when your blondies are done by checking the edges. They should be lightly golden. Insert a toothpick into the center. If it comes out mostly clean, they are ready. Some moist crumbs are okay for a fudgy texture. Keep an eye on the time. Check around 20 minutes.
Can I make these ahead of time?
Yes, you can make these blondies ahead of time. They taste great after a day or two. Just store them in an airtight container at room temperature. You can also freeze them for later. They stay fresh for up to three months. Just let them cool completely before wrapping.
In this post, we explored how to make delicious blondies. We discussed the right ingredients and tips for choosing them. You learned step-by-step how to bake, cool, and serve them perfectly. We also shared ways to add flavors and adapt them for diets. Remember, storing blondies properly ensures they stay fresh longer. Follow these steps for sweet treats your friends will love. Enjoy baking and sharing your creations!