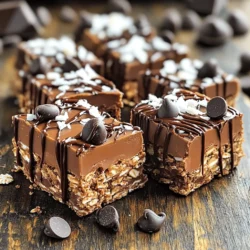
Looking for a quick and tasty snack? These No-Bake Chocolate Oat Bars are both simple and healthy! With just a few ingredients like rolled oats, almond butter, and dark chocolate chips, you can whip up a delicious treat in no time. I’ll guide you through easy steps to make this snack perfect for any occasion. Let’s get started on this delightful journey to sweet satisfaction!
Ingredients
List of Ingredients
– 2 cups rolled oats
– 1 cup creamy almond butter
– 1/2 cup honey or maple syrup
– 1/2 cup unsweetened cocoa powder
– 1/4 cup dark chocolate chips
– 1/4 cup unsweetened shredded coconut
– 1 teaspoon vanilla extract
– A pinch of salt
Ingredient Substitutions
You can swap almond butter for peanut butter if you prefer. Sunflower seed butter works too for nut-free options. For sweeteners, use agave syrup or date syrup instead of honey. If you want a different taste, try using carob powder instead of cocoa powder. It gives a unique flavor.
Importance of Quality Ingredients
Using organic ingredients is key. They often taste better and are better for you. Fresh, high-quality oats and cocoa boost the flavor of your bars. Good ingredients make a real difference in taste and health. When you use fresh products, you get a treat that feels special. Quality matters, especially in simple recipes like this one.
Step-by-Step Instructions
Preparation Steps
To start, focus on mixing the dry ingredients. In a large bowl, add:
– 2 cups rolled oats
– 1/2 cup unsweetened cocoa powder
– 1/4 cup unsweetened shredded coconut
– A pinch of salt
Use a whisk or fork to mix these well. This step makes sure the flavors mix evenly.
Next, combine the wet ingredients. In a microwave-safe bowl, mix:
– 1 cup creamy almond butter
– 1/2 cup honey or maple syrup
Heat this mixture in the microwave for 30-45 seconds. This warms it up to make stirring easy. Once warm, stir until it’s smooth. Then, add 1 teaspoon vanilla extract and mix again.
Assembly Process
Now it’s time to assemble. Pour the warm almond butter mix over the dry ingredients. Use a spatula or wooden spoon to stir until everything blends well. Make sure the oats are fully coated.
Next, fold in:
– 1/4 cup dark chocolate chips
This adds a nice chocolatey texture.
Prepare an 8×8-inch baking dish. Line it with parchment paper, leaving little overhang. This helps with easy removal later. Transfer the mixture into this dish.
Now, press down the mix firmly using the back of a spatula or your hands. Aim for an even layer without gaps.
Setting Time
Cover the dish with plastic wrap or a lid. Place it in the refrigerator for at least 2 hours. This chilling time is key. It helps the bars set and become firm.
Allowing the bars to set properly makes them easier to cut later. If you skip this step, the bars may fall apart.
Tips & Tricks
Perfecting the Recipe
To get the right consistency for your no-bake chocolate oat bars, focus on your wet and dry mix. Ensure the almond butter and honey blend well. Warm them slightly to help them mix easily. Combine these with the dry ingredients in a large bowl. Stir until everything is coated and well combined. This makes the bars hold together better.
For even distribution, press the mixture firmly into your baking dish. Use a spatula or your hands to help spread it out. Make sure there are no gaps. This step helps each bar stay intact when you cut them later.
Common Mistakes to Avoid
One common mistake is over-pressing the mixture. While it’s good to pack it down, too much pressure can make them too dense. You want a firm bar, but not a brick!
Another mistake is not letting the bars set long enough. If you rush this step, the bars may fall apart. Chill them for at least two hours. This waiting time lets the flavors meld and the texture firm up.
Presentation Suggestions
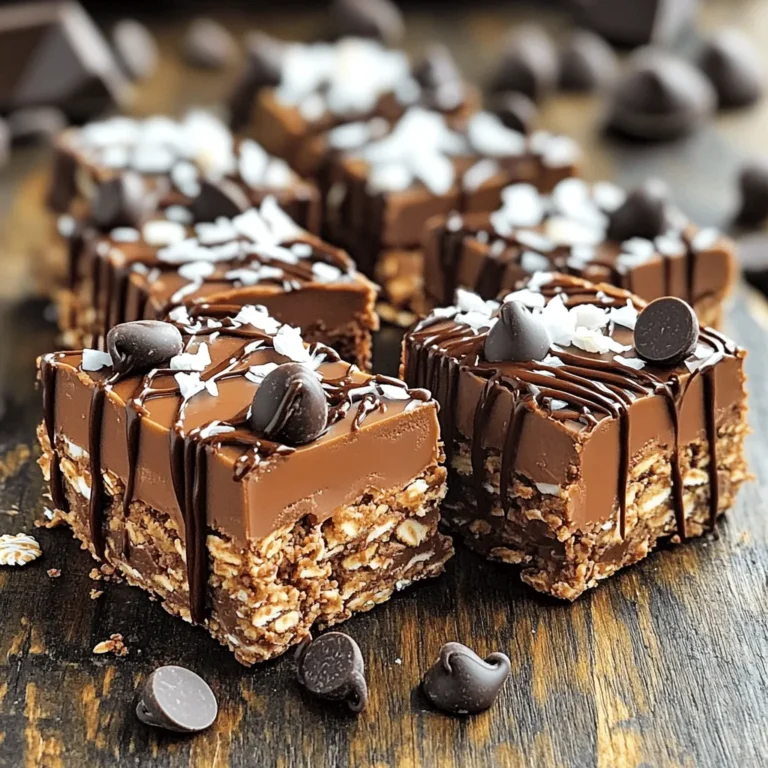
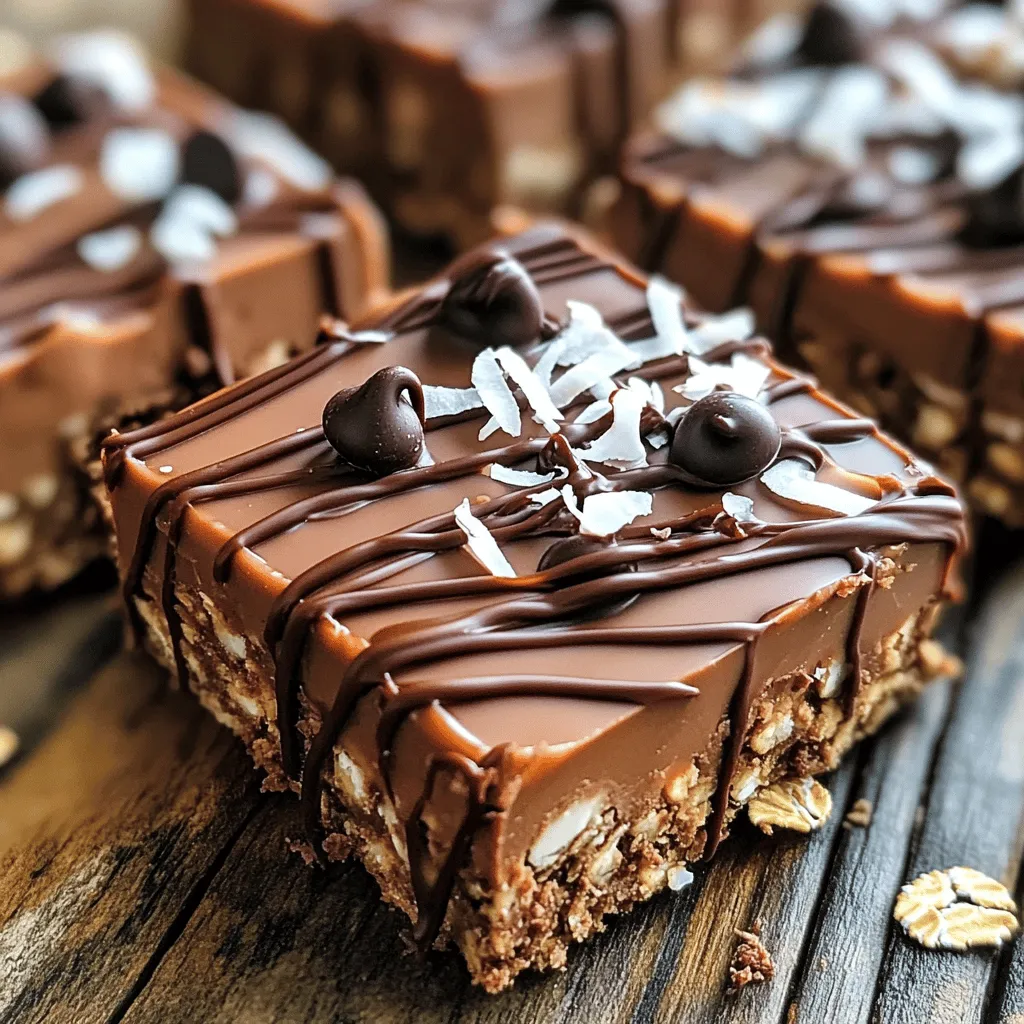
When serving your bars, think about how to make them pop. Place them on a decorative plate for a nice look. You can drizzle melted chocolate on top for extra flair.
Adding a sprinkle of shredded coconut enhances the visual appeal. Cut the bars into fun shapes, like triangles or squares. This makes them fun and inviting! Enjoy your tasty treats with friends or family.
Variations
Ingredient Swaps
You can switch out almond butter for other nut butters, like peanut or cashew. Each nut butter brings its own taste. You can also add fun mix-ins. Try chopped nuts, seeds, or dried fruits like cranberries or raisins. These extras boost flavor and texture.
Dietary Adjustments
To make these bars vegan, use maple syrup instead of honey. Select a vegan nut butter too. For gluten-free options, ensure your oats are certified gluten-free. This way, everyone can enjoy these tasty treats, no matter their diet.
Flavor Enhancements
Adding spices can give these bars a new twist. A pinch of cinnamon or nutmeg can create warmth. You can also experiment with different types of chocolate. Use milk chocolate for sweetness or dark chocolate for a rich taste. Each choice changes the flavor profile and keeps things exciting.
Storage Info
Storing Leftovers
To keep your no-bake chocolate oat bars fresh, place them in an airtight container. This helps to prevent them from drying out. You can also use plastic wrap to cover the bars tightly. Be sure to keep them in the fridge to maintain their texture.
Freezing Tips
If you want to freeze your bars, cut them into squares first. Wrap each piece in plastic wrap, then place them in a freezer-safe bag. This makes it easy to grab one when you want a treat. To thaw, just take out a bar and let it sit at room temperature for about 15-30 minutes. You can also microwave it for a few seconds for a quick thaw.
Shelf Life
In the refrigerator, your bars will last about one week. Look for signs like a change in smell or texture. If they feel too hard or crumbly, it’s time to toss them. Always check for freshness before enjoying those delicious treats!
FAQs
How long do no-bake chocolate oat bars need to chill?
No-bake chocolate oat bars need to chill for at least 2 hours. This time allows the bars to set and become firm. If you can wait longer, chilling them overnight works great too. After chilling, they will hold their shape better when you slice them.
Can I use quick oats instead of rolled oats?
You can use quick oats, but they will change the texture. Rolled oats give the bars a chewier bite. Quick oats will make the bars softer and less sturdy. If you use quick oats, keep an eye on the chilling time, as they may set faster.
What can I add for a protein boost?
To add protein, consider these options:
– Chia seeds: Add a few tablespoons for extra fiber and protein.
– Protein powder: Mix in your favorite protein powder when combining dry ingredients.
– Nuts: Chopped almonds or walnuts add protein and crunch.
– Pumpkin seeds: These are a tasty way to boost protein and nutrients.
Feel free to mix and match these options to fit your taste and health goals.
This blog post took you through the world of no-bake chocolate oat bars. We covered essential ingredients and substitutions. Quality matters, as it changes taste. I shared step-by-step instructions for easy preparation and assembly. You learned tips to perfect your bars and avoid common mistakes. We explored variations for different diets and flavors. Lastly, I included storage tips to keep your bars fresh.
Enjoy making these delicious treats at home. You now have all the tools to create your perfect no-bake bar. Happy snacking!