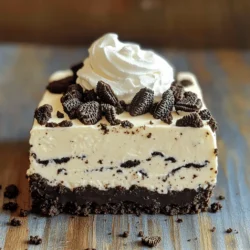
Craving a dessert that’s easy and oh-so-delicious? This No-Bake Oreo Cheesecake is your answer! With just a few simple ingredients, you can whip up a creamy, dreamy treat that impresses family and friends alike. No baking required means it’s perfect for any skill level. Ready to dive into a world of chocolatey goodness? Let me guide you step-by-step to make this unforgettable dessert!
Ingredients
Main Ingredients
– 24 Oreo cookies (plus extra for topping)
– 1/4 cup unsalted butter, melted
– 16 oz cream cheese, softened
– 1/2 cup granulated sugar
– 1 teaspoon vanilla extract
– 1 cup heavy whipping cream
– 1/2 cup powdered sugar
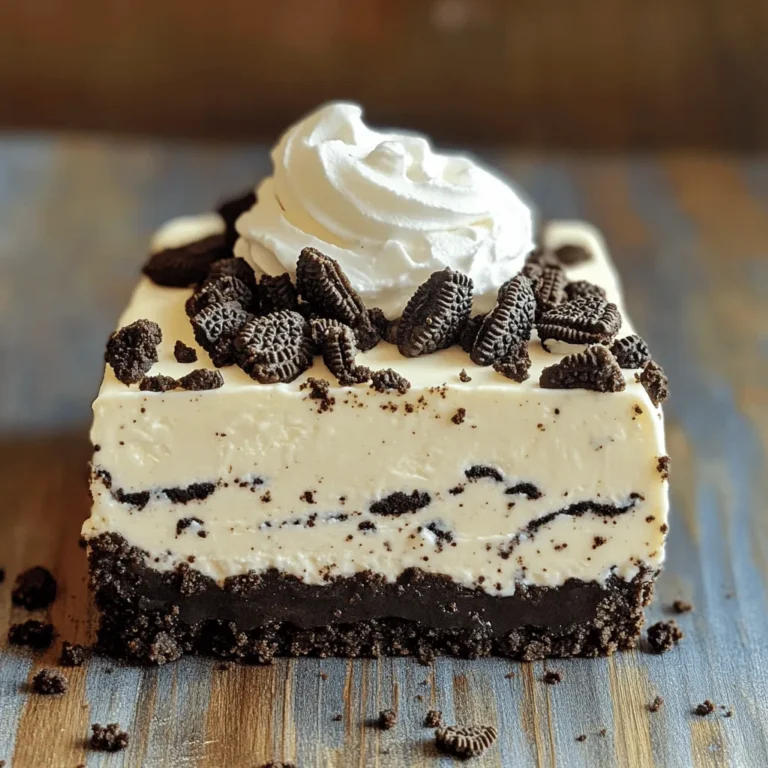
The main stars of this dessert are the Oreo cookies and cream cheese. The cookies form a crunchy crust that pairs perfectly with the rich, creamy filling. When I make this cheesecake, I always use fresh cream cheese. It gives the best texture and flavor.
The butter helps the crust stick together. Just melt it and mix it well with the crushed Oreos. This step is key for a solid base.
Optional Garnishes
– Crushed Oreos
– Whipped cream
– Chocolate sauce
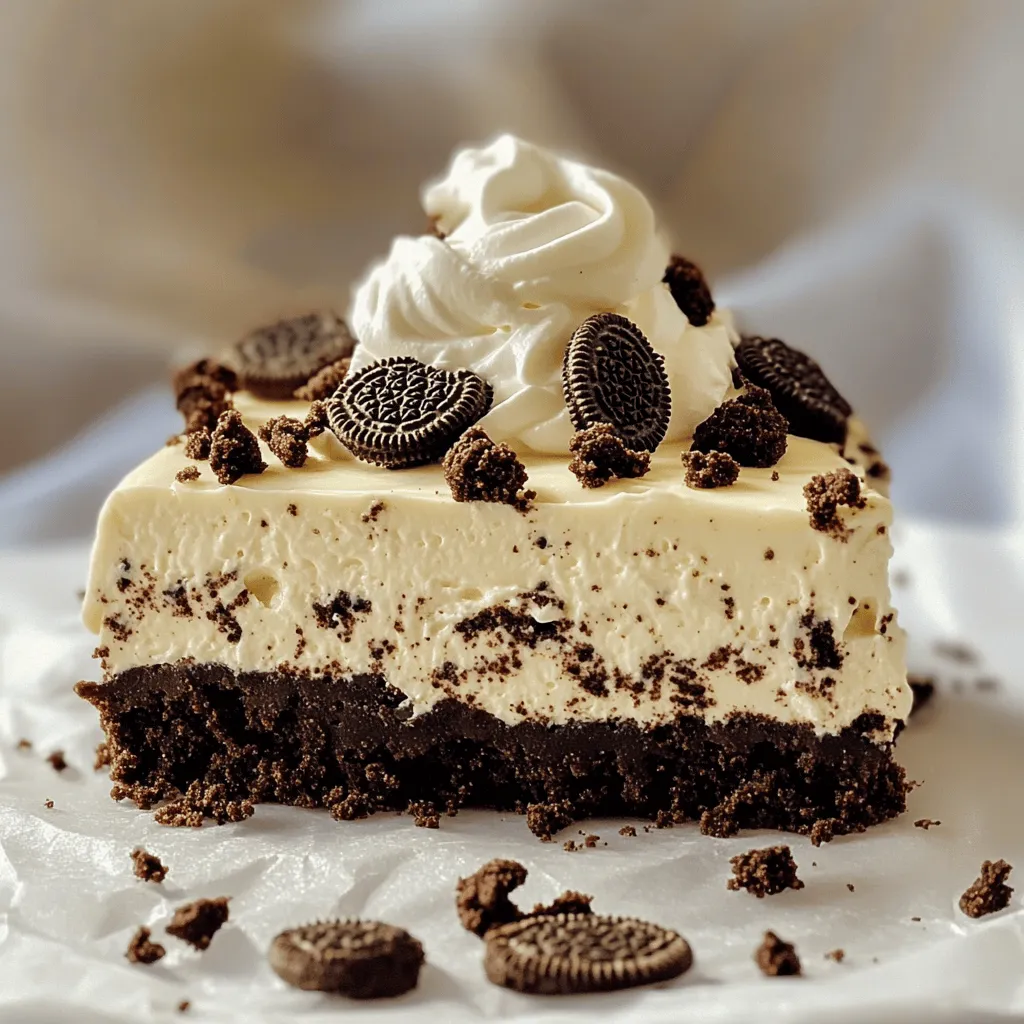
Garnishes add a fun touch. I love to sprinkle crushed Oreos on top. It adds a nice crunch and looks great. Whipped cream is another option. A dollop makes the dessert feel fancy. If you want to get creative, drizzle chocolate sauce over the cheesecake. It adds sweetness and richness.
These ingredients combine to create a dessert that’s easy to make and hard to resist.Enjoy your no-bake Oreo cheesecake!
Step-by-Step Instructions
Preparing the Crust
To start, grab 24 Oreo cookies. Place them in a food processor. Crush them until they turn into fine crumbs. This will be the base of your cheesecake. Next, melt 1/4 cup of unsalted butter. Combine the crushed cookies with the melted butter. Mix until all the crumbs are coated.
Now, take a 9-inch springform pan. Press the crumb mixture firmly into the bottom. Use your fingers or the back of a measuring cup. Aim for an even layer. After this, put the crust in the fridge. This will help it firm up while you make the filling.
Making the Filling
For the filling, take 16 oz of softened cream cheese. Put it in a large mixing bowl. Beat it with an electric mixer until smooth. You want no lumps. Gradually add 1/2 cup of granulated sugar and 1 teaspoon of vanilla extract. Mix until everything is fluffy and well combined.
In another bowl, pour 1 cup of heavy whipping cream. Add 1/2 cup of powdered sugar. Whip this mixture until stiff peaks form. This step makes the filling light and creamy.
Assembling the Cheesecake
Carefully fold the whipped cream into the cream cheese mixture. Use a spatula and mix gently. Be careful not to deflate the whipped cream. For extra flavor, add in 10 crushed Oreos. Fold them in gently as well.
Now, pour the creamy filling over the crust in the springform pan. Smooth the top with a spatula to make it look nice.
Chilling the Cheesecake
Cover the cheesecake with plastic wrap or a lid. Place it in the refrigerator. Let it chill for at least 4 hours or overnight. This allows the cheesecake to set properly.
To check if it is set, lightly press the top with your finger. If it feels firm, it is ready. If it wobbles, it needs more time.
Tips & Tricks
Perfecting the Texture
To get the best texture, avoid overmixing. This keeps your cheesecake light and airy. Use room temperature ingredients for the smoothest blend. Cold cream cheese may lead to lumps, which we want to avoid.
Common Mistakes to Avoid
One common mistake is not chilling the cheesecake long enough. It needs at least 4 hours, but overnight is best. Also, using too much heavy cream can make your filling too dense. Stick to the recipe for perfect results.
Tools Needed for Success
A food processor makes crushing cookies easy. You can also use a sealed bag and a rolling pin if needed. An electric mixer is key for beating the cream cheese. It helps create a smooth and fluffy filling.
Variations
Flavor Enhancements
You can make this cheesecake even better with flavors. Try adding chocolate or caramel swirls. Just drizzle them into the filling before you chill it. This will give a nice look and taste. You can also swap out Oreo cookies for other cookies. Try chocolate chip cookies or peanut butter cookies for a fun twist. Each type will change the flavor and texture.
Dietary Modifications
If you need vegan options, use dairy-free cream cheese. This keeps the taste without dairy. You can also make it gluten-free. Simply choose gluten-free cookies. These changes let everyone enjoy this tasty dessert without worries.
Serving Suggestions
This cheesecake is great on its own, but you can make it even better. Pair it with fresh fruit like strawberries or raspberries. A drizzle of chocolate or caramel sauce adds extra flavor. For special occasions, consider adding candles or fun toppings. This makes it a hit at any party!
Storage Info
Proper Storage Techniques
To keep your No-Bake Oreo Cheesecake fresh, store it in the refrigerator. Use an airtight container or cover it tightly with plastic wrap. This helps prevent it from absorbing other smells in the fridge. If you want to save it for later, you can freeze it. First, let the cheesecake set for about an hour. Then, wrap it in plastic wrap and place it in a freezer-safe container. This helps keep the cheesecake from getting freezer burn.
Shelf Life
Your cheesecake can last in the fridge for about 5 to 7 days. Just make sure it stays covered. If you freeze it, it can last for up to 2 months. To tell if the cheesecake is no longer good, check for any signs of mold or an off smell. If it looks or smells strange, it’s better to be safe and throw it away. Always trust your senses when it comes to food safety!
FAQs
How long does it take to prepare the No-Bake Oreo Cheesecake?
It takes about 30 minutes to prep the cheesecake. You will then need to chill it for at least 4 hours. For the best taste, I recommend chilling it overnight. This waiting time helps the cheesecake set up perfectly.
Can I leave the cheesecake out?
No, you should not leave the cheesecake out for long. It needs to stay cool. Serve it right from the fridge. If you have leftovers, put them back in the fridge. This keeps it fresh and tasty.
What can I use instead of cream cheese?
If you want a different option, you can use a dairy-free cream cheese for vegan diets. Another choice is Greek yogurt for a lighter version. Both options keep the creamy texture. Just make sure to adjust the flavor to your liking.
Is it possible to make this cheesecake in advance?
Yes, you can make this cheesecake ahead of time.It will stay fresh for up to 5 days. This makes it a great choice for parties or gatherings.
In summary, this blog post covers how to make a no-bake Oreo cheesecake. You learned about the key ingredients and step-by-step instructions. I shared tips to improve texture and avoid common mistakes. You discovered tasty variations and how to store your cheesecake well.
This dessert is simple and delightful. By following these steps, you can impress anyone with your baking skills. Enjoy making this treat!