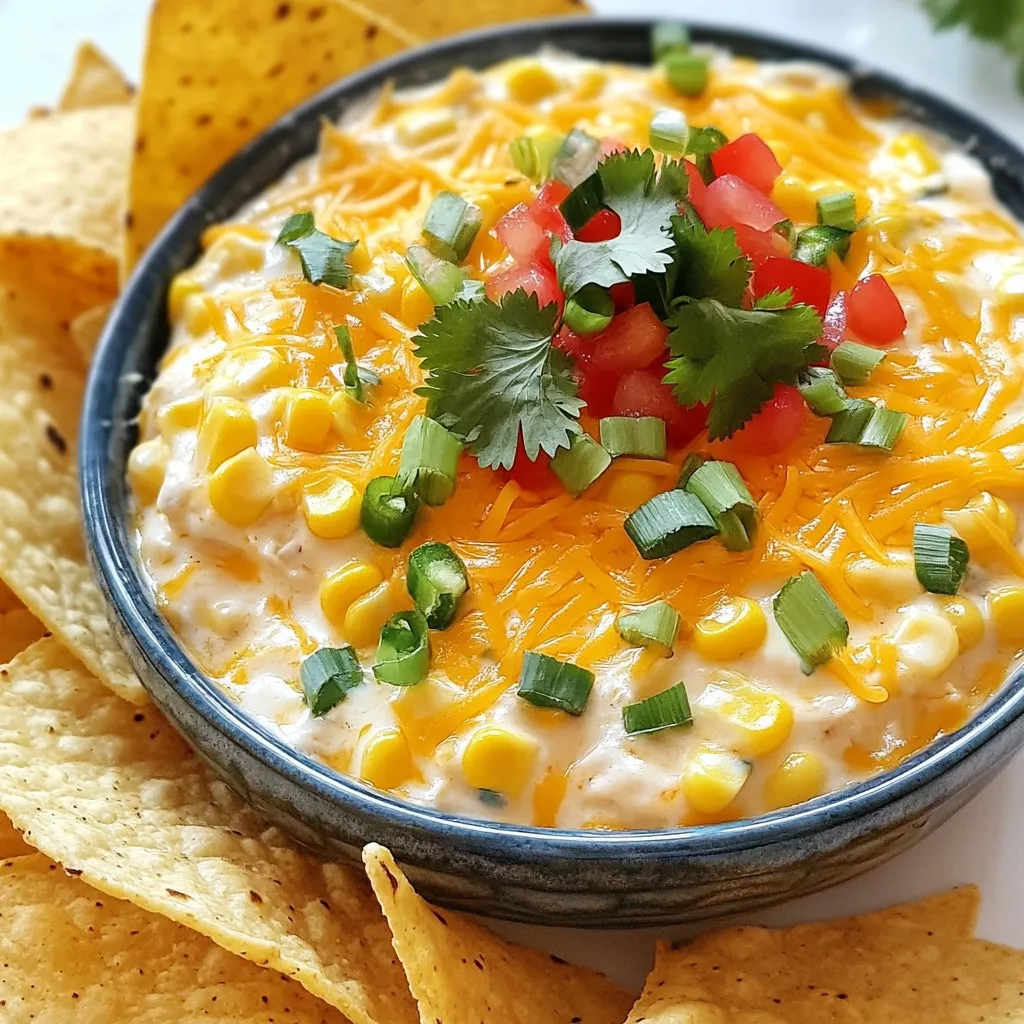
Traditional Corn Dip Flavorful and Easy Recipe
Are you ready to spice up your snack game? This Traditional Corn Dip will steal the show at your next
Are you ready to spice up your snack game? This Traditional Corn Dip will steal the show at your next
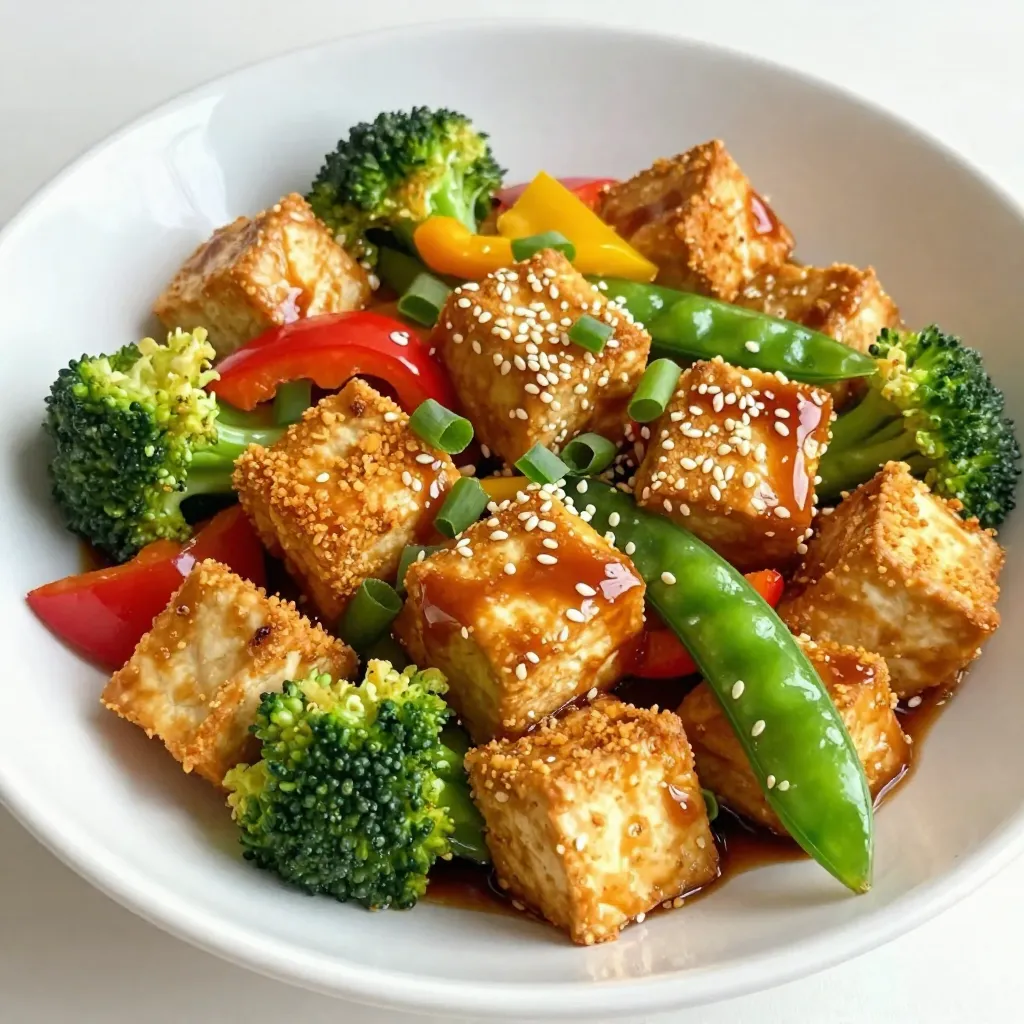
Are you ready to whip up a simple and tasty meal? This Crispy Teriyaki Tofu Stir-Fry will quickly become your

Crème Brûlée cookies blend creamy custard and crispy sugar for a perfect treat. You won’t need a fancy kitchen to
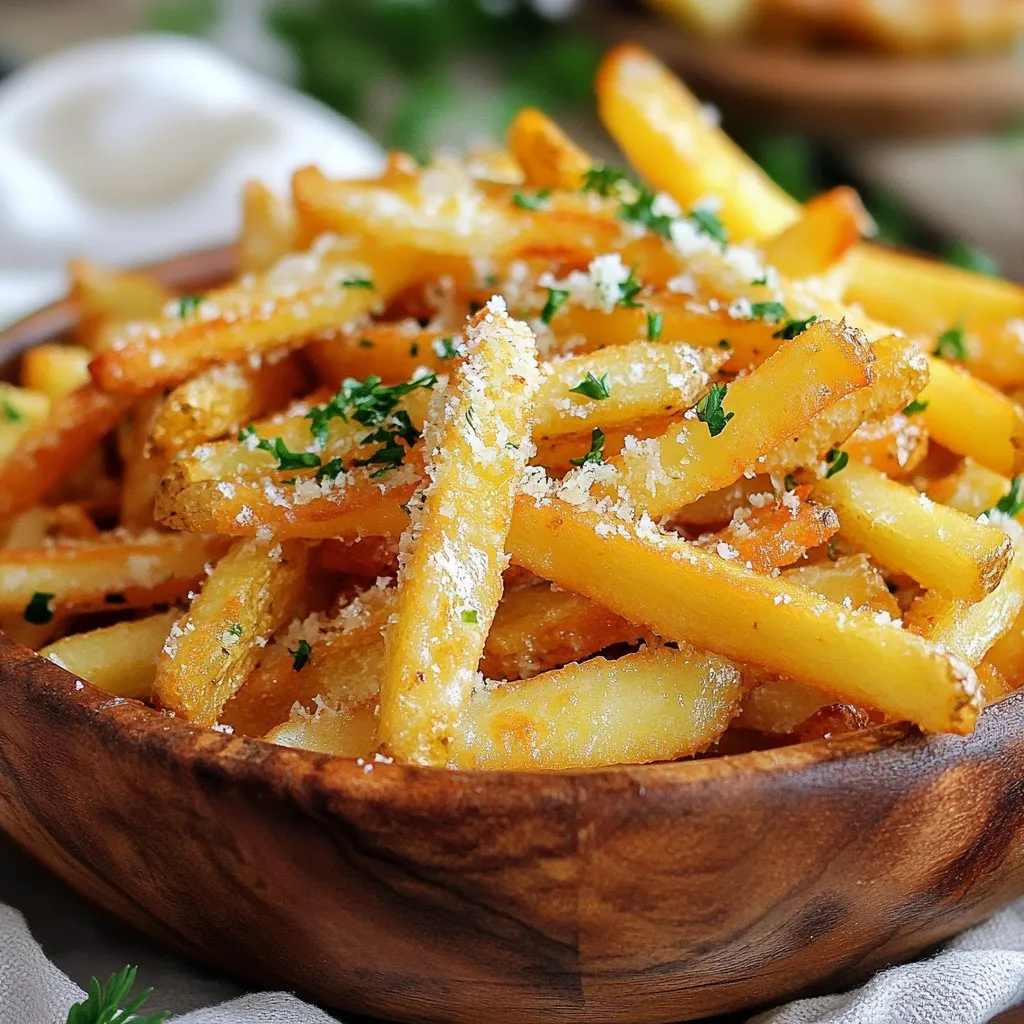
Craving a snack that’s both crispy and full of flavor? Look no further than these Garlic Parmesan Fries! With just
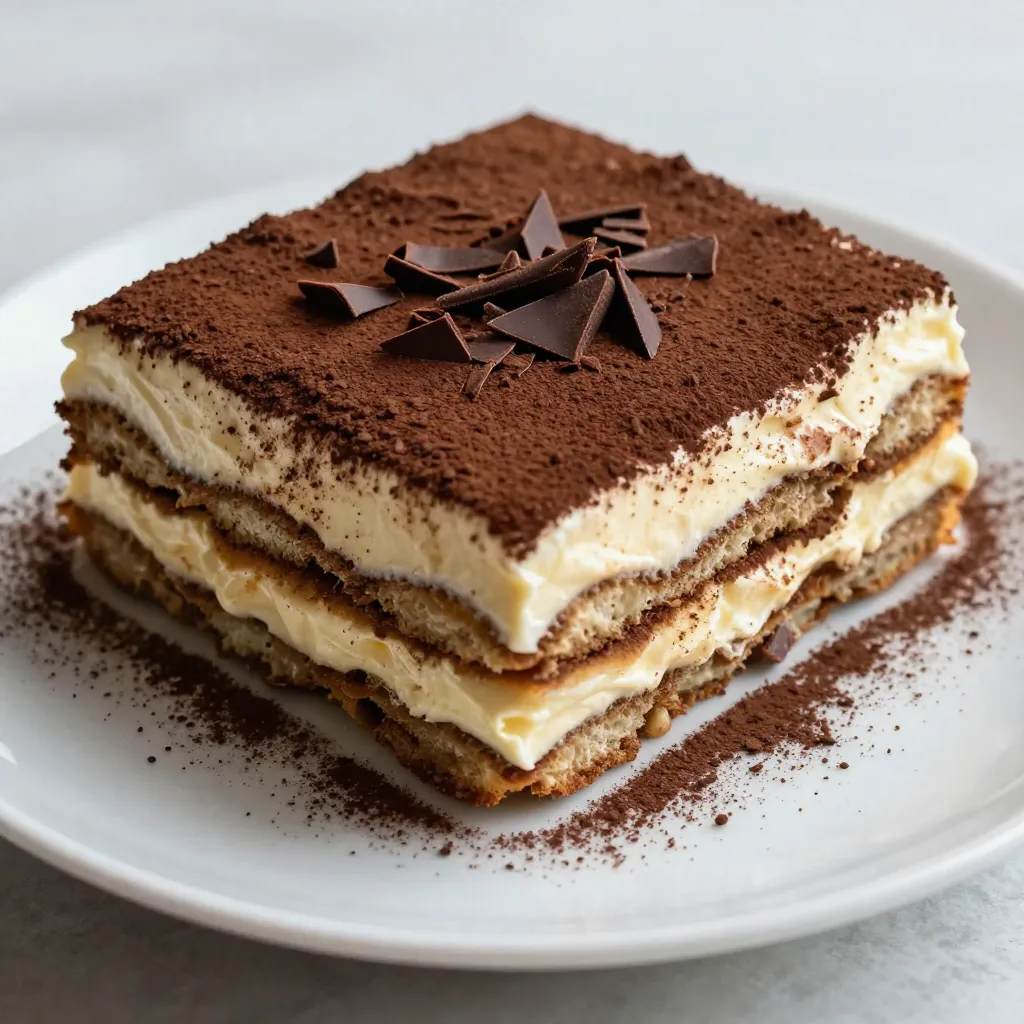
Are you ready to indulge in the rich layers of Classic Italian Tiramisu? This irresistible dessert delight combines strong coffee,
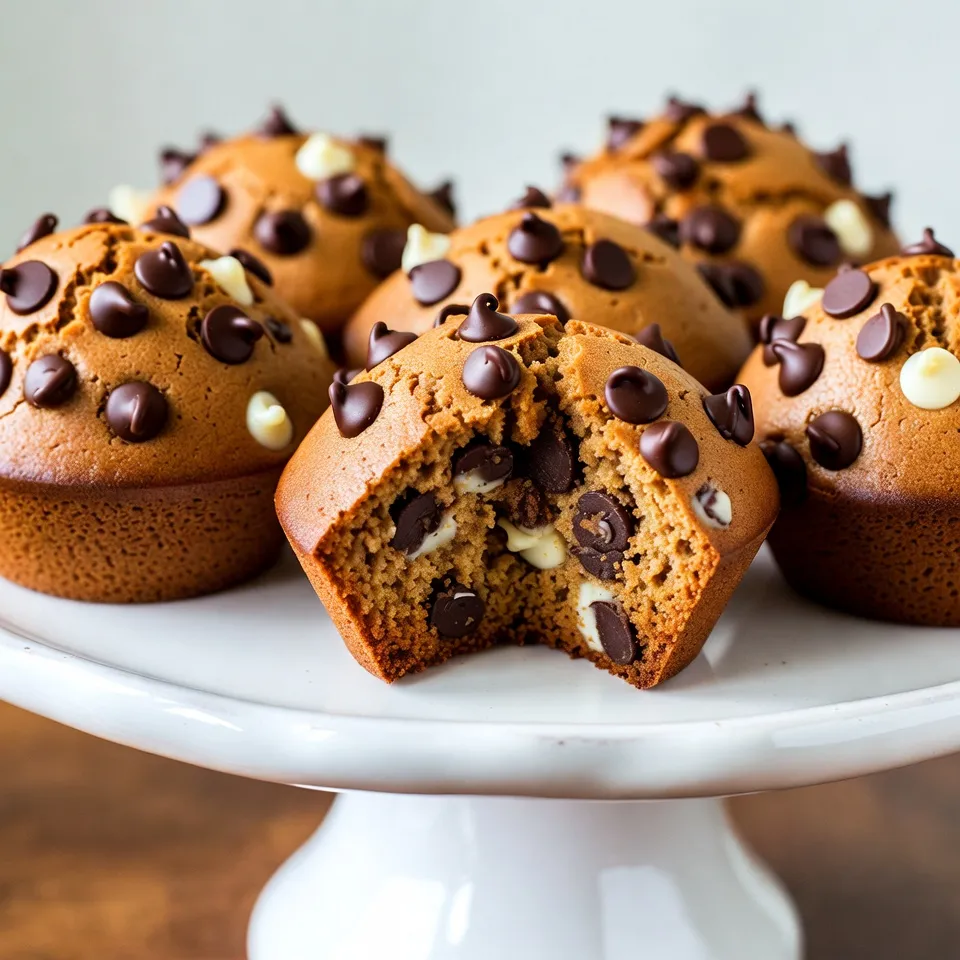
Craving something sweet? You’ll love these Triple Chocolate Chip Muffins! They are rich, soft, and loaded with three types of
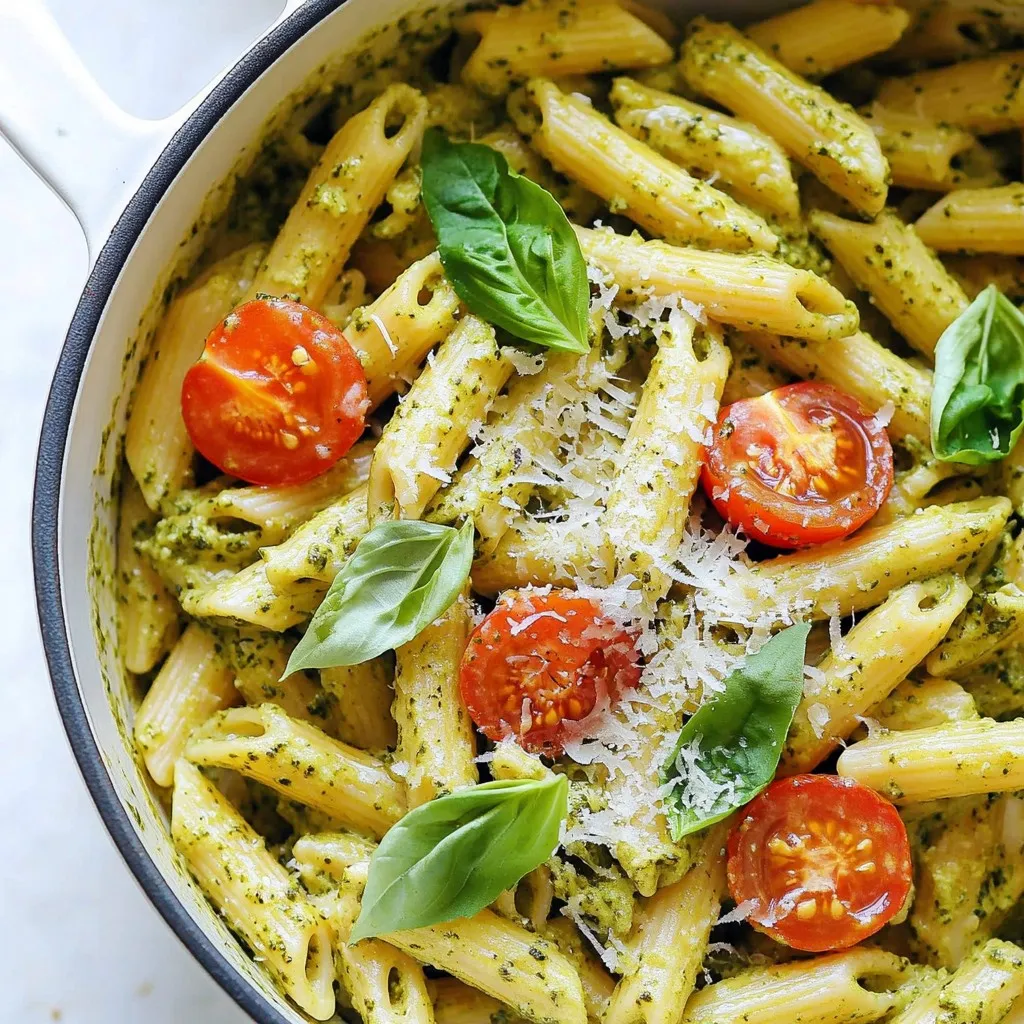
Craving a quick and tasty meal? One-Pot Creamy Pesto Pasta is the answer! This easy dish blends pasta with fresh
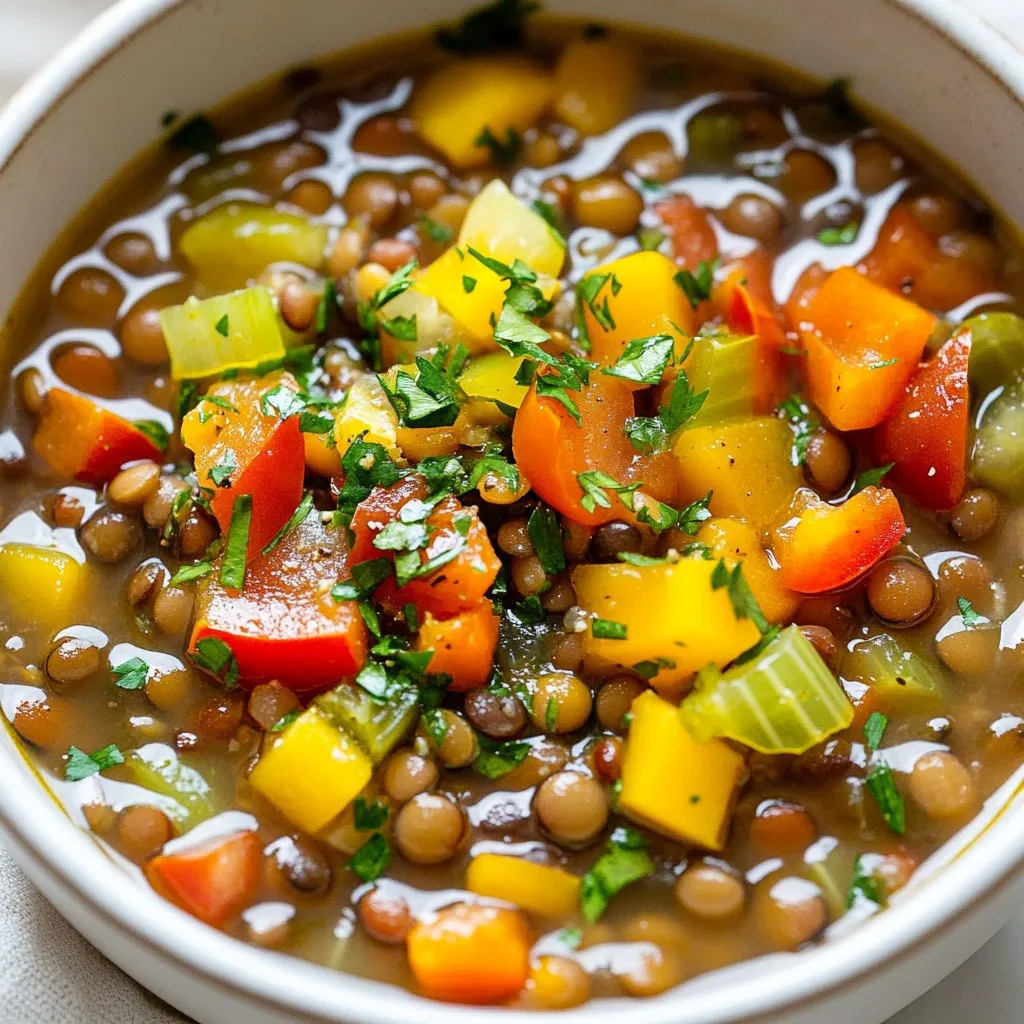
If you’re searching for a filling and healthy dish, try my Vegan Mediterranean Lentil Soup. This vibrant bowl is packed
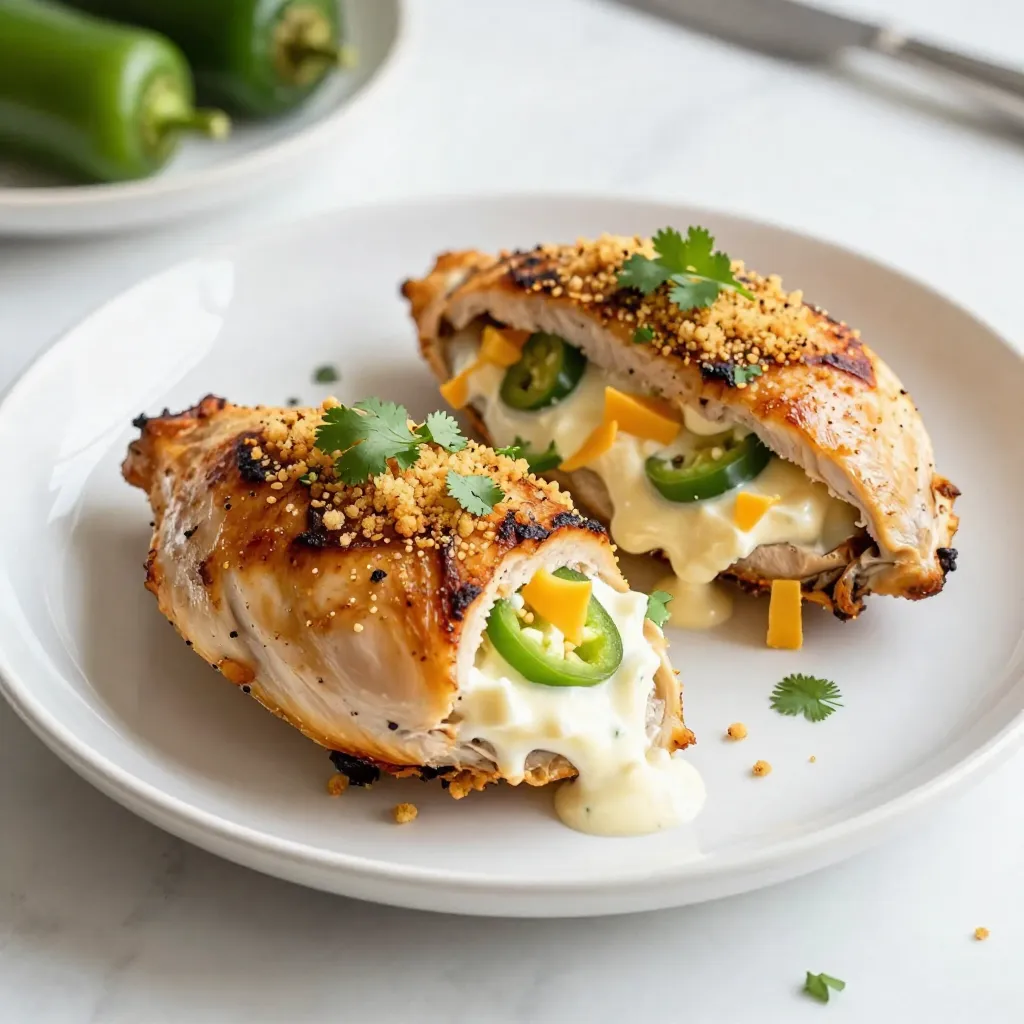
Looking for a dinner that packs a punch? You’ve found it! My Jalapeño Popper Stuffed Chicken is a flavor bomb
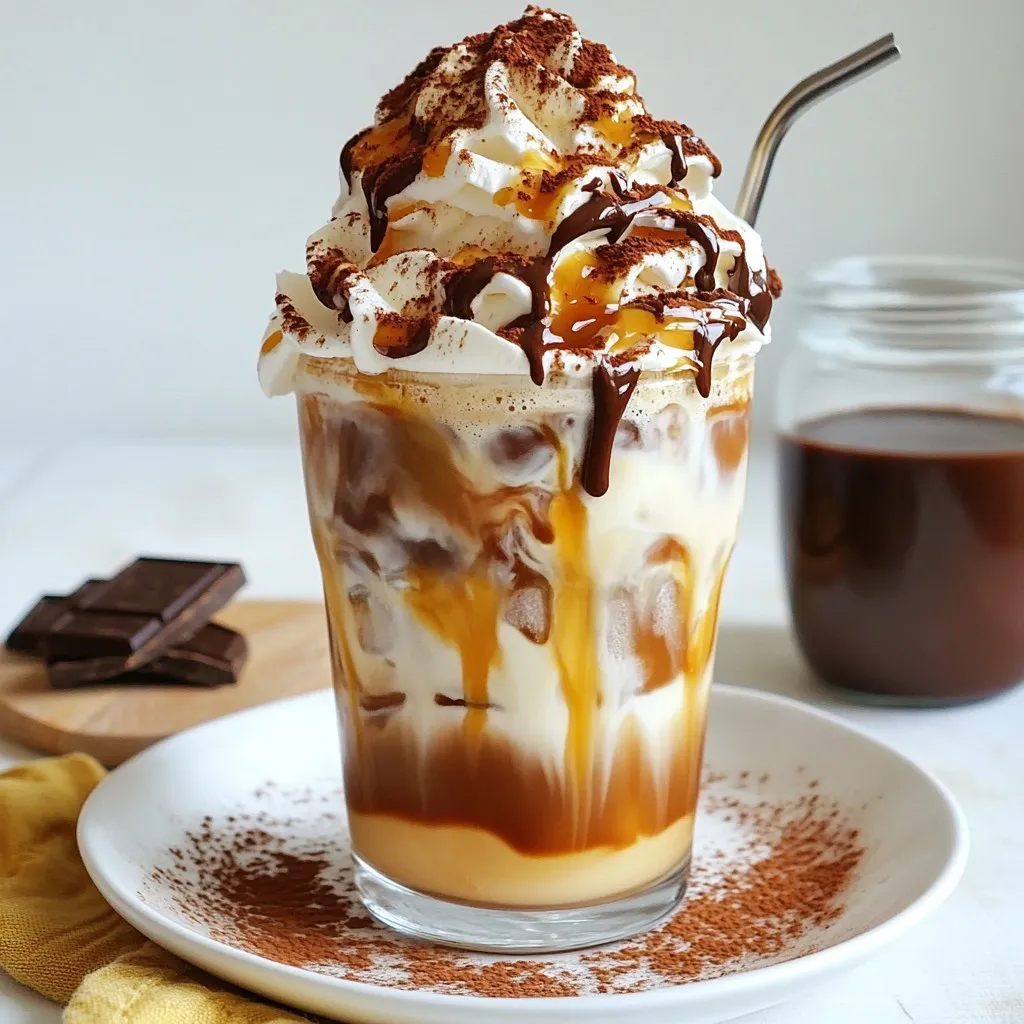
If you love Starbucks iced coffee, you’ll adore this simple Baileys twist! This refreshing recipe gives your coffee a rich,
