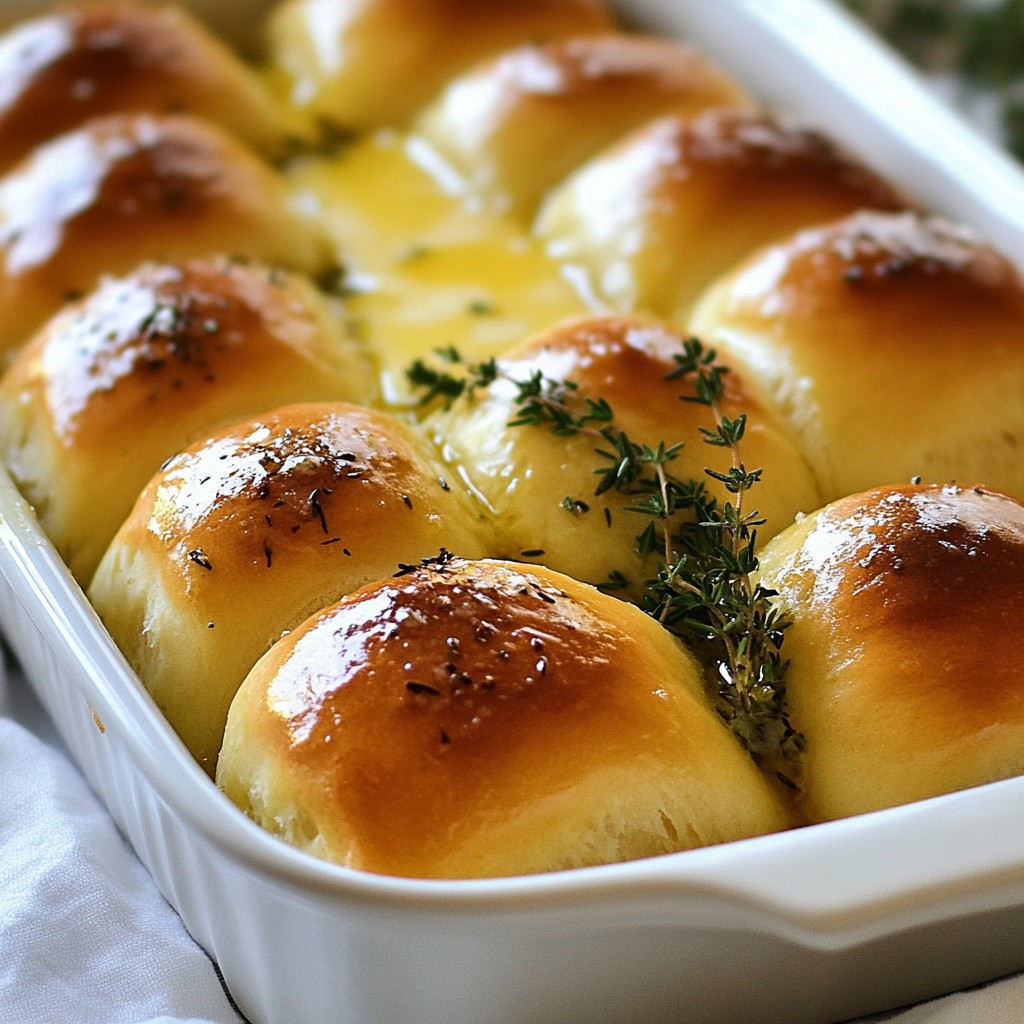
Looking for the perfect side dish to elevate your meals? These Buttery Herb Dinner Rolls are soft, fluffy, and packed with flavor. With just a few simple ingredients, you can impress your friends and family at any gathering. In this article, I’ll guide you through every step of creating these delicious rolls, complete with tips and variations for your taste. Let’s get baking and make your dinners unforgettable!
Why I Love This Recipe
- Delicious Flavor: The combination of fresh herbs like rosemary and thyme adds a delightful aroma and taste, making these rolls irresistible.
- Soft and Buttery: The rolls are incredibly soft and have a rich, buttery texture that melts in your mouth.
- Perfect for Any Occasion: These rolls are versatile enough to complement any meal, from holiday dinners to casual weeknight suppers.
- Fun to Make: Kneading the dough and watching it rise is a satisfying process that makes baking these rolls a joyful experience.
Ingredients
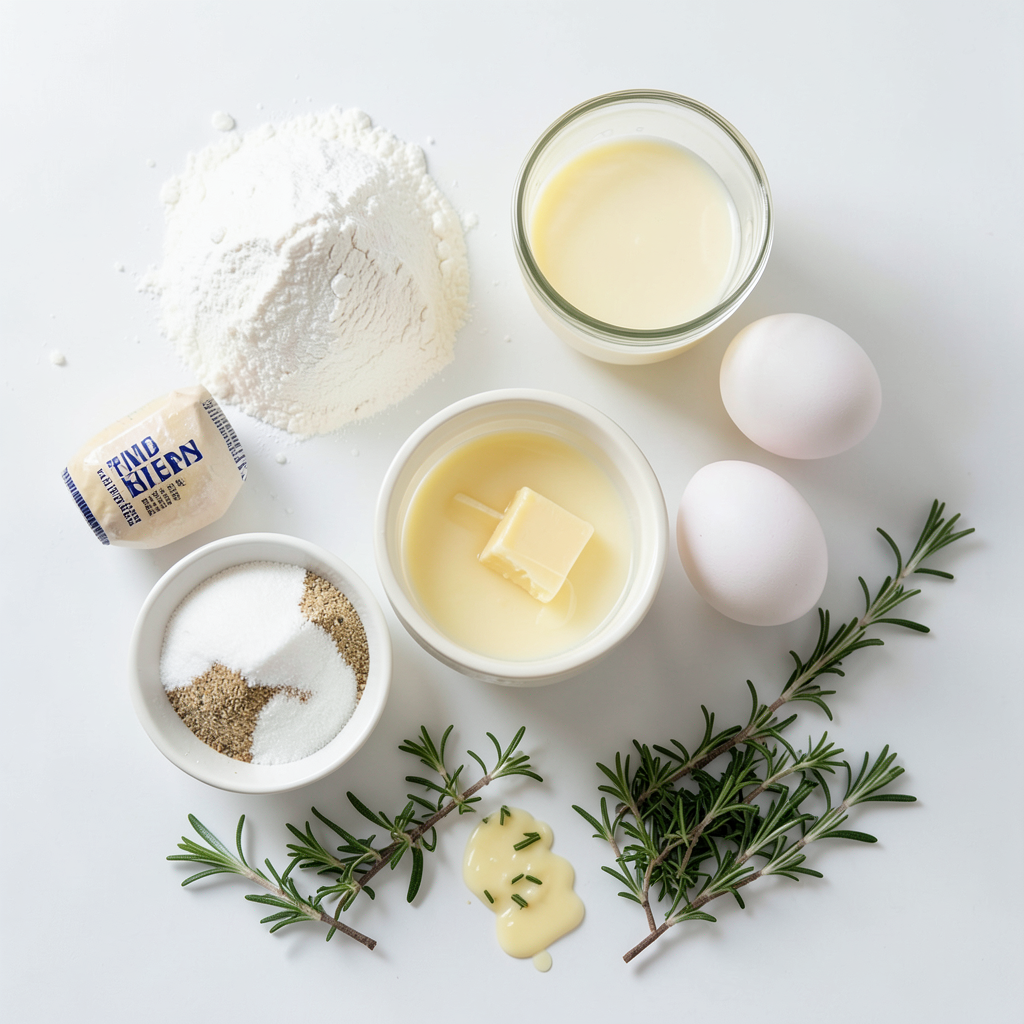
List of Required Ingredients
- 4 cups all-purpose flour
- 2 tablespoons granulated sugar
- 2 teaspoons fine sea salt
- 2 ¼ teaspoons instant yeast
- 1 cup warm milk (about 110°F)
- ½ cup unsalted butter, melted
- 2 large eggs, at room temperature
- 2 tablespoons fresh rosemary (or 1 tablespoon dried rosemary)
- 2 tablespoons fresh thyme leaves (or 1 tablespoon dried thyme)
- Extra melted butter for brushing
To make buttery herb dinner rolls, you need simple ingredients. The flour gives the rolls their base. Sugar adds a hint of sweetness. Sea salt enhances flavor. Instant yeast helps the dough rise. Warm milk activates the yeast and adds moisture. Melted butter brings richness. Eggs add structure and help with rise. Fresh herbs like rosemary and thyme give great flavor. Extra melted butter at the end makes them shiny and tasty.
Gather these ingredients, and you’re set to create soft, tasty rolls!
Step-by-Step Instructions
Activating the Yeast
- Combine warm milk and sugar in a bowl.
- Sprinkle the instant yeast over the milk mixture. Let it sit for 5-10 minutes until frothy. This step shows the yeast is active.
Mixing Dry Ingredients
- In a big bowl, whisk together the flour, salt, rosemary, and thyme.
- This mixes the dry parts well and adds air to the flour.
Incorporating Wet Ingredients
- Pour the frothy yeast mix into the dry ingredients.
- Add the melted butter and eggs. Stir until a sticky dough forms.
Kneading the Dough
- Lightly flour a clean surface. Turn the dough out onto it.
- Knead the dough for about 5-7 minutes until smooth and elastic. Use more flour if it’s too sticky.
First Rise
- Place the kneaded dough into a greased bowl.
- Cover it with a damp cloth. Let it rise in a warm spot for about 1 hour until it doubles in size.
Shaping the Rolls
- After the first rise, gently punch down the dough to release air.
- Divide it into 12 equal pieces. Roll each piece into a ball and arrange in a greased baking dish.
Second Rise
- Cover the dish with a cloth again.
- Allow the rolls to rise for another 30 minutes until they double in size again.
Baking
- Preheat your oven to 375°F (190°C) while the rolls rise.
- Bake the rolls for 20-25 minutes until golden brown and hollow when tapped.
Finishing Touch
- Brush the tops of the rolls with melted butter right after baking.
- This adds a rich flavor and a nice shine to the rolls.
Tips & Tricks
Perfecting Dough Texture
How to prevent stickiness To avoid sticky dough, use flour wisely. When kneading, sprinkle flour on your hands and the surface. Add just enough flour until the dough feels smooth. Too much flour can make your rolls dense. Aim for a slightly tacky feel.
Signs of properly kneaded dough You’ll know your dough is ready when it’s smooth and elastic. Gently stretch it; if it doesn’t tear, you’ve done well. The dough should bounce back when poked. This means the gluten has developed properly, which is key for soft rolls.
Achieving Flavorful Rolls
Using fresh vs. dried herbs Fresh herbs give a bright flavor. They add a nice aroma and color. If you use dried herbs, use less. Dried herbs are stronger, so cut the amount in half. Both options work well, but fresh is best for a vibrant taste.
Options for additional flavors You can mix in other ingredients for more flavor. Consider garlic powder, cheese, or even sun-dried tomatoes. These add depth and interest to your rolls. Feel free to experiment with spices like oregano or basil too!
Presentation Tips
Serve warm in a bread basket Warm rolls look and taste great in a nice basket. Line the basket with a soft cloth. This keeps the rolls warm and adds a homey touch. It also makes them easy to grab!
Garnishing for beautiful aesthetics For a lovely finish, garnish each roll with a sprig of fresh herb. Place it on top right before serving. This adds color and a bit of flair. It also enhances the aroma, making your meal even more inviting.
Pro Tips
- Perfect Temperature: Ensure your milk is at the right temperature (about 110°F) to activate the yeast without killing it. Use a thermometer for accuracy.
- Flour Measurement: Spoon the flour into your measuring cup and level it off with a knife to avoid packing it down, which can lead to dense rolls.
- Extra Flavor: For an even richer taste, consider adding a pinch of garlic powder to your dough or brushing the rolls with garlic butter instead of plain butter after baking.
- Storage Tips: Store leftover rolls in an airtight container at room temperature for up to 2 days or freeze them for up to 3 months for later enjoyment.
Variations
Herbed Cheese Rolls
You can add cheese to the dough for a tasty twist. Cheese melts while baking. It creates a nice, gooey center. I like to use mozzarella or cheddar. To make herbed cheese rolls, simply mix in 1 cup of shredded cheese when you add the wet ingredients. This will give your rolls a rich flavor. The cheese will also add a bit of stretch. Just remember to knead the dough well to combine everything evenly.
Sweet Herb Rolls
For a sweet twist, try incorporating a touch of honey or cinnamon. Adding 2 tablespoons of honey gives the rolls a light sweetness. You can also sprinkle in 1 teaspoon of cinnamon for warmth. This combination works well, especially for breakfast. Follow the same steps in the recipe. You'll enjoy a delightful blend of sweet and savory in every bite.
Gluten-Free Options
If you need gluten-free options, you can use alternative flours. A good choice is a 1-to-1 gluten-free flour blend. Look for one that includes xanthan gum. It helps mimic the texture of all-purpose flour. You may need to adjust the liquid in the recipe. Start with the same amount, then add more if the dough feels too dry. This way, you can still enjoy soft and tasty rolls without gluten.
Storage Info
How to Store Leftover Rolls
To keep your leftover rolls fresh, store them in an airtight container. You can also wrap them in plastic wrap or foil. Place them at room temperature for up to two days. If you want to keep them longer, consider refrigerating them. But remember, the fridge can dry them out.
Reheating Techniques
To restore softness, try wrapping the rolls in a damp paper towel. Microwave them for about 10-15 seconds. This method will help them regain their fluffy texture. If you prefer the oven, preheat it to 350°F (175°C). Place the rolls on a baking sheet and cover them with foil. Bake for 10-15 minutes until warm.
Freezing Instructions
If you want to freeze your rolls, let them cool completely first. Place them in a freezer-safe bag or container. Be sure to remove as much air as possible. You can freeze them for up to three months. When you're ready to eat them, thaw overnight in the fridge. Then, reheat as mentioned above for the best results.
FAQs
Can I use active dry yeast instead of instant yeast?
Yes, you can use active dry yeast. However, you need to activate it first. To do this, mix warm milk with sugar, then sprinkle the active dry yeast over the top. Let it sit for about 5-10 minutes until it foams. This step proves that the yeast is alive and ready to work.
How can I make these rolls ahead of time?
You can prepare the dough the night before. Follow the steps up to the first rise. After the first rise, punch down the dough and shape it into rolls. Place the shaped rolls in the baking dish, cover them, and refrigerate overnight. In the morning, let them rise for about 30 minutes before baking. This way, you wake up to fresh rolls!
Why did my rolls not rise?
There are a few common reasons for this. First, check if your yeast is fresh. Old yeast may not activate. Second, the dough needs warmth to rise. If your kitchen is cold, find a warm spot for rising. Lastly, make sure you don’t add too much salt directly to the yeast, as it can kill it.
What can I serve with buttery herb dinner rolls?
These rolls pair well with many dishes. Try them with soups like chicken noodle or creamy tomato. They also go great with roasted meats or a nice salad. You can even serve them with butter or olive oil for dipping. Enjoy them with your favorite meal!
In this article, we learned how to make delicious buttery herb dinner rolls. We covered the key ingredients, step-by-step instructions, tips for perfect texture and flavor, and storage options. Remember, the right herbs can boost flavor and freshness. Don't hesitate to try variations like adding cheese or honey. You now have all the tools to bake these rolls perfectly. Enjoy your baking journey and share them with loved ones for a warm touch at any meal!