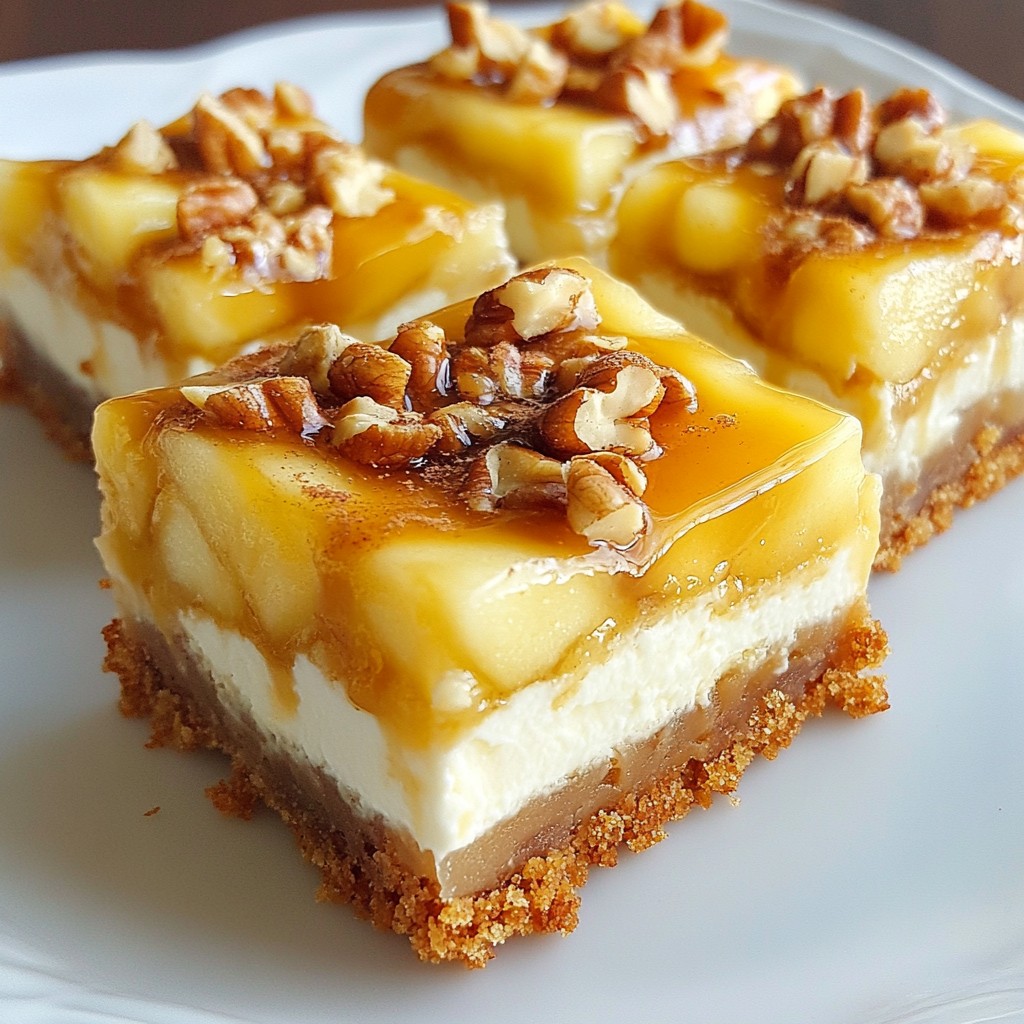
Fall is here, and it's time for a sweet treat! If you love caramel and apples, you’ll adore these Caramel Apple Cheesecake Bars. They blend creamy cheesecake, crunchy apples, and rich caramel in each bite. Whether you're hosting a fall gathering or enjoying a cozy night at home, these bars will be a hit. Let’s dive into the simple steps to make this delightful dessert that everyone will love!
Why I Love This Recipe
- Delicious Flavor Combination: The tartness of the Granny Smith apples perfectly balances the sweetness of the caramel and cheesecake, creating a delightful taste experience.
- Easy to Make: This recipe is straightforward and requires no complicated techniques, making it accessible for bakers of all skill levels.
- Perfect for Any Occasion: These cheesecake bars are ideal for gatherings, parties, or simply as a delicious treat to enjoy at home.
- Beautiful Presentation: The marbled caramel topping and the option to garnish with fresh apple slices make these bars visually stunning and inviting.
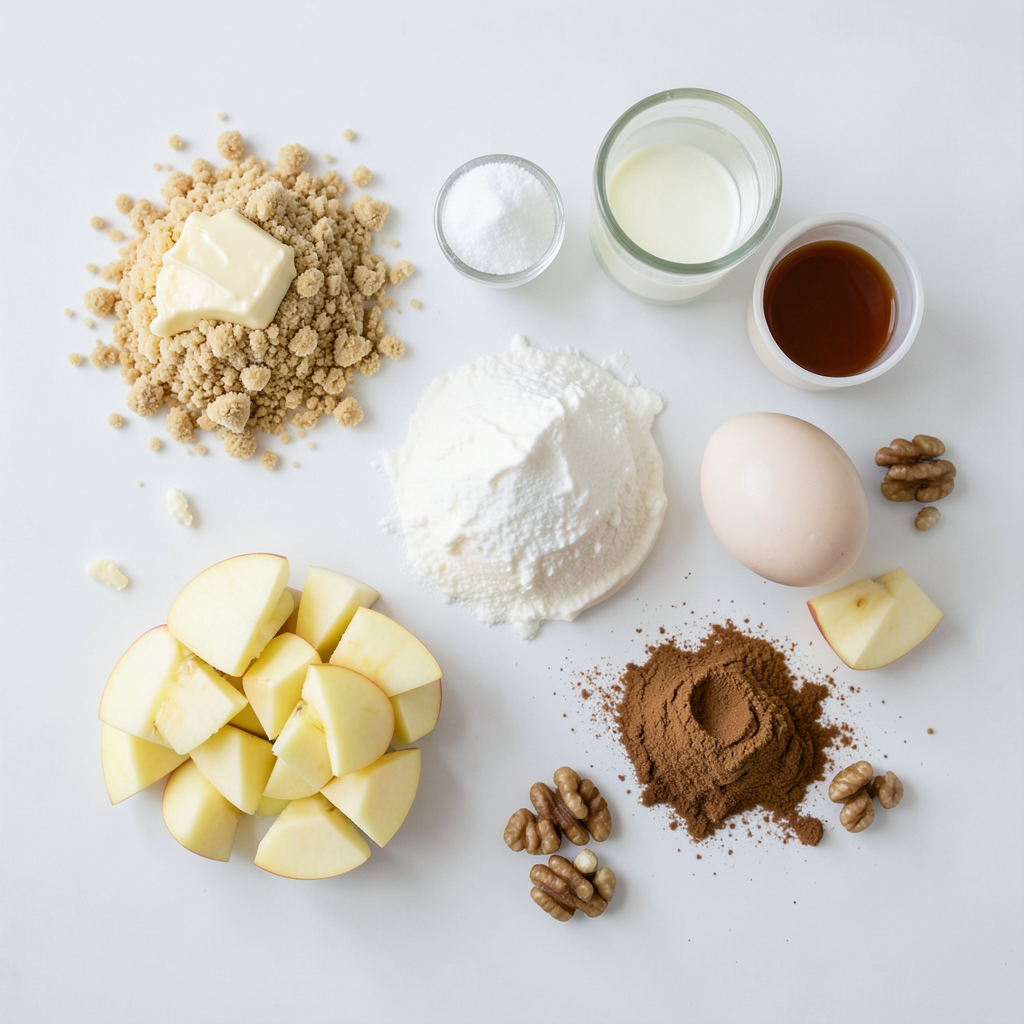
Ingredients
List of Ingredients
- 1 ½ cups graham cracker crumbs
- ½ cup unsalted butter, melted
- 2 tablespoons granulated sugar
- 2 (8 oz) packages cream cheese, softened
- 1 cup granulated sugar
- 2 large eggs
- 1 teaspoon pure vanilla extract
- 2 cups apples, peeled and diced
- 1 teaspoon ground cinnamon
- 1 cup caramel sauce
- ¼ cup chopped walnuts or pecans (optional)
Measurement Units
You will need both cups and tablespoons for this recipe. A standard cup equals 8 ounces. Use tablespoons for sugar and butter, where 1 tablespoon equals ½ ounce.
Recommended Types of Apples
For the best flavor, I recommend Granny Smith apples. Their tartness balances the sweetness of the caramel and cheesecake. You can also use Honeycrisp or Fuji apples for a sweeter twist. The crunchiness of these apples adds great texture to the bars.
Step-by-Step Instructions
Preparing the Baking Pan
Start by preheating your oven to 350°F (175°C). Take a 9x9-inch baking pan and grease it well. You can also line it with parchment paper. This step helps you remove the bars easily after baking.
Making the Crust
In a medium bowl, mix together 1 ½ cups of graham cracker crumbs, ½ cup of melted unsalted butter, and 2 tablespoons of granulated sugar. Stir until the mixture feels like wet sand. Press this mixture firmly into the bottom of your baking pan. Bake the crust for 10 minutes. After baking, set it aside to cool.
Preparing the Cheesecake Filling
While the crust cools, grab a large mixing bowl. Use an electric mixer to beat 2 packages of softened cream cheese until it becomes smooth. Slowly add in 1 cup of granulated sugar, mixing until it blends well. Next, add 2 large eggs, one at a time. Mix on low speed to keep the filling creamy. Then, stir in 1 teaspoon of pure vanilla extract.
Now, fold in 2 cups of peeled and diced apples along with 1 teaspoon of ground cinnamon. Be gentle so the apple pieces stay intact.
Baking the Bars
Pour the cheesecake filling onto the cooled crust. Spread it evenly with a spatula. Drizzle 1 cup of caramel sauce on top. Use a knife to swirl the caramel into the filling for a marbled look. If you like, sprinkle ¼ cup of chopped walnuts or pecans for extra crunch.
Bake the bars for 35-40 minutes. The edges should be set, but the center can still jiggle a bit. Let them cool completely at room temperature. For the best flavor, refrigerate for at least 4 hours, or overnight if you can wait.
Once chilled, slice the bars into squares and serve. Drizzle some extra caramel sauce on top for a sweet touch!
Tips & Tricks
How to Prevent Cracks in the Cheesecake
To keep your cheesecake bars smooth, avoid overmixing. Mix just until blended. After adding eggs, mix on low speed. This helps keep air out. Air bubbles can cause cracks. Also, bake in a water bath for extra moisture. This simple trick makes a big difference.
Easiest Way to Cut Bars
For neat slices, chill the bars well before cutting. Use a sharp knife. Dip the knife in warm water before each cut. Wipe it clean between cuts. This helps the knife glide through the cheesecake smoothly. You’ll get clean, pretty pieces every time.
Serving Suggestions
Serve these bars cold for the best flavor. Drizzle extra caramel sauce on top for sweetness. Add a sprinkle of cinnamon for extra warmth. Pair with whipped cream or vanilla ice cream. Fresh apple slices on the side add a nice touch. Enjoy these bars at fall gatherings or cozy nights in!
Pro Tips
- Choose the Right Apples: For the best flavor, use Granny Smith apples, as their tartness beautifully balances the sweetness of the cheesecake and caramel.
- Cooling Time is Key: Allowing the bars to cool completely and refrigerating them enhances the texture and flavor, making them easier to slice and more enjoyable to eat.
- Swirling Caramel: When swirling the caramel into the cheesecake batter, use a gentle hand to create beautiful marbled patterns without overmixing.
- Garnish for Style: A simple garnish of cinnamon, fresh apple slices, or additional caramel sauce can elevate the presentation and make the dessert look even more tempting.
Variations
Gluten-Free Crust Options
If you want a gluten-free crust, use almond flour or gluten-free graham crackers. Mix the crumbs with melted butter and sugar just like in the original recipe. This way, you keep the tasty base without gluten.
Flavor Variations
You can add warmth to your bars by mixing in spices. Try nutmeg or ginger for a cozy twist. If you love chocolate, fold in mini chocolate chips or drizzle melted chocolate on top. This adds a fun flavor and a sweet surprise.
Serving with Different Sauces
While caramel sauce is a hit, you can try other toppings. Warm chocolate sauce adds richness. A berry sauce can give a fresh taste. You can even serve with whipped cream for a light touch. Each sauce changes the bar's flavor for a new experience.
Storage Info
How to Store Leftovers
To keep your caramel apple cheesecake bars fresh, place them in an airtight container. Store them in the fridge for up to five days. If you want to keep them longer, freezing is a great option.
Freezing Instructions
If you want to freeze these bars, first cut them into squares. Wrap each square tightly in plastic wrap. Then, place them in a freezer-safe bag or container. They will stay good in the freezer for up to three months. Just make sure to label the bags with the date.
Best Ways to Reheat
To reheat, simply take out the number of bars you want. Allow them to thaw in the fridge overnight if frozen. For a warm treat, you can microwave them for about 15-20 seconds. Keep an eye on them so they don’t get too hot. Enjoy your delicious caramel apple cheesecake bars warm or cold!
FAQs
How long do caramel apple cheesecake bars last?
Caramel apple cheesecake bars last about 5 to 7 days in the fridge. Store them in an airtight container. This keeps them fresh and tasty. If you want to enjoy them longer, freeze them for up to three months.
Can I use other fruits instead of apples?
Yes, you can use other fruits. Pears or peaches work well, too. Just make sure to adjust the sugar based on the fruit's sweetness. You want a nice balance in flavor.
What can I use as a substitute for cream cheese?
You can use Greek yogurt or silken tofu as a cream cheese substitute. These options will change the texture but can still taste great. If you use Greek yogurt, choose a full-fat version for creaminess.
Is it possible to make these bars ahead of time?
Absolutely! You can make these bars a day or two ahead. Just store them in the fridge until ready to serve. This way, the flavors have time to meld together.
Can I use homemade caramel sauce?
Yes, homemade caramel sauce is a fantastic option. It can add a richer flavor to your cheesecake bars. Just make sure it's cool before you drizzle it on top.
You now have all the tools to make delicious caramel apple cheesecake bars. We covered the key ingredients, step-by-step instructions, and useful tips. Remember to choose the right apples and take care when baking to prevent cracks. You can try different flavors and sauces for your treats. Store any leftovers properly to keep them fresh. Feel free to experiment with substitutes or make them ahead. Happy baking! Enjoy your tasty creation!


