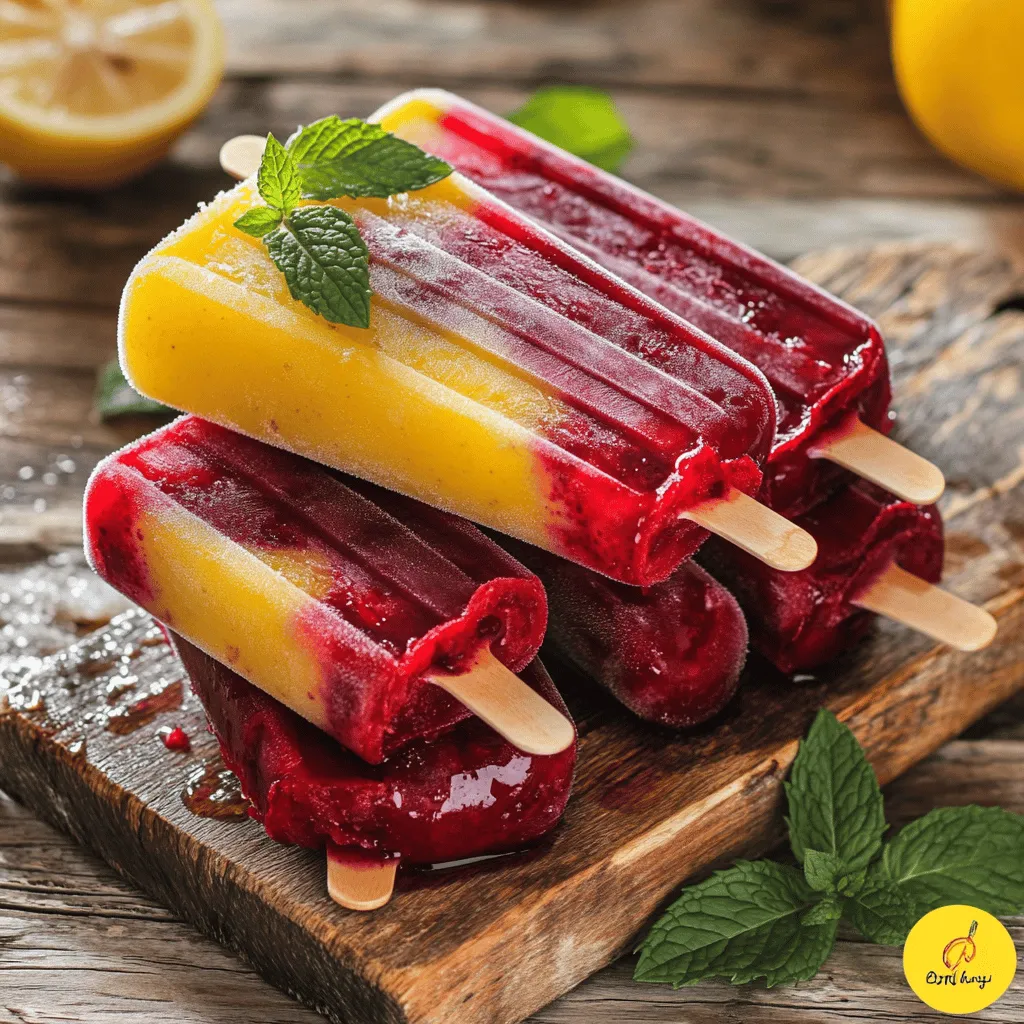
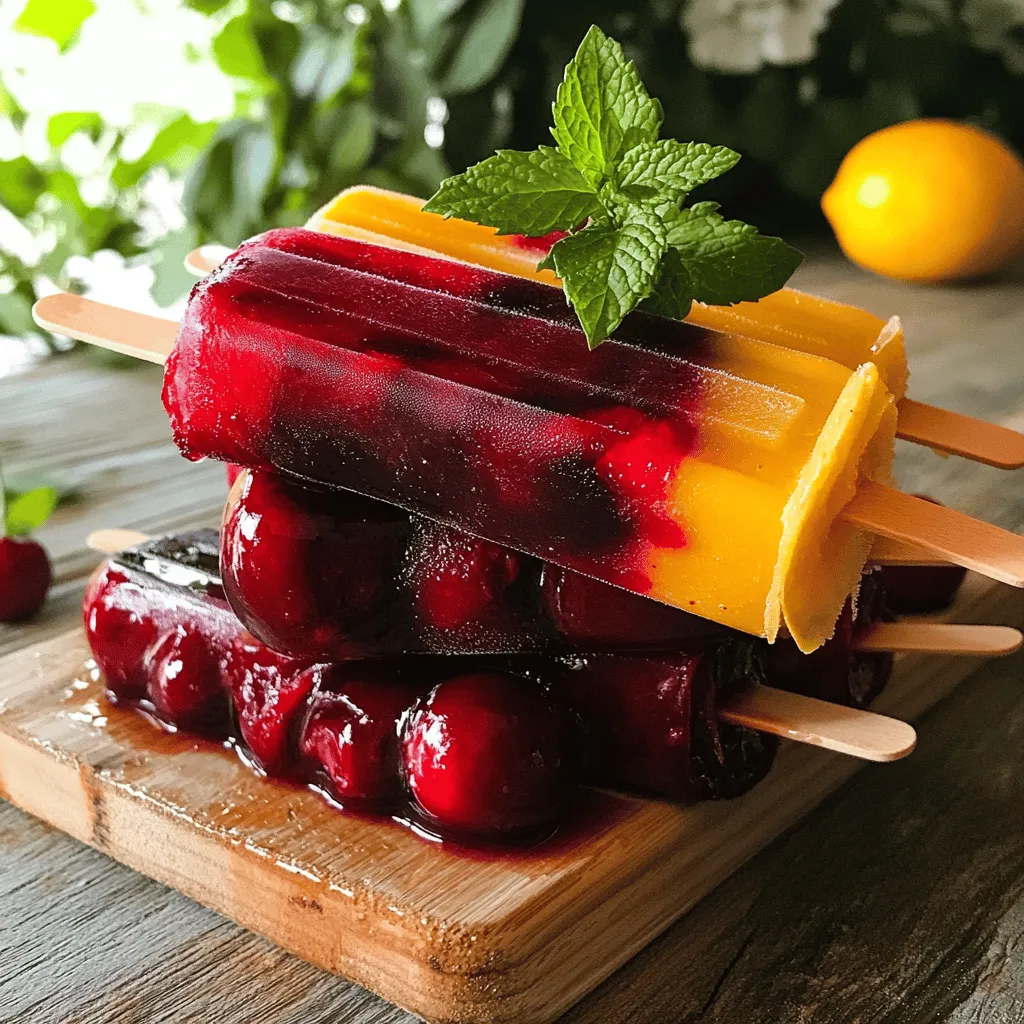
Looking for a fun and tasty way to beat the heat? These Cherry Lemonade Popsicles are the perfect summer treat! With a burst of sweet cherry flavor and a zesty lemonade twist, they’re easy to make and sure to impress. In this article, I’ll walk you through simple steps, tips for the best results, and ways to customize your popsicles. Let’s dive into the delicious world of homemade summer refreshers!
Ingredients
List of Ingredients for Cherry Lemonade Popsicles
To make Cherry Lemonade Popsicles, you need the following ingredients:
– 2 cups fresh cherries, pitted and halved
– 1 cup freshly squeezed lemon juice (about 4-6 medium lemons)
– 1/2 cup granulated sugar (adjust for desired sweetness)
– 1 cup water
– Zest of 1 lemon (for extra flavor)
– Fresh mint leaves for garnish (optional)
Notes on Freshness and Quality of Ingredients
Using fresh cherries is key for the best taste. Look for bright, firm cherries. Choose lemons that feel heavy for their size, as they have more juice. Fresh juice provides a vibrant flavor. When selecting sugar, use regular granulated sugar for sweetness. Check the expiry date for the best quality. Fresh mint adds a nice touch, so opt for vibrant, green leaves.
Optional Add-ins for Enhanced Flavor
You can improve your popsicles with some fun add-ins. Try adding a splash of vanilla extract for warmth. A few slices of ginger can add zing. If you enjoy a little tartness, mix in some lime juice. For a colorful twist, add thin slices of strawberries or blueberries. These changes make your popsicles unique and delicious.
Step-by-Step Instructions
How to Make the Simple Syrup
First, we need to make a simple syrup. This syrup adds sweetness to our popsicles. In a medium saucepan, mix 1 cup of water with 1/2 cup of granulated sugar. Heat this over medium heat. Stir often until the sugar dissolves. This takes about 2-3 minutes. Once dissolved, remove the pan from the heat. Let the syrup cool completely before using it.
Preparing the Cherries
While the syrup cools, let’s prepare the cherries. You need 2 cups of fresh cherries, pitted and halved. Place these cherries in a blender. Blend them gently using short pulses. You want the cherries to be mostly smooth but still a bit chunky. This gives the popsicles a nice texture. Set the blended cherries aside for later.
Assembling the Popsicle Mixture
Now it’s time to mix everything together. In a large mixing bowl, combine the cooled syrup with 1 cup of freshly squeezed lemon juice and the zest of 1 lemon. Add half of the blended cherries into the mixture and stir well. This is where all the flavors come together!
Next, pour this mixture into your popsicle molds, filling them halfway. Now, add a spoonful of the reserved cherry puree into each mold. This adds a lovely layer of color and flavor. Then, fill the molds to the top with the lemonade mixture, leaving a little space at the top. This space helps the popsicles expand while freezing.
Insert popsicle sticks into the molds, making sure they are centered. Place the molds in the freezer for at least 4-6 hours. They should be completely solid before you enjoy them. To remove the popsicles, run warm water over the outside of the molds for a few seconds. Then gently pull the sticks to release the popsicles.
Tips & Tricks
Best Practices for Molding Popsicles
To get the best popsicles, choose molds that are sturdy. Silicone molds work great. They make it easy to pop out the treats. Fill the molds carefully to avoid spills. Leave a little space at the top for expansion. This helps the popsicles freeze evenly.
How to Achieve a Creamy Texture
For a creamier texture, try adding yogurt or coconut milk to the mixture. Blend it in with the cherries and lemon juice. This small change makes a big difference. If you want a bit of crunch, add chopped nuts or seeds. Just remember to keep the other ingredients balanced.
Presentation Tips for Serving
To serve your popsicles, place them on a nice plate or a wooden board. Use fresh mint leaves to add color and aroma. You can even drizzle some extra cherry syrup over the top. This makes them look fancy and inviting. For a fun touch, give each popsicle a colorful stick. Enjoy your beautiful, homemade treats!
Variations
Adding Other Fruits for a Mixed Flavor
You can mix in other fruits for fun flavors. Strawberries, raspberries, or blueberries work great. Just blend your chosen fruit and add it to the popsicle mix. This will give your popsicles a colorful twist. You can layer the fruits for a beautiful look, too. Each bite will surprise you with new tastes.
Altering Sweetness Levels
Adjust the sweetness to fit your taste. If you like it sweet, add more sugar. For a tart flavor, cut back on the sugar. You can also use honey or agave syrup as a natural sweetener. Remember, the balance between sweet and tart is key for a refreshing treat. Always taste the mixture before freezing.
Using Different Liquid Bases (e.g., Coconut Water)
Try using coconut water instead of water for a tropical vibe. It adds a light coconut flavor and extra hydration. You can also mix in fruit juices, like orange or pineapple, for added zest. This change makes your popsicles even more refreshing. Experiment with different bases to find your favorite blend.
Storage Info
How to Properly Store Popsicles
To keep your Cherry Lemonade Popsicles fresh, store them in an airtight container. This helps prevent freezer burn and keeps them flavorful. You can also use plastic wrap to cover the popsicle molds before freezing. Make sure to label the container with the date so you know when you made them.
Shelf Life of Homemade Popsicles
Homemade Cherry Lemonade Popsicles can last about 2 to 3 months in the freezer. After this time, they may lose some flavor and texture. Always check for any signs of freezer burn before tasting.
Tips for Preventing Ice Crystals
Ice crystals can form on popsicles if they are not stored properly. To prevent this, try these tips:
– Make sure the popsicles are fully frozen before removing them from the molds.
– Store them at a consistent, cold temperature in the freezer.
– Avoid opening the freezer often, as this can cause temperature changes.
– If you notice ice crystals, blend the popsicle mixture again before refreezing.
FAQs
Can I use frozen cherries instead of fresh?
Yes, you can use frozen cherries. Just let them thaw first. This helps them blend better. Frozen cherries may change the taste slightly, but they still work great. They are also convenient and save time.
How long do Cherry Lemonade Popsicles take to freeze?
Cherry Lemonade Popsicles take about 4 to 6 hours to freeze. For best results, leave them overnight. This way, they will be fully solid and ready to enjoy. If you are in a hurry, you can try to freeze them for at least 4 hours.
What are some other flavors I can try for popsicles?
You can mix things up with many flavors! Here are some fun ideas:
– Strawberry Lemonade: Use fresh strawberries instead of cherries.
– Peach Basil: Blend fresh peaches with a hint of basil.
– Watermelon Mint: Purée watermelon and mix in some fresh mint.
– Pineapple Coconut: Use fresh pineapple and add coconut water for a tropical twist.
These flavors are easy to make and delicious, just like the Cherry Lemonade Popsicles.
In this blog post, I shared how to make Cherry Lemonade Popsicles. We covered the need for fresh and quality ingredients, plus some tasty add-ins. I provided step-by-step instructions, helpful tips, and fun flavor variations. Remember to store your popsicles well to keep them fresh and tasty. You can adjust sweetness and experiment with different fruits. Making these treats is easy and fun. Enjoy your popsicles on a hot day or any time you crave a cool snack!


