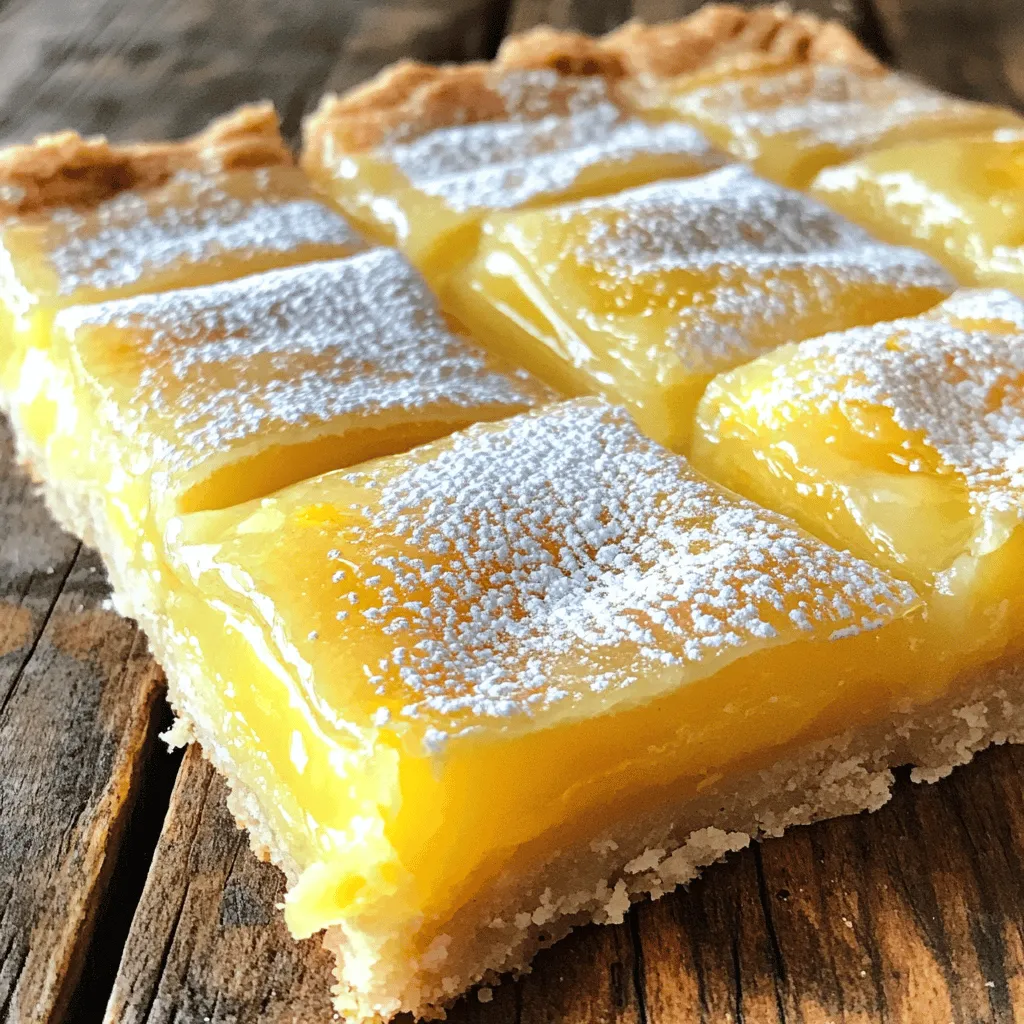
Lemon bars are the perfect blend of tart and sweet, making them a favorite dessert. With just a few simple ingredients, you can whip up a batch that brightens any day. In this easy recipe, I’ll guide you through each step, from making a buttery crust to preparing a smooth, zesty filling. You’ll impress friends and family with this tasty treat, and they’ll be asking for seconds! Let’s get started!
Ingredients
List of Required Ingredients
– 1 cup all-purpose flour
– 1/2 cup powdered sugar
– 1/4 cup unsalted butter
– 1/2 teaspoon salt
– 2 large eggs
– 1 cup granulated sugar
– 1/4 cup fresh lemon juice
– Zest of 1 large lemon
– 1/2 teaspoon baking powder
To make classic lemon bars, you need simple ingredients that pack a punch. Each ingredient plays a key role in creating the perfect balance of sweet and tart.
Optional Ingredients for Enhanced Flavor
– Extra lemon zest for garnishing
– Fresh berries for serving
While the basic recipe shines, a touch of extra lemon zest can brighten the flavor. Fresh berries, like raspberries or blueberries, add a lovely color and taste. They make the dessert feel special and inviting.You will enjoy making these lemon bars as much as you enjoy eating them!
Step-by-Step Instructions
Preheating and Preparing the Baking Dish
Preheat your oven to 350°F (175°C). While it heats, prepare an 8×8-inch baking dish. Lightly grease the dish and line the bottom with parchment paper. Make sure the paper hangs over the sides. This helps with easy removal later.
Making the Crust
In a medium mixing bowl, combine:
– 1 cup all-purpose flour
– 1/2 cup powdered sugar
– 1/4 cup unsalted butter, melted
– 1/2 teaspoon salt
Mix these ingredients using a fork or your fingers. You want it to look like coarse crumbs. Press this mixture evenly into the bottom of your prepared baking dish.
Baking and Cooling
Place the baking dish in the preheated oven. Bake the crust for 15-18 minutes. It should be lightly golden around the edges. Once baked, take it out and let it cool slightly before you add the filling.
Preparing the Lemon Filling
In a separate bowl, whisk together:
– 2 large eggs
– 1 cup granulated sugar
– 1/4 cup fresh lemon juice
– Zest of 1 large lemon
– 1/2 teaspoon baking powder
Make sure the mixture is smooth and free of lumps. This step is key for a creamy filling.
Final Baking Process
Pour the lemon filling over your slightly cooled crust. Spread it evenly. Place the baking dish back in the oven. Bake for another 20-25 minutes. The filling should set and turn a light golden color when done.
Cooling and Slicing
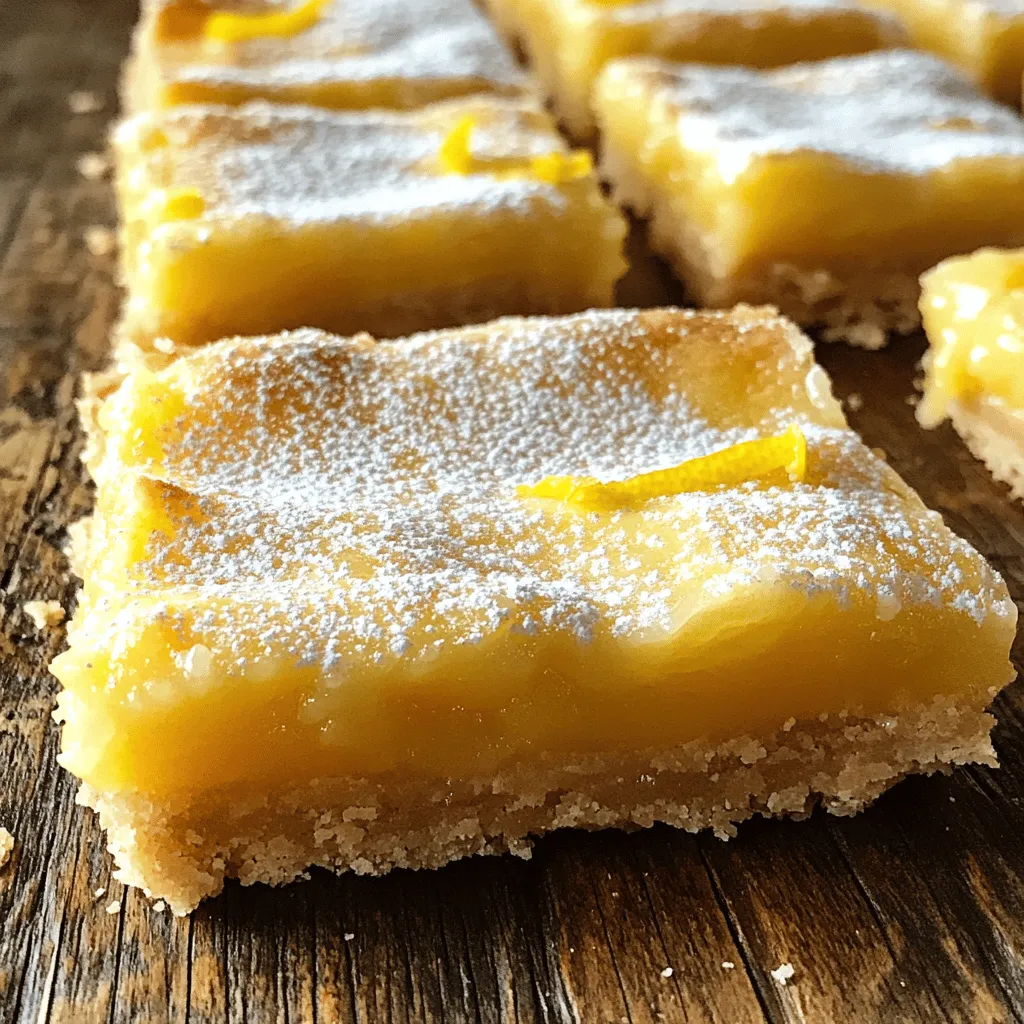
After baking, let the lemon bars cool completely on a wire rack. This helps them set well and makes cutting easier. Once cool, use the parchment overhang to lift them out. Cut into squares or rectangles. Before serving, dust the tops with extra powdered sugar for a nice touch.
Tips & Tricks
Tips for Perfect Lemon Bars
– Use room temperature eggs for a smoother filling.
– Ensure the crust is adequately cooled before adding filling. This step helps keep the crust firm.
Common Mistakes to Avoid
– Not baking the crust long enough can lead to a soggy base.
– Overmixing the lemon filling makes it less airy. Blend just until smooth.
Serving Suggestions
– Dust with powdered sugar for a sweet finish.
– Serve with a dollop of whipped cream or fresh fruit for added flavor and texture.
These tips will help you create the best lemon bars. Try these suggestions for a delightful treat!
Variations
Flavor Variations
You can play with flavors in your lemon bars. Here are two favorites:
– Coconut lemon bars: Add shredded coconut to the filling. This gives a tropical twist and a chewy texture. Use unsweetened coconut for a balanced flavor.
– Blueberry lemon bars: Mix in fresh or frozen blueberries. They add color and a sweet burst. Just fold them gently into the lemon filling.
Alternative Sweeteners
If you want to change the sweetness, try these options:
– Using honey or agave syrup instead of sugar: Both honey and agave syrup can add a unique flavor. Use about three-quarters of a cup for each cup of sugar. Adjust to taste, as they are sweeter.
– Gluten-free flour substitutions: You can use almond flour or coconut flour. They make the bars gluten-free. Keep in mind that the texture may change slightly.
Different Crust Options
Switching up the crust can give your lemon bars a new twist:
– Graham cracker crust: This classic option is sweet and crunchy. Just crush the crackers and mix them with melted butter. Press it firmly into the pan for a sturdy base.
– Almond flour crust for a low-carb option: Almond flour is great for a low-carb diet. Mix it with melted butter and a bit of sweetener. This crust is nutty and delicious.
These variations allow you to customize your lemon bars. Feel free to mix and match to find your favorite.
Storage Info
How to Store Lemon Bars
To keep your lemon bars fresh, store them in the fridge. Place the bars in an airtight container. This will help keep moisture out and preserve their taste. Line the container with parchment paper. This makes it easy to lift out the bars later. You can also cover the dish tightly with plastic wrap if you prefer.
Freezing Lemon Bars
If you want to save some lemon bars for later, freezing is a great option. First, cut the bars into squares. Then, wrap each piece in plastic wrap. Place them in an airtight container or a freezer bag. Make sure to remove as much air as possible. You can freeze them for up to three months. When you’re ready to eat, thaw them in the fridge overnight.
Shelf Life
Lemon bars last about one week in the fridge. Keep an eye on them for signs of spoilage. If you see any mold or changes in color, it’s best to throw them out. A strong, off smell is also a sign they may have gone bad. For the best taste, enjoy them fresh!
FAQs
What is the best way to cut lemon bars?
To cut lemon bars well, first cool them completely. Then, lift them out of the pan using the parchment paper. Use a sharp knife for clean cuts. Wipe the knife with a damp cloth after each cut. This step helps keep the edges neat. For even squares, mark your cuts lightly before slicing.
Can I make lemon bars ahead of time?
Yes, you can make lemon bars ahead of time. They taste great after a day in the fridge. Just store them in an airtight container. This helps keep them fresh. You can prepare them up to three days ahead of serving. It makes them a great choice for parties or gatherings.
How do I know when my lemon bars are done?
Lemon bars are done when the filling is set. Look for a light golden color on top. You can also gently shake the pan. If the filling jiggles slightly in the center, it’s ready. Let them cool fully for the best texture before cutting.
Can I substitute ingredients in this recipe?
Yes, you can swap some ingredients. For a gluten-free option, use almond flour. Instead of granulated sugar, try honey or agave syrup. If you want a richer taste, use brown sugar. Just remember, these changes may shift the flavor and texture a bit. Experiment and find what works for you!
In this post, I shared how to make delicious lemon bars. We covered ingredients, step-by-step instructions, and tips for perfect results. Remember to use room temperature eggs and cool your crust fully. Feel free to explore variations, too! These bars are great for sharing or enjoying at home. Following these steps will help you create a treat everyone will love. Enjoy your baking!


