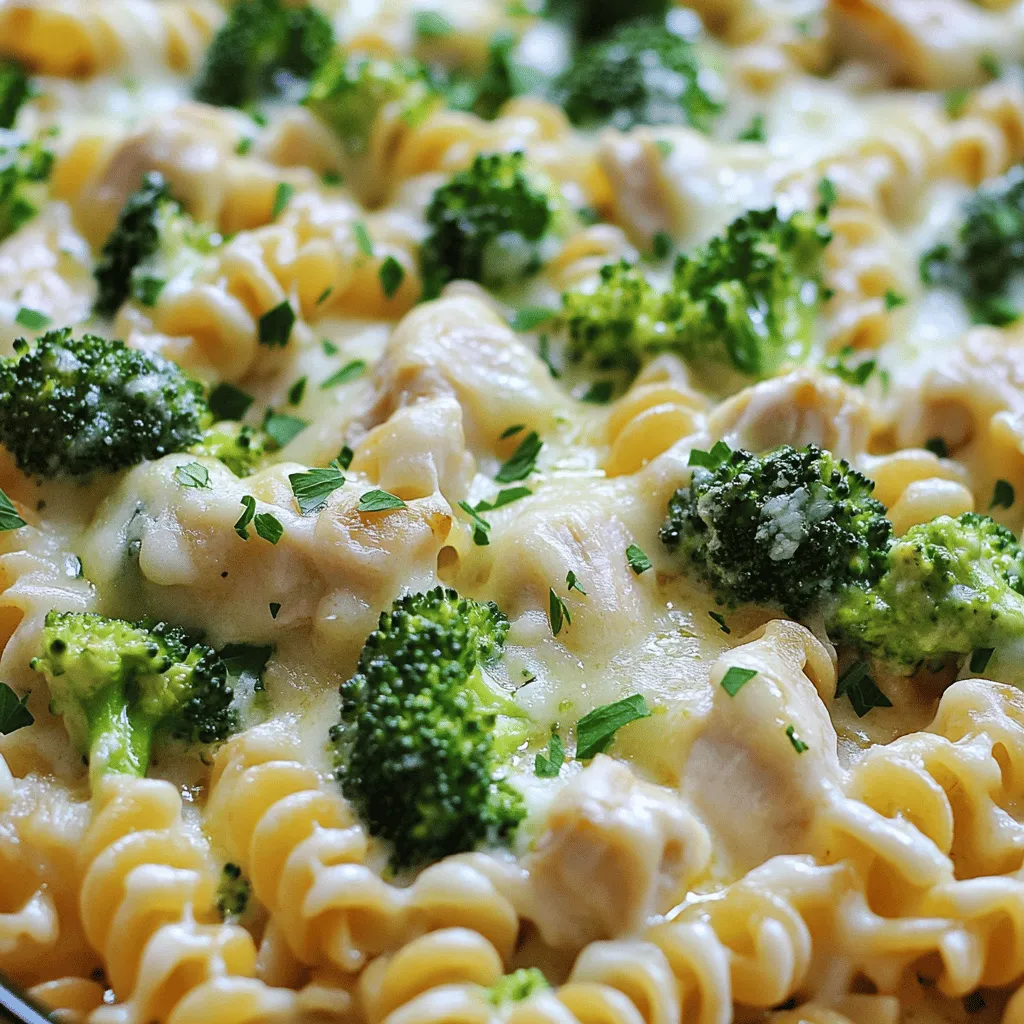
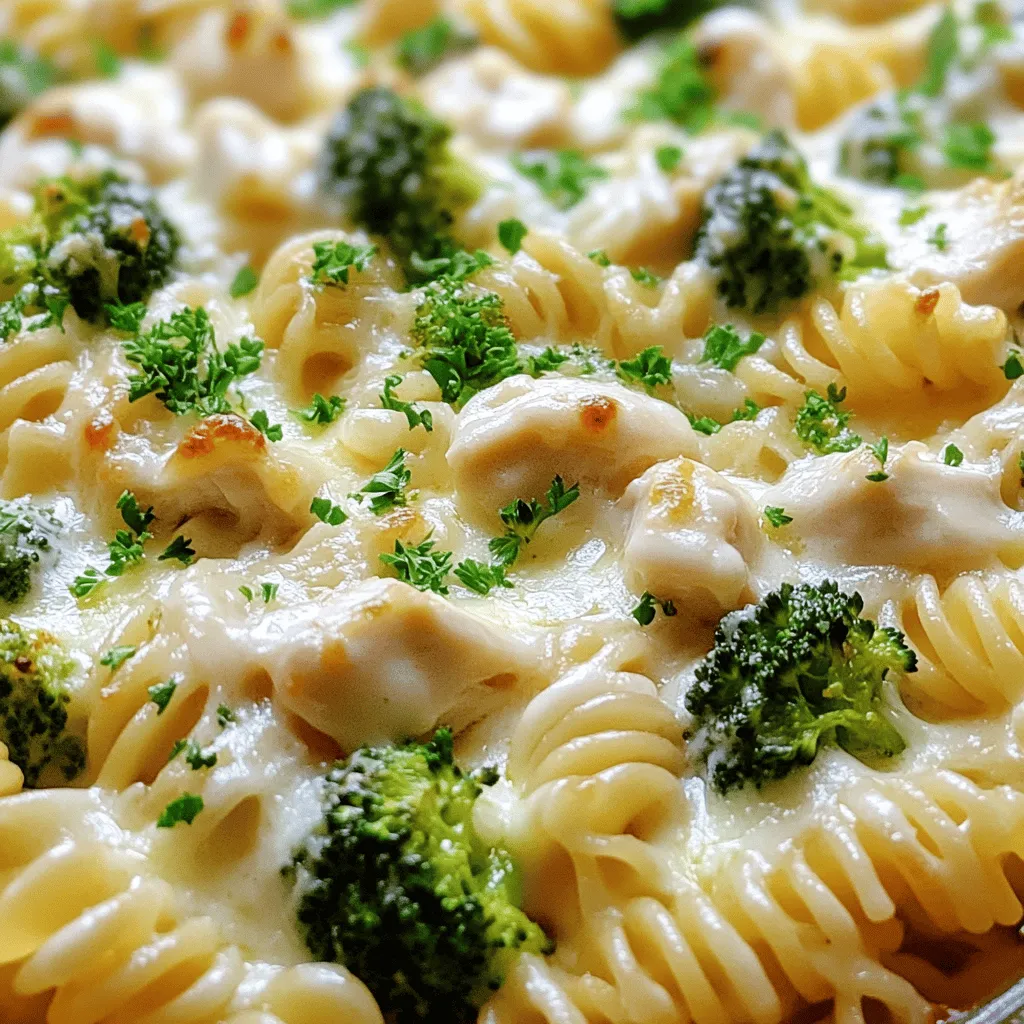
Are you ready to impress your family with a dish they’ll love? My Creamy Chicken Alfredo Bake combines tender chicken, pasta, and broccoli in a dreamy Alfredo sauce, topped with bubbling cheese! This easy recipe is perfect for any night of the week. Plus, it’s a hit with kids and adults alike. Let’s dive into the tasty details and make your next family meal unforgettable!
Ingredients
Main Ingredients
– 3 cups cooked rotini pasta
– 2 cups cooked chicken breast, diced
– 2 cups broccoli florets (fresh or frozen)
– 1 cup Alfredo sauce (store-bought or homemade)
– 1 cup shredded mozzarella cheese
– 1 cup grated Parmesan cheese
Seasoning and Additional Ingredients
– 1 teaspoon garlic powder
– 1 teaspoon Italian seasoning
– Salt and pepper to taste
– 2 tablespoons olive oil
– Fresh parsley, chopped (for garnish)
I love how these ingredients come together to make a dish that feels special yet simple. Each bite offers creamy goodness, and the chicken adds protein to keep you satisfied. The broccoli gives a nice crunch and color too.
To make this dish stand out, I often use fresh ingredients whenever I can. Fresh chicken and broccoli make a big difference in flavor. You can even make your Alfredo sauce from scratch if you have the time. It’s fun to experiment with flavors and textures.
The seasoning is key. Garlic powder and Italian seasoning bring warmth and depth. I always taste and adjust salt and pepper to fit my preference.
Remember, you can customize this dish. Swap out the rotini pasta for any pasta shape you love. You can also mix in other veggies or try different cheeses. This makes it fun to create your version of Creamy Chicken Alfredo Bake.Enjoy cooking and making it your own!
Step-by-Step Instructions
Preparation
– Preheat the oven to 375°F (190°C).
– In a large mixing bowl, combine the cooked rotini pasta, diced chicken, and broccoli florets. This mix forms the heart of your bake.
Sauce Preparation
– In another bowl, whisk together the Alfredo sauce, garlic powder, Italian seasoning, and salt and pepper. This sauce brings rich flavor to the dish.
Assembly and Baking
– Pour the sauce over the pasta, chicken, and broccoli. Toss gently until everything is coated.
– Grease a 9×13 inch baking dish. Transfer the pasta mixture to the dish, spreading it evenly.
– Sprinkle the shredded mozzarella and grated Parmesan cheese over the top. This adds a tasty cheesy layer.
– Drizzle olive oil over the cheese to boost flavor and help it brown.
– Cover the dish with aluminum foil. Bake for 25 minutes.
– After 25 minutes, remove the foil. Continue baking for 10-15 more minutes. The cheese should bubble and turn golden brown.
– Once baked, take it out and let it cool for a few minutes. Garnish with freshly chopped parsley for a splash of color.
Tips & Tricks
Cooking Tips
To ensure even cooking of the pasta, always boil it until it is al dente. This helps keep the pasta firm during baking. If you cook it too soft, it will become mushy later. Stir the pasta often while it cooks to keep it from sticking.
To prevent the dish from drying out, cover it with aluminum foil while baking. This traps steam and keeps the creamy sauce rich and moist. Remove the foil for the last part of baking to let the cheese brown nicely.
Flavor Enhancements
For extra flavor, try adding spices like paprika or crushed red pepper. Fresh herbs such as basil or thyme can also brighten the dish. You can even mix in some sautéed mushrooms or spinach for depth.
If you want to vary cheese types, consider mixing in gouda or cheddar. These cheeses melt well and add unique flavors. You can also use a blend of cheeses for a richer taste.
Presentation Tips
Serve the creamy bake straight from the dish for a cozy feel. Top with extra grated Parmesan for a nice touch. Fresh parsley adds a pop of color and freshness.
Pair the bake with garlic bread or a simple green salad. These sides balance the richness and add a nice crunch. Enjoy your meal with family or friends for a comforting dinner!
Variations
Ingredient Swaps
You can switch out pasta types in this dish. Use penne, fusilli, or even whole wheat pasta. Each type brings its own twist. Feel free to try gluten-free pasta if needed. It cooks well and tastes great too.
You can also change the protein. Instead of chicken, add shrimp or even tofu. Shrimp cooks fast and adds a sweet flavor. Tofu is perfect for a vegan option. It soaks up the sauce’s taste and adds protein.
Dietary Adjustments
If you want a gluten-free version, use gluten-free pasta and check your sauce. Many brands offer gluten-free Alfredo sauce. This makes the dish safe for those with gluten issues.
For a low-fat option, use low-fat cheese and a lighter Alfredo sauce. You can also skip the cheese on top. This keeps the taste while reducing calories.
Seasonal Variations
Seasonal veggies can brighten your dish. In spring, add asparagus or peas. In fall, use squash or spinach. These veggies add color and taste.
For holiday themes, consider adding cranberries or pecans for a festive twist. This makes the dish special for celebrations. You can even change the cheese to something more seasonal, like goat cheese.
Explore these variations to make Creamy Chicken Alfredo Bake your own.
Storage Info
Storing Leftovers
To store your Creamy Chicken Alfredo Bake, let it cool first. Place leftovers in an airtight container. This keeps the dish fresh and tasty. You can store it in the fridge for about 3 to 4 days. Make sure to label the container with the date. This helps you remember when you made it.
Freezing Options
If you want to freeze the dish, follow these steps. First, let the bake cool completely. Then, wrap it tightly in plastic wrap or aluminum foil. Place it in a freezer-safe container. You can freeze it for up to 3 months. To reheat, thaw it in the fridge overnight. Then, bake at 350°F (175°C) until hot, about 25-30 minutes.
Shelf Life
In the fridge, the Creamy Chicken Alfredo Bake lasts about 3 to 4 days. In the freezer, it can last up to 3 months. To check for spoilage, look for signs like bad smells or visible mold. If it looks or smells off, it’s best to throw it away. Keeping track of storage time helps you enjoy this dish at its best!
FAQs
What can I serve with Creamy Chicken Alfredo Bake?
You can serve many tasty side dishes with Creamy Chicken Alfredo Bake. Here are a few ideas:
– Garlic bread: It’s soft and buttery, perfect for dipping.
– Caesar salad: The crisp greens and creamy dressing balance the rich bake.
– Steamed vegetables: Broccoli or green beans add color and nutrition.
– Roasted potatoes: They offer a crunchy texture and pair well with the creamy dish.
These sides make your meal more enjoyable and add variety to your plate.
Can I make this recipe ahead of time?
Yes, you can make Creamy Chicken Alfredo Bake ahead. Here’s how:
– Prep the bake: Follow the recipe steps until you cover the dish with foil.
– Refrigerate: You can store it in the fridge for up to 24 hours.
– Baking: When ready, bake it straight from the fridge but add 10-15 minutes to the time.
– Reheating: If you have leftovers, reheat in the oven at 350°F (175°C) until warm.
This method saves time and makes dinner easy.
Is this recipe kid-friendly?
Absolutely! Creamy Chicken Alfredo Bake is a hit with kids. To make it even more appealing:
– Cut chicken into fun shapes: Use cookie cutters for stars or hearts.
– Add favorite veggies: If your kids like carrots or peas, mix them in.
– Serve with a side: Kids love to dip! Pair with ranch or marinara sauce.
These tweaks can make the dish more fun for picky eaters.
How can I make it spicier?
If you want some heat in your Creamy Chicken Alfredo Bake, try these tips:
– Add red pepper flakes: Just a pinch can add a nice kick.
– Mix in hot sauce: Include a tablespoon of your favorite hot sauce in the Alfredo.
– Use spicy sausage: Swap the chicken for spicy Italian sausage for extra flavor.
These options will make your dish exciting for those who love spice!
You now have a complete guide to making a Creamy Chicken Alfredo Bake. From understanding the key ingredients to mastering step-by-step instructions, you’ve seen how simple it can be. I shared tips to enhance flavor, variations for dietary needs, and storage methods to keep leftovers fresh. This dish is not just easy; it’s also versatile and can please many tastes. Enjoy the cooking process and make it your own!