Looking for a vibrant and satisfying dish? Try my Crispy Chickpea Salad! This recipe transforms basic ingredients into a fresh, flavorful delight. With crispy roasted chickpeas, crunchy veggies, and zesty lime, every bite bursts with taste. It’s perfect for lunch or as a side. Plus, it’s easy to make! Let’s dive into the step-by-step guide to create this delicious salad that everyone will love.
Ingredients
– 1 can (15 oz) chickpeas, drained and rinsed
– 2 tablespoons extra virgin olive oil
– 1 teaspoon smoked paprika
– 1 teaspoon garlic powder
– Salt and freshly ground black pepper to taste
– 1 cup cherry tomatoes, halved
– 1 cucumber, diced
– 1 bell pepper, diced
– ¼ red onion, finely chopped
– 1 ripe avocado, diced
– ¼ cup fresh cilantro or parsley, finely chopped
– Juice of 1 lime
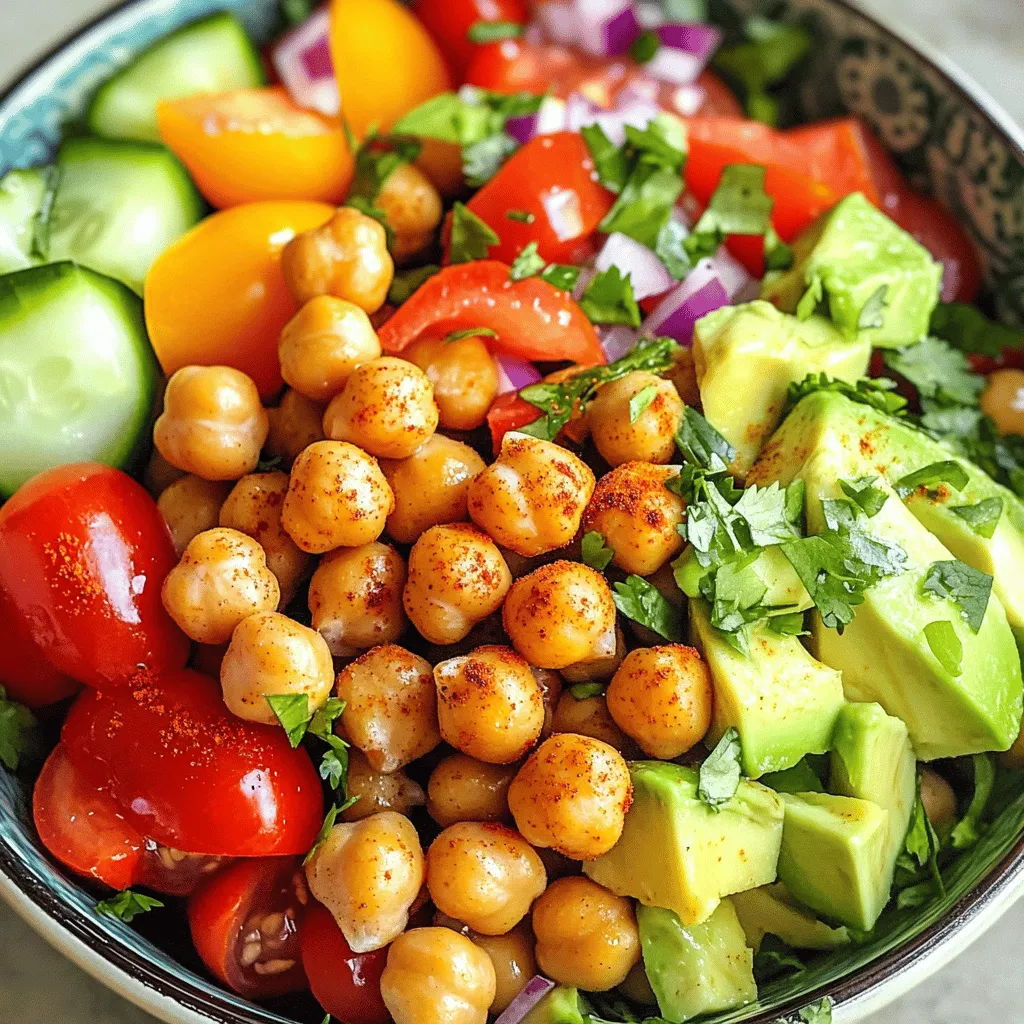
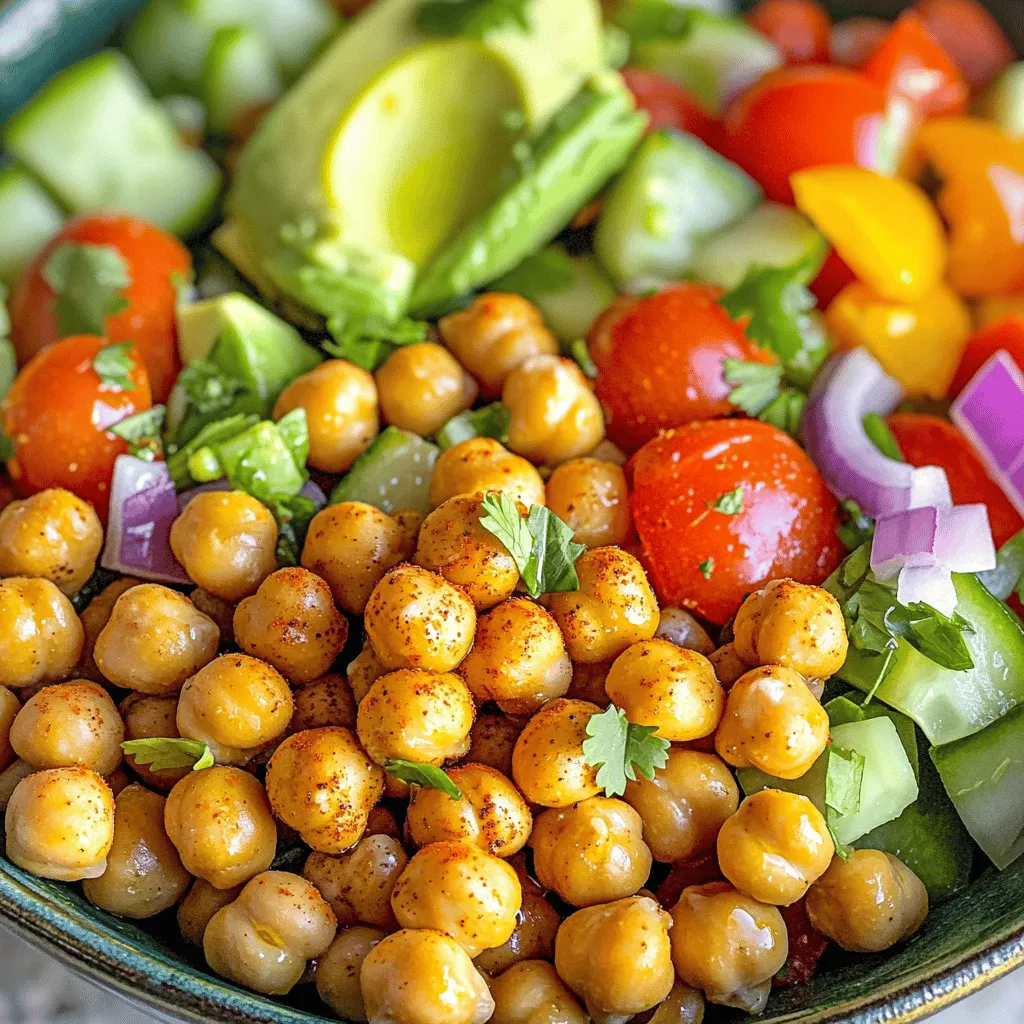
You need just a few simple ingredients to make this crispy chickpea salad. First, grab a can of chickpeas. These are the stars of the show! They give this salad a great crunch. Use extra virgin olive oil to roast them. It adds flavor and helps them crisp up.
Next, season with smoked paprika and garlic powder. These spices bring warmth and depth to your salad. Don’t forget salt and black pepper to taste. They enhance every bite.
For the fresh part, gather cherry tomatoes, cucumber, and bell pepper. These add sweetness, crunch, and color. A bit of red onion gives a mild kick. The creamy avocado adds richness and balances the dish.
Fresh herbs like cilantro or parsley brighten the salad. Finally, a squeeze of lime juice ties all the flavors together. This combination makes a fresh and flavorful delight.
Step-by-Step Instructions
Preheating and Preparing Chickpeas
– Step 1: Preheat your oven to 400°F (200°C). This helps the chickpeas get nice and crispy.
– Step 2: Pat the chickpeas dry with a paper towel. This step removes excess water. Spread them evenly on a baking sheet.
– Step 3: Drizzle two tablespoons of olive oil over the chickpeas. Then, add one teaspoon of smoked paprika, one teaspoon of garlic powder, and salt to taste. Toss the chickpeas to coat them well.
Roasting the Chickpeas
– Step 4: Place the baking sheet in the oven and roast the chickpeas for 25-30 minutes. You want them golden and crunchy.
– Step 5: Halfway through roasting, shake the pan. This helps cook the chickpeas evenly.
Assembling the Salad
– Step 6: In a large mixing bowl, combine one cup of halved cherry tomatoes, one diced cucumber, one diced bell pepper, and a quarter cup of finely chopped red onion.
– Step 7: When the chickpeas are done, let them cool for a few minutes. Then, add them to the bowl. Squeeze the juice of one lime over everything. Toss in a quarter cup of chopped cilantro or parsley.
– Step 8: Gently mix all the ingredients. Be careful not to smash the avocado. Taste and adjust the seasoning if needed. Serve immediately for the best taste.
Tips & Tricks
Achieving Crispy Chickpeas
To get crispy chickpeas, start by drying them well. Wet chickpeas will not crisp up. Use a paper towel to pat them dry after rinsing. This step is key.
For the best flavor, use extra virgin olive oil. Combine it with smoked paprika and garlic powder. These spices add a great taste. Don’t forget salt and pepper for seasoning.
When roasting, spread the chickpeas in a single layer. This helps them cook evenly. Shake the pan halfway through to avoid burning. Roast them for 25 to 30 minutes. Keep an eye on their color.
Serving Suggestions
This crispy chickpea salad pairs well with many dishes. Serve it with grilled chicken or fish for a complete meal. It also works well as a side with soups or wraps.
For dressings, try a simple lime vinaigrette. Just mix lime juice with olive oil. You can also add a dash of honey for sweetness. Other toppings like feta or nuts can add more texture.
Enhancing Flavor
Want to spice things up? Try adding cumin or chili powder to the chickpeas before roasting. These spices can elevate the flavor.
Serve your salad slightly warm or at room temperature. This enhances the taste of the crispy chickpeas and fresh veggies. Enjoy your delightful, crunchy salad!
Variations
Adding Proteins
You can add proteins to your crispy chickpea salad. Grilled chicken or fish makes a nice addition. It brings a savory flavor and helps keep you full. For a vegan option, try chickpea patties or lentils. Both options enhance the dish while keeping it plant-based.
Seasonal Vegetable Changes
Switching up the veggies keeps this salad fresh. In summer, add zucchini or corn for a sweet crunch. In fall, roasted sweet potatoes or Brussels sprouts add warmth. You can also try radishes for a peppery bite or spinach for a leafy touch. This way, you can enjoy different flavors with each season.
Dressing Variations
Dressing can change the whole flavor of your salad. A classic lemon vinaigrette works great. Just mix lemon juice, olive oil, salt, and pepper. You can also try tahini or yogurt-based dressings for creaminess. For a spicy kick, add some sriracha to your vinaigrette. Each dressing brings a new taste experience to your crispy chickpea salad.
Storage Info
How to Store Leftovers
To keep your crispy chickpea salad fresh, refrigerate it right away. Use an airtight container to prevent moisture. If you have extra chickpeas, store them separately. This keeps them crunchy. I recommend using glass containers. They help you see what’s inside and keep flavors intact.
Reheating Tips
If you want to reheat the chickpeas, do it in the oven. Preheat it to 350°F (175°C). Spread the chickpeas on a baking sheet. Heat for about 10 minutes until warm. Avoid using the microwave. It can make the chickpeas soft. If you stored the salad, it’s best to eat it cold. This keeps the veggies crisp.
Shelf Life
Your salad will last about 3 to 4 days in the fridge. Look for signs like a bad smell or soggy veggies. If the colors fade or the chickpeas lose their crunch, it’s time to toss it. Always check before eating to stay safe. Enjoy every bite while it’s fresh!
FAQs
Can I make this salad in advance?
Yes, you can make this salad ahead of time. To keep it fresh, store the chickpeas and vegetables separately. This way, the chickpeas stay crispy. Mix them together just before serving. If you want to prep the salad, chop the veggies a day before. Just make sure to keep them in the fridge to stay fresh. You can also squeeze the lime juice on top right before serving. This will keep everything tasting bright and fresh.
What can I use instead of chickpeas?
If you want an alternative to chickpeas, you have options! You can use black beans or kidney beans. Both add great flavor and protein. Lentils are another good choice. They cook quickly and add a nice texture. Try using cooked quinoa for a different twist. Each option brings its own taste and texture, making the salad fun and new.
Is this salad gluten-free?
Yes, this salad is gluten-free! All the ingredients used are safe for a gluten-free diet. Chickpeas, veggies, and lime juice contain no gluten. Always check the labels of your packaged items, like spices. Some brands may add gluten ingredients. But if you stick to whole foods, you’re good to go! Enjoy this salad without worry.
This salad combines tasty ingredients and easy steps. We started with chickpeas, roasted them to perfection, and added fresh veggies. I shared tips for crispy chickpeas and ideas for variations and storage.
You can enjoy this dish any time. Whether you follow the recipe or switch it up, it’s always a hit. Try it today and discover a new favorite!