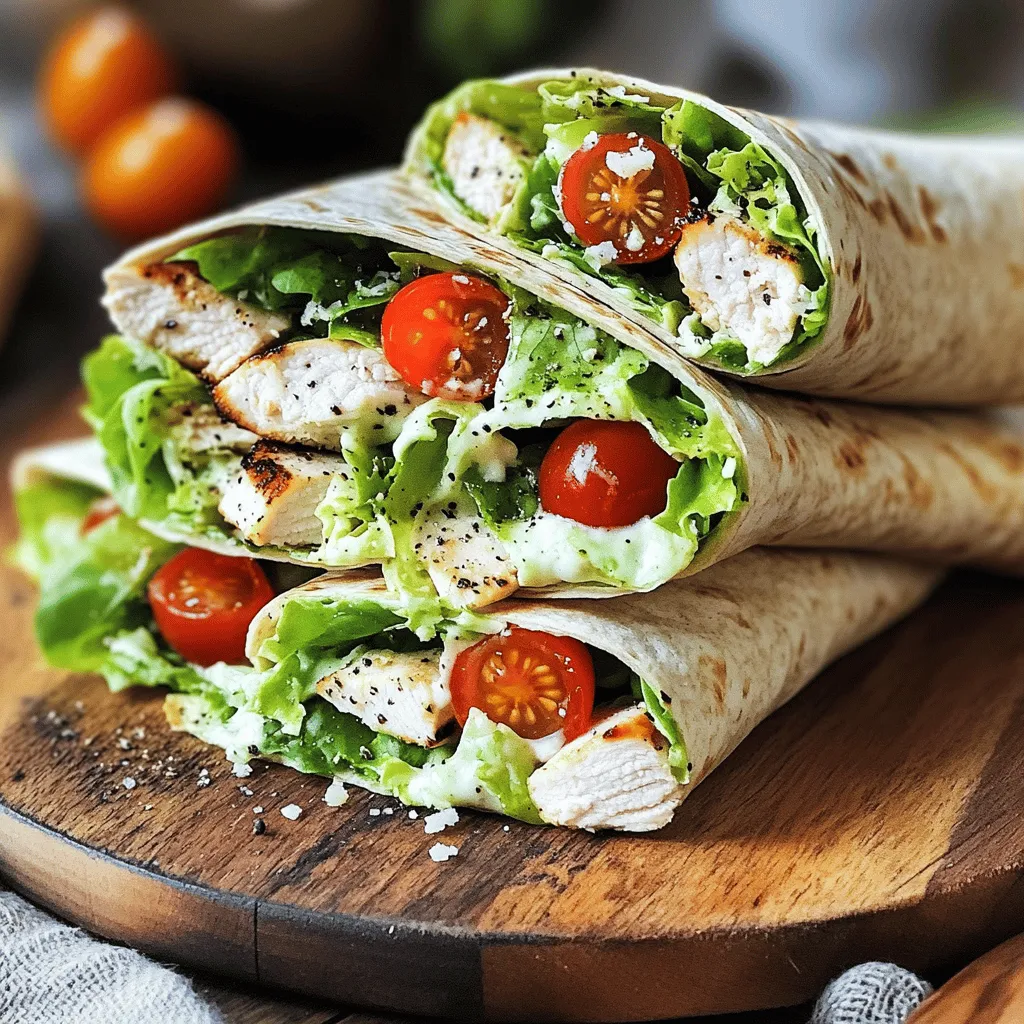
Are you craving something quick, tasty, and healthy? Grilled Chicken Caesar Wraps are just what you need! With juicy chicken, crisp romaine, and creamy Caesar dressing wrapped in a whole wheat tortilla, these wraps are packed with flavor. In this guide, I’ll share easy steps and tips to make these wraps perfect for lunch or dinner. Let’s get grilling!
Ingredients
Main Ingredients for Grilled Chicken Caesar Wraps
– 2 large boneless, skinless chicken breasts
– 4 large whole wheat tortillas
– 2 cups Romaine lettuce, chopped into bite-sized pieces
– ½ cup Caesar dressing (store-bought or homemade)
– ½ cup grated Parmesan cheese
Seasoning and Preparation Ingredients
– 1 tablespoon olive oil
– 1 teaspoon garlic powder
– 1 teaspoon Italian seasoning
– Salt and freshly ground black pepper to taste
To make these wraps, you need fresh, tasty ingredients. The chicken is the star here. I like to use boneless, skinless breasts. They cook evenly and keep the wraps light. Whole wheat tortillas add fiber and flavor. When you choose your lettuce, Romaine gives a nice crunch.
For the dressing, you can use store-bought Caesar or make your own. I often lean toward homemade for a fresher taste. Parmesan cheese adds that salty, creamy touch.
Now let’s talk about the seasoning. Olive oil helps the chicken grill beautifully. Garlic powder and Italian seasoning bring out great flavors. Don’t forget salt and pepper. They help enhance all the other tastes.
With these ingredients, you create a meal packed with flavor.
Step-by-Step Instructions
Preparing the Chicken
– Marinating the Chicken
First, I coat the chicken breasts with olive oil. I sprinkle each breast with salt, black pepper, garlic powder, and Italian seasoning. This step takes about 15 minutes. It helps to bring out the flavors in the chicken.
– Preheating the Grill
While the chicken marinates, I preheat my grill to medium-high heat. This is important for getting nice grill marks and cooking the chicken evenly.
Grilling Process
– Cooking Time and Temperature
Once the grill is ready, I place the marinated chicken on it. I cook the chicken for 6-7 minutes on each side. I check the internal temperature to ensure it reaches 165°F (75°C). This guarantees the chicken is cooked through and safe to eat.
– Resting the Chicken
After grilling, I remove the chicken from the grill and let it rest for 5 minutes. Resting keeps the juices in the chicken, making it tender and juicy when I slice it.
Assembling the Wrap
– Mixing the Filling Ingredients
In a large bowl, I combine chopped Romaine lettuce, Caesar dressing, grated Parmesan cheese, and halved cherry tomatoes. I toss everything gently. This creates a tasty filling for the wraps.
– Wrapping Technique
I take a whole wheat tortilla and lay it flat. I add a portion of the lettuce mixture and some sliced grilled chicken in the center. I fold the sides inward, then roll from the bottom up. This keeps everything secure as I wrap it up.
With these steps, you can easily make Grilled Chicken Caesar Wraps that are packed with flavor.
Tips & Tricks
Perfecting the Grilled Chicken
Tips for Marinating
To make the chicken tasty, start with a good marinade. Use olive oil, salt, pepper, garlic powder, and Italian seasoning. Let the chicken sit in this mix for about 15 minutes. This makes the chicken juicy and full of flavor.
Achieving Optimal Grill Marks
For great grill marks, heat your grill to medium-high. Place the chicken on the grill and don’t move it for 6-7 minutes. Then, flip it and do the same on the other side. This gives you those nice lines and seals in the juices.
Serving Suggestions
Presentation Ideas
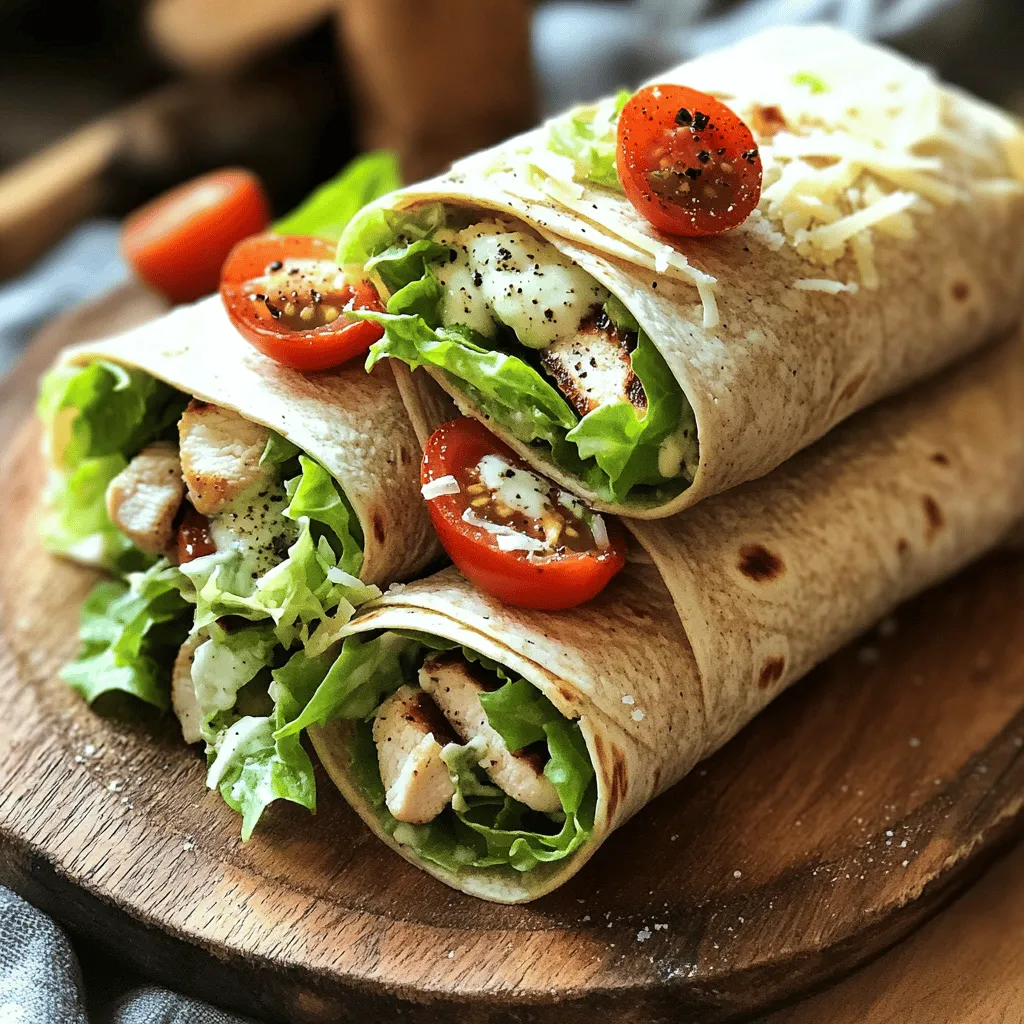
When serving, lay the wraps on a rustic platter. Cut each wrap in half at a diagonal. This makes them look nice and easy to grab. Add a few halved cherry tomatoes on the side for color. A small bowl of Caesar dressing makes a great dip.
Pairing with Sides
You can pair these wraps with a fresh salad or crispy sweet potato fries. A side of fruit salad also works well. These sides balance the meal and add more flavors.
Storing Leftovers
Ideal Storage Conditions
Store any leftover wraps in an airtight container. Place them in the fridge to keep them fresh. They last well for up to three days.
Reheating Techniques
To reheat, unwrap the chicken. Heat it in a pan over medium heat for about five minutes. This keeps the wrap crispy. You can also use a microwave but be careful; it can make the wrap soggy.
Variations
Alternative Proteins
Substituting Chicken
You can easily swap chicken for turkey. Turkey breast works great and tastes just as good. If you want a richer flavor, try grilled shrimp. It adds a nice twist to the wrap.
Plant-Based Options
For a plant-based meal, consider using grilled tofu or tempeh. Both absorb flavors well and provide a hearty texture. You can also use chickpeas for a protein-packed option. They add a nice crunch when you roast them first.
Different Dressings and Add-ins
Using Homemade Dressing
Making your own Caesar dressing can boost the flavor. Mix garlic, anchovy paste, lemon juice, and olive oil for a fresh taste. Add some Dijon mustard for a little kick. This homemade dressing elevates your wrap.
Adding Extra Vegetables
Feel free to add more veggies. Spinach, bell peppers, or red onions work well. They add color and crunch. Try adding avocado for creaminess. It makes your wrap more filling and tasty.
Flavor Twists
Spicy Variants
For spice lovers, add hot sauce or diced jalapeños. This gives the wrap a nice heat. You can also use chipotle seasoning to add a smoky flavor.
Herbed Variants
For a fresh taste, add herbs like cilantro or basil. These herbs brighten up the wrap. You can even use pesto instead of Caesar dressing for a fun change. It’s a delicious twist that you’ll love.
This recipe allows for endless creativity. Explore these variations to find your perfect wrap!
Storage Info
Best Practices for Storage
– Refrigeration Tips: After you make your Grilled Chicken Caesar Wraps, let them cool down first. Wrap each one in plastic wrap or foil. Put them in an airtight container. This keeps them fresh and tasty in the fridge. They can stay good for about three to four days. Always store them in the main part of the fridge, not on the door.
– Freezing Recommendations: If you want to keep your wraps longer, freeze them. Wrap each wrap tightly in plastic wrap and then in aluminum foil. Place them in a freezer-safe bag. They can last up to three months in the freezer. When you’re ready to eat, thaw them overnight in the fridge. Then, reheat them in the oven or microwave.
Shelf Life
– How Long They Last in the Fridge: Grilled Chicken Caesar Wraps stay fresh in the fridge for up to four days. Check for any signs of spoilage after three days. If they look or smell off, it’s best to toss them.
– Signs of Spoilage: Look for changes in color or texture. If the wraps feel slimy or have an odd odor, they are no longer safe to eat. Always trust your senses. When in doubt, it’s better to be safe and discard them.
FAQs
How to Make Grilled Chicken Caesar Wraps?
To make Grilled Chicken Caesar Wraps, follow these steps:
1. Prepare the Chicken: Start by preheating the grill. Coat the chicken breasts with olive oil, salt, pepper, garlic powder, and Italian seasoning. Let it marinate for 15 minutes.
2. Grill the Chicken: Place the chicken on the grill. Cook for 6-7 minutes on each side until fully cooked. The internal temperature should be 165°F (75°C). Let it rest for 5 minutes.
3. Slice the Chicken: Cut the rested chicken into thin strips.
4. Mix the Filling: In a bowl, combine chopped Romaine lettuce, Caesar dressing, grated Parmesan cheese, and halved cherry tomatoes. Toss until well coated.
5. Assemble the Wraps: Lay a whole wheat tortilla flat. Add the lettuce mixture and sliced chicken in the center.
6. Wrap it Up: Fold the sides of the tortilla inward. Roll it up from the bottom to secure the filling.
7. Serve: Cut each wrap in half and sprinkle with cracked black pepper.
Can I prepare the wrap ahead of time?
Yes, you can prepare Grilled Chicken Caesar Wraps ahead of time. Here are some tips:
– Make the Chicken: Grill the chicken and slice it. Store it in an airtight container in the fridge.
– Prep the Filling: Mix the Romaine lettuce, dressing, cheese, and tomatoes. Keep it separate to avoid sogginess.
– Assemble When Ready: When you are ready to eat, assemble the wraps fresh. This keeps them tasty and crunchy.
What can I serve with Grilled Chicken Caesar Wraps?
Here are some great side dishes and drinks to pair with your wraps:
– Side Dishes:
– Fresh fruit salad
– Crispy potato wedges
– A light vegetable soup
– Caesar salad with extra croutons
– Drinks:
– Iced tea with lemon
– Sparkling water with mint
– A light white wine, like Pinot Grigio
How do you keep the wraps from getting soggy?
To keep your wraps fresh, follow these storage and serving tips:
– Wrap Separately: Store the chicken and filling in separate containers until ready to eat.
– Use Fresh Tortillas: Soft, fresh tortillas hold up better than older ones.
– Add Dressing Last: Spread the Caesar dressing just before serving to avoid sogginess.
– Serve Quickly: Assemble and serve the wraps shortly after making them for the best texture.
Grilled Chicken Caesar Wraps are a tasty and easy meal you can make at home. We covered the main ingredients, including chicken, whole wheat tortillas, and Caesar dressing. You learned step-by-step instructions for preparing, grilling, and assembling the wraps. Tips for perfecting your chicken and serving options enhance the meal.
Feel free to try different proteins, dressings, and storage methods. Enjoy making this dish your own and share it with family and friends.