Are you tired of store-bought granola bars filled with preservatives? You’re in the right place! I’ll show you how to make easy, healthy homemade granola bars that taste amazing and fit your dietary needs. Packed with wholesome ingredients, these bars are perfect for snacks or breakfast. Let’s dive into this simple recipe that will have you feeling good about what you eat. Your taste buds will thank you!
Ingredients
Main Ingredients for Granola Bars
To make delicious granola bars, you need a few key ingredients. Here’s what you’ll need:
– 2 cups rolled oats
– 1 cup unsweetened shredded coconut
– 1/2 cup almond butter (or any nut butter of your choice)
– 1/4 cup honey or maple syrup
– 1/2 cup nuts (like almonds or walnuts), roughly chopped
– 1/2 cup dark chocolate chips or chunks
– 1/4 teaspoon sea salt
– 1/2 teaspoon vanilla extract
These ingredients create a tasty base for your bars. The oats provide fiber, while the nuts add healthy fats. The chocolate gives a sweet touch that everyone loves.
Optional Ingredients and Add-Ins
You can customize your granola bars with optional ingredients. Here are some great add-ins to try:
– 1/4 cup dried fruit (like cranberries, apricots, or raisins)
– Seeds (such as pumpkin or sunflower seeds)
– Spices (like cinnamon or nutmeg)
– Protein powder for an extra boost
Feel free to mix and match these extras. They can enhance flavor and nutrition, making your bars even better!
Nutritional Information
Homemade granola bars are not just tasty; they are healthy too. Here’s a quick look at the benefits:
– Calories: About 150 per bar
– Protein: Around 4 grams
– Fiber: About 3 grams
– Healthy Fats: Thanks to nuts and nut butter
These bars provide energy and keep you full. You can enjoy them as a snack or breakfast. They fit well into a balanced diet!
Step-by-Step Instructions
Preparation Steps Overview
Making granola bars is easy. You will need to gather your ingredients first. The process involves mixing, baking, and cooling. Here’s how to do it.
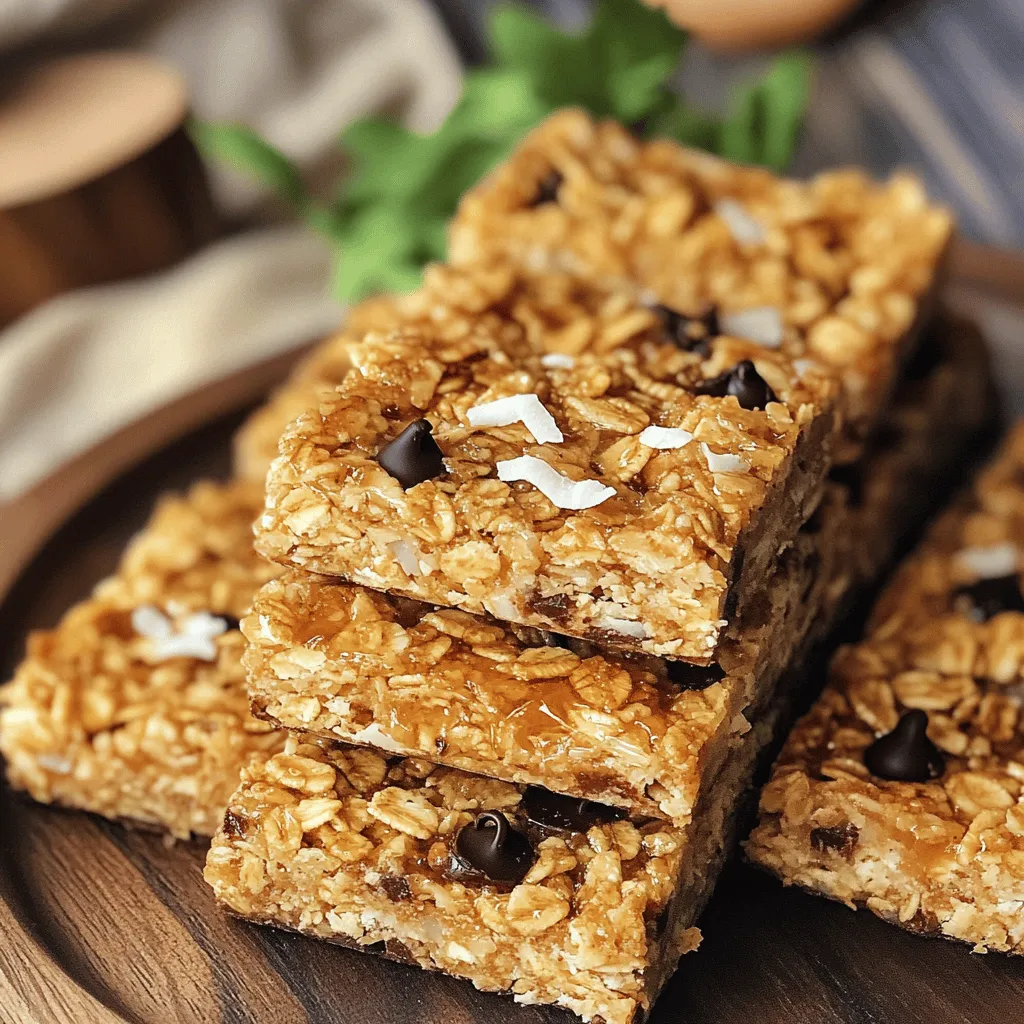
Detailed Instructions for Crunchy Coconut-Chocolate Granola Bars
1. Preheat the Oven: First, set your oven to 350°F (175°C). Line an 8×8 inch baking pan with parchment paper. Let some paper hang over the edges.
2. Mix Dry Ingredients: In a large bowl, combine the rolled oats, shredded coconut, chopped nuts, dark chocolate chips, and sea salt. Stir everything well with a spoon.
3. Combine Wet Ingredients: In a small pot, add the almond butter and honey (or maple syrup). Heat it gently while stirring until it melts. Then, take it off the heat and mix in the vanilla extract.
4. Combine Mixtures: Pour the warm almond butter mix over the dry ingredients. Use a spatula to fold them together gently. If you want, add dried fruits here and mix.
5. Press into Pan: Spoon the mixture into the lined baking pan. Use your hands or a spatula to press it down firmly. Make sure it is compact for better bars.
Baking and Cooling Process
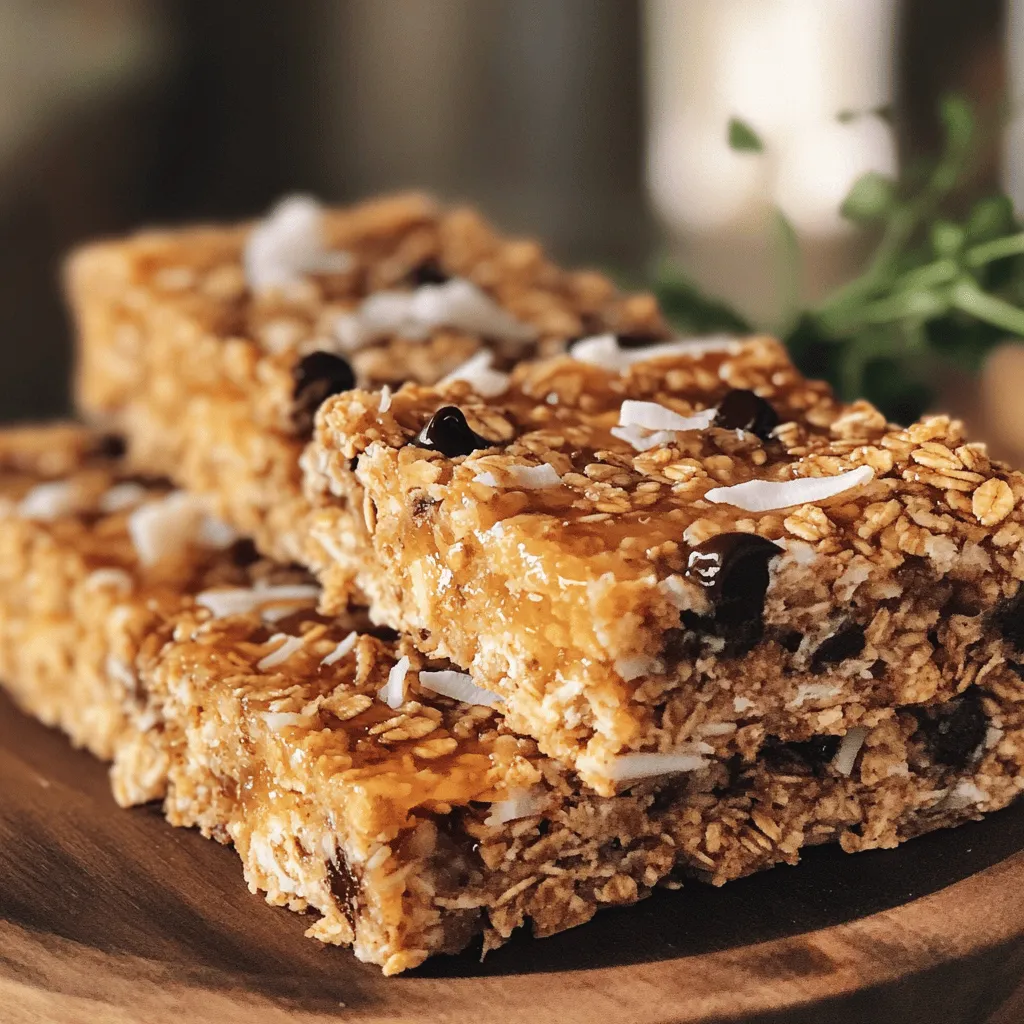
6. Bake: Place the pan in the oven. Bake for about 20-25 minutes. The edges should be a golden brown. Watch closely so they don’t burn.
7. Cool and Slice: Take the pan from the oven and let it cool for 10 minutes. Use the parchment paper to lift the granola out. Place it on a wire rack to cool completely before cutting it into bars.
8. Store: Keep the granola bars in an airtight container. They last a week at room temperature or longer in the fridge.
These steps will help you create delicious granola bars.Enjoy your homemade treat!
Tips & Tricks
Tips for Perfect Texture
To get that perfect crunch, use old-fashioned rolled oats. They hold their shape well. Next, make sure to pack your mixture tightly in the pan. This helps the bars stay together. Bake until the edges turn golden brown, but watch them closely. A few minutes too long can lead to a dry bar. Lastly, let the bars cool completely before slicing. This step is key for a clean cut.
Common Mistakes to Avoid
One common mistake is not measuring ingredients correctly. Use a kitchen scale for accuracy. Another mistake is skipping the pressing step. If the mixture isn’t packed tightly, your bars may crumble. Avoid using too much liquid, as it can make the bars soggy. Lastly, don’t skip the cooling time. Cutting them too soon leads to a messy result.
Serving Suggestions for Homemade Granola Bars
These bars make a great snack anytime! Pair them with yogurt and fresh fruit for a hearty breakfast. You can also crumble them on top of oatmeal for added crunch. For a midday treat, enjoy them with a cup of tea or coffee. Wrap each bar in parchment for easy grab-and-go snacks. You can even serve them at parties, sliced into bite-sized pieces. Everyone loves a homemade treat!
Variations
Vegan and Dairy-Free Options
To make your granola bars vegan, simply swap honey for maple syrup. This change makes the bars plant-based. Use almond butter or any nut butter that is dairy-free. You can also add ingredients like chia seeds or flaxseed for extra nutrition. Both options work well and keep the bars delicious.
Gluten-Free Adjustments
If you need gluten-free granola bars, choose certified gluten-free oats. These oats ensure no cross-contamination occurs. You can also replace regular chocolate chips with gluten-free options. This small change keeps your bars safe for gluten-sensitive friends and family.
Flavor Combinations (Fruit, Nuts, and More)
Feel free to get creative with flavors! Add dried fruits like cranberries or apricots for sweetness. You can mix different nuts, such as almonds, walnuts, or pecans, for added crunch. Try spices like cinnamon or nutmeg for warmth. Each combination brings a unique taste, making every batch a new adventure.
Storage Info
Best Practices for Storing Granola Bars
I love to keep my homemade granola bars fresh and tasty. To do this, I store them in an airtight container. This keeps moisture out and helps them stay crunchy. If you want them to last longer, use wax paper between layers. This prevents sticking.
Shelf Life at Room Temperature vs. Refrigeration
When stored at room temperature, granola bars last about one week. Keep them in a cool, dry place. If you refrigerate them, they can last up to two weeks. Just remember, refrigeration may make them a bit chewy.
Freezing Instructions for Longer Storage
For longer storage, freezing is a great option. Wrap each granola bar in plastic wrap. Then, place them in a freezer-safe bag. They can last for up to three months in the freezer. When you’re ready to eat, just thaw them at room temperature. Enjoy your crunchy coconut-chocolate granola bars whenever you like!
FAQs
How can I make granola bars without nuts?
You can easily make nut-free granola bars. Just skip the nuts and use seeds instead. Sunflower seeds or pumpkin seeds work great. You can also add more dried fruit for flavor and texture. The rest of the recipe stays the same. This way, your bars remain crunchy and tasty.
Can I substitute honey with other sweeteners?
Yes, you can use other sweeteners instead of honey. Maple syrup is a great choice. Agave nectar or brown rice syrup also works well. Each sweetener has a different taste, so feel free to experiment. Just keep the same amount as the honey in the recipe.
What are the health benefits of homemade granola bars?
Homemade granola bars are healthy and full of good stuff. They have fiber from oats, which helps digestion. You control the sugar, so they can be low in added sugars. You can also add seeds or dried fruit for added vitamins and minerals. Eating these bars gives you energy for your day.
How do I customize granola bars for dietary restrictions?
Customizing granola bars is easy! For gluten-free bars, use gluten-free oats. If you need them vegan, swap honey for maple syrup. You can also add or remove ingredients based on allergies or tastes. Just stick to the same basic structure of oats, binder, and sweetener.
This article covered all you need to know about making granola bars. We talked about main and optional ingredients, plus their nutrition. You learned step-by-step instructions for crunchy coconut-chocolate bars. I shared tips for perfect bars and common mistakes to avoid. We explored variations for different diets and great storage practices.
Homemade granola bars are not only tasty but also easy to customize. With these insights, you can make bars that fit your needs and taste. Happy cooking!