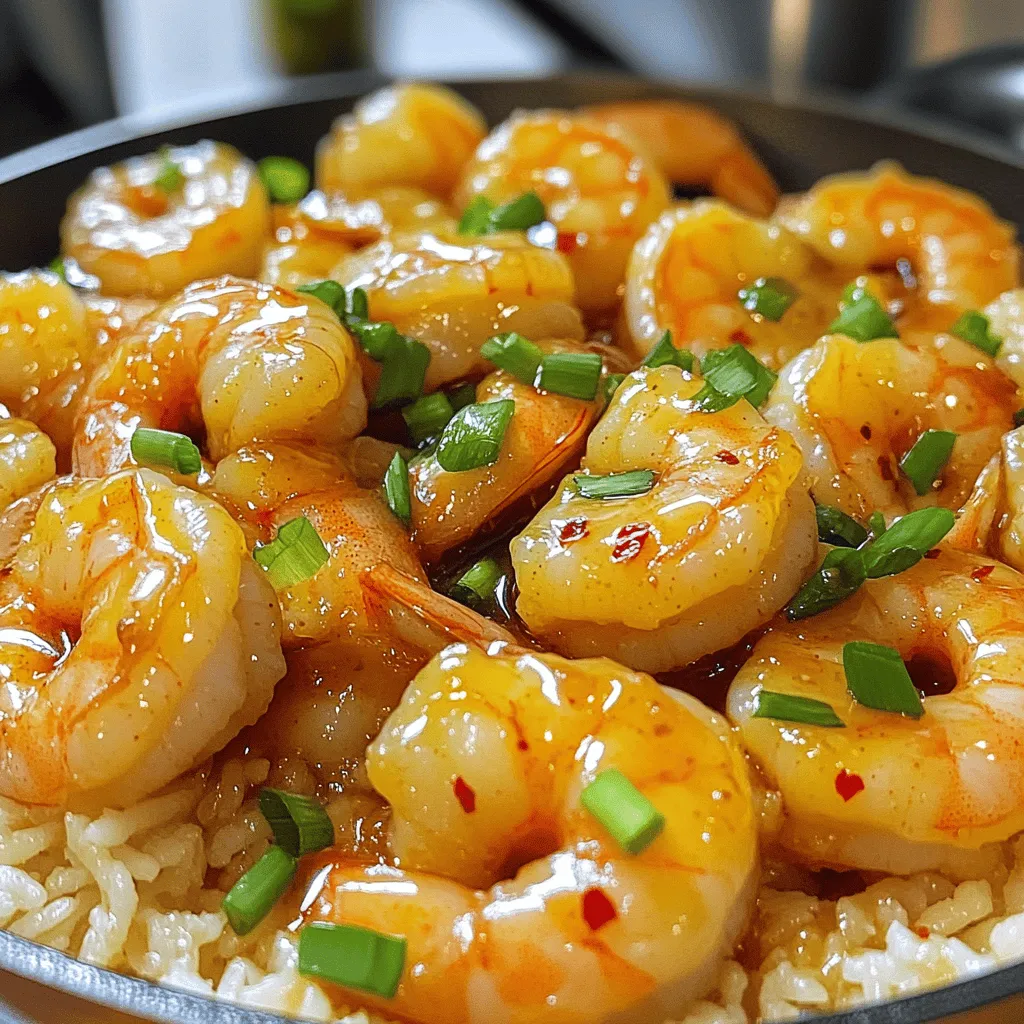
Looking for a quick and tasty dinner idea? Try my Honey Garlic Shrimp Skillet! This dish packs a punch of flavor and can be on your table in under 30 minutes. With simple ingredients like shrimp, honey, and garlic, you’ll impress everyone at the dinner table. Stick around as I guide you through the steps, tips, and variations to make this meal truly your own!
Ingredients
Main ingredients
– 1 pound large shrimp, peeled and deveined
– 1/4 cup honey
– 3 cloves garlic, finely minced
– 2 tablespoons soy sauce
– 1 tablespoon extra virgin olive oil
Optional ingredients
– 1 tablespoon cornstarch (for thicker sauce)
– 1/2 teaspoon red pepper flakes (for a touch of heat)
– Salt and freshly ground black pepper to taste
– 2 green onions, for garnish
– Cooked rice or quinoa, for serving
When I prepare this honey garlic shrimp skillet, I focus on the main ingredients first. Fresh large shrimp, honey, and garlic are key. The shrimp must be peeled and deveined. This makes for a cleaner dish and a better bite.
Honey adds sweetness and richness. It balances the strength of garlic. Minced garlic gives the dish a fragrant aroma. Soy sauce adds depth and umami. I use extra virgin olive oil for cooking because it has a nice flavor.
If you want a thicker sauce, add cornstarch. This makes the sauce cling to the shrimp better. For some heat, a pinch of red pepper flakes does the trick. I like to season with salt and black pepper to enhance the taste.
Garnishing with green onions adds a fresh touch. Finally, serve this dish with cooked rice or quinoa. The grains soak up all the tasty sauce.
Step-by-Step Instructions
Preparation of the sauce
First, grab a medium bowl. In this bowl, combine the following ingredients:
– 1/4 cup honey
– 3 cloves garlic, finely minced
– 2 tablespoons soy sauce
– 1/2 teaspoon red pepper flakes (optional)
If you want a thicker sauce, you can also add:
– 1 tablespoon cornstarch
Whisk all these ingredients together until they are smooth and well mixed. This sauce will bring great flavor to the shrimp.
Cooking the shrimp
Now, take a large skillet and heat:
– 1 tablespoon extra virgin olive oil
Set the heat to medium-high. Wait until the oil shimmers, then add:
– 1 pound large shrimp, peeled and deveined
Make sure to place the shrimp in a single layer. This helps them cook evenly. Season them with salt and freshly ground black pepper to taste. Cook the shrimp for about 2-3 minutes. Flip them halfway through cooking to ensure they turn pink and opaque.
Finishing touches
After the shrimp are cooked, pour the honey garlic sauce over them in the skillet. Gently toss the shrimp in the sauce to make sure they are well coated. Let the sauce simmer for 2-3 minutes. This will help the sauce thicken and cling to the shrimp.
When it’s done, remove the skillet from the heat. For a fresh finish, garnish the shrimp with:
– 2 green onions, finely chopped
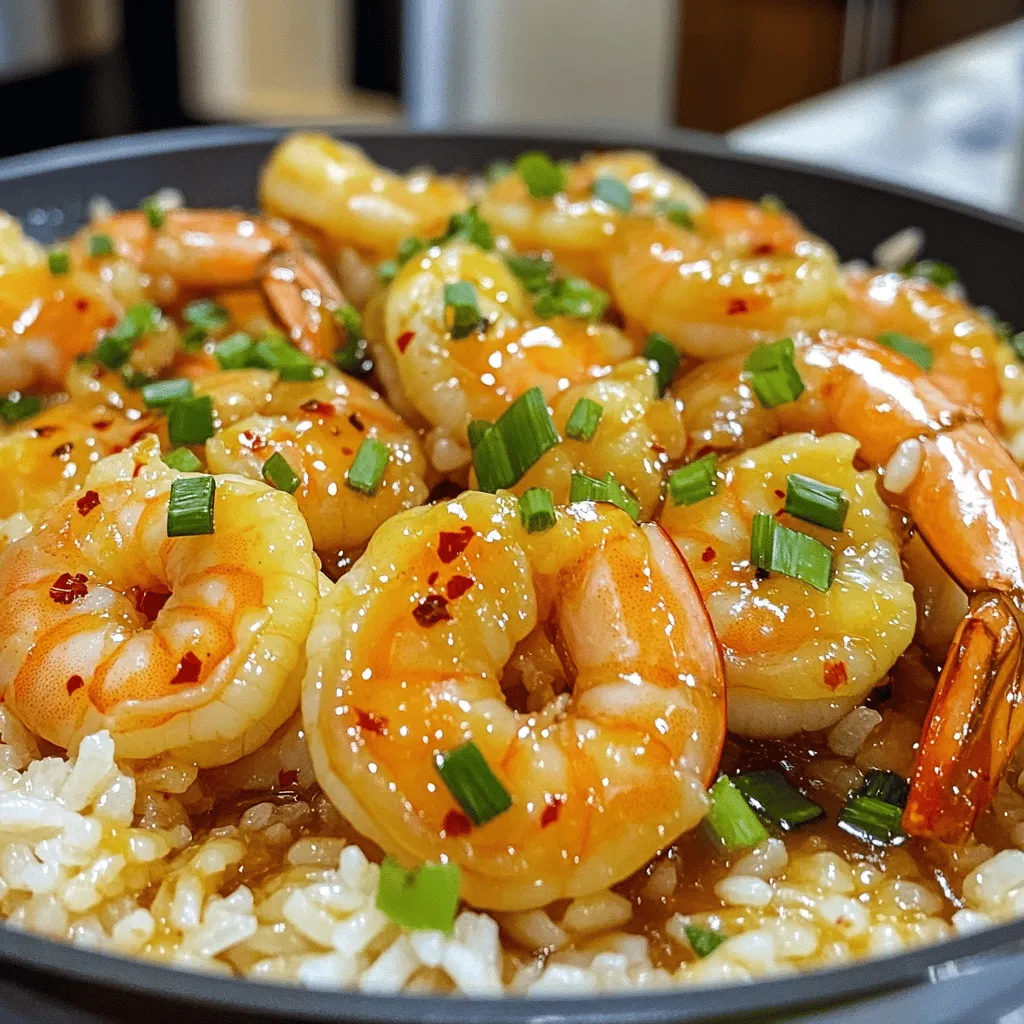
Serve the honey garlic shrimp over a bed of cooked rice or quinoa. The grains will soak up the tasty sauce. Enjoy your meal!
Tips & Tricks
Perfecting the shrimp
To make the best honey garlic shrimp, avoid overcrowding the pan. When shrimp sit too close together, they cook unevenly. Cook them in a single layer for even heat. Adjust your cooking time based on the shrimp size. Larger shrimp may need a minute or two more, while smaller shrimp will cook faster.
Thickening the sauce
If you want a thicker honey garlic sauce, use cornstarch. Mix it with a little water before adding it to the pan. Let the sauce simmer for a few minutes. This process enhances the flavor and helps it thicken perfectly.
Presentation tips
Garnish your dish to impress! Add sesame seeds for a nice crunch. Lime wedges add zest and color, making the dish pop. These small touches can elevate your meal’s look and taste.
Variations
Flavor enhancements
You can make your honey garlic shrimp even tastier.
– Add ginger for an extra zing. A small amount of fresh ginger gives a warm spice.
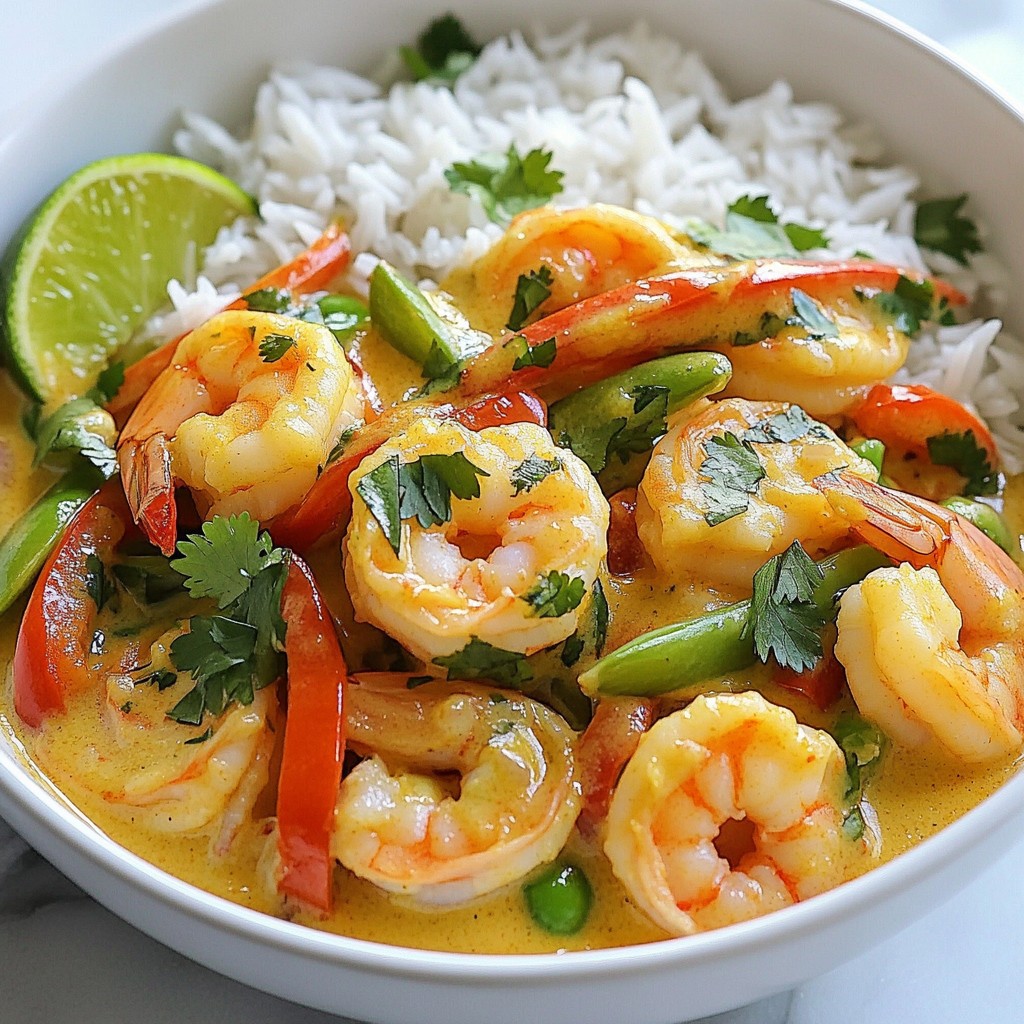
– Incorporate vegetables like bell peppers or snap peas. These veggies add color and crunch.
Serving alternatives
How you serve this dish can change the meal.
– Serve with zucchini noodles for a low-carb option. This makes a light meal that feels fresh.
– Pair with a side salad for a complete meal. A crisp salad adds a nice contrast.
Dietary modifications
You can adapt this recipe to fit your needs.
– Use tamari for a gluten-free version. This option keeps all the great flavors without gluten.
– Substitute shrimp with tofu for a vegetarian option. Tofu soaks up the sauce and gives good texture.
Storage Info
Refrigeration
Store any leftovers in an airtight container. Keep it in the fridge for up to 3 days. This way, your honey garlic shrimp stays fresh and tasty.
Freezing
You can freeze cooked shrimp for up to 1 month. Use a sealed container to keep out air. When you’re ready to eat, thaw the shrimp in the refrigerator. This helps keep the texture nice.
Reheating tips
Reheat gently on the stovetop. This prevents the shrimp from overcooking. Add a splash of water to the skillet. This refreshes the sauce, keeping it delicious and flavorful.
FAQs
How long to cook shrimp in a skillet?
Typically, shrimp take 2-3 minutes per side, depending on size. You want them pink and opaque. Be careful not to overcook. Overcooked shrimp can become tough and rubbery.
Can I use frozen shrimp for this recipe?
Yes, just thaw completely before cooking for best results. You can thaw shrimp overnight in the fridge. If you want a quicker option, run them under cold water for about 10-15 minutes. Make sure they are fully thawed; otherwise, they will cook unevenly.
What can I substitute for honey?
Maple syrup or agave nectar can be used as alternatives. Both options add sweetness and flavor. Maple syrup gives a slight hint of earthiness. Agave nectar is lighter in flavor and works well too.
In this blog post, we explored a simple shrimp dish with a sweet and savory sauce. We covered main and optional ingredients, step-by-step cooking instructions, and helpful tips to perfect your meal. Remember, you can customize flavors and serve with various sides to suit your taste. Leftovers store well, making this recipe great for busy days. Enjoy making this dish and impressing family or friends with your cooking skills. Cooking should be fun, so get creative in the kitchen!