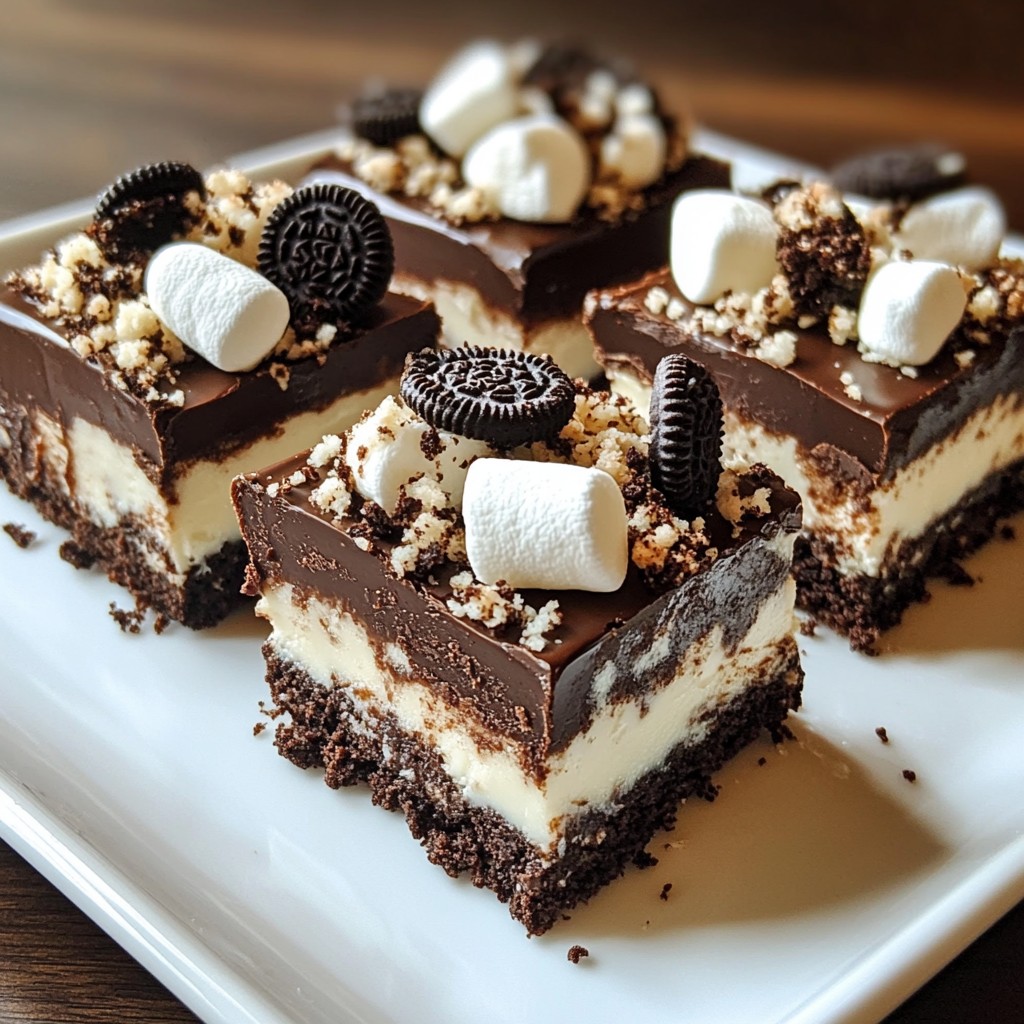
Are you ready to satisfy your sweet tooth with a simple and tasty treat? This Ingredient Oreo Fudge is just what you need! With just a few ingredients like chocolate chips and crushed Oreos, you can create a rich, chewy dessert in no time. Perfect for sharing or keeping all to yourself, this fudge is both easy and delicious. Let’s dive into this fun recipe that everyone will love!
Why I Love This Recipe
- Decadent Flavor: This fudge is a delicious combination of rich chocolate and creamy marshmallows, enhanced by the classic taste of Oreos.
- Easy to Make: With only a few simple ingredients and straightforward steps, this recipe is perfect for bakers of all skill levels.
- Customizable: Feel free to add your favorite nuts or other mix-ins, making it easy to personalize this treat to your liking.
- Perfect for Sharing: Cut into squares, this fudge is great for parties, gatherings, or as a sweet gift for friends and family.
Ingredients
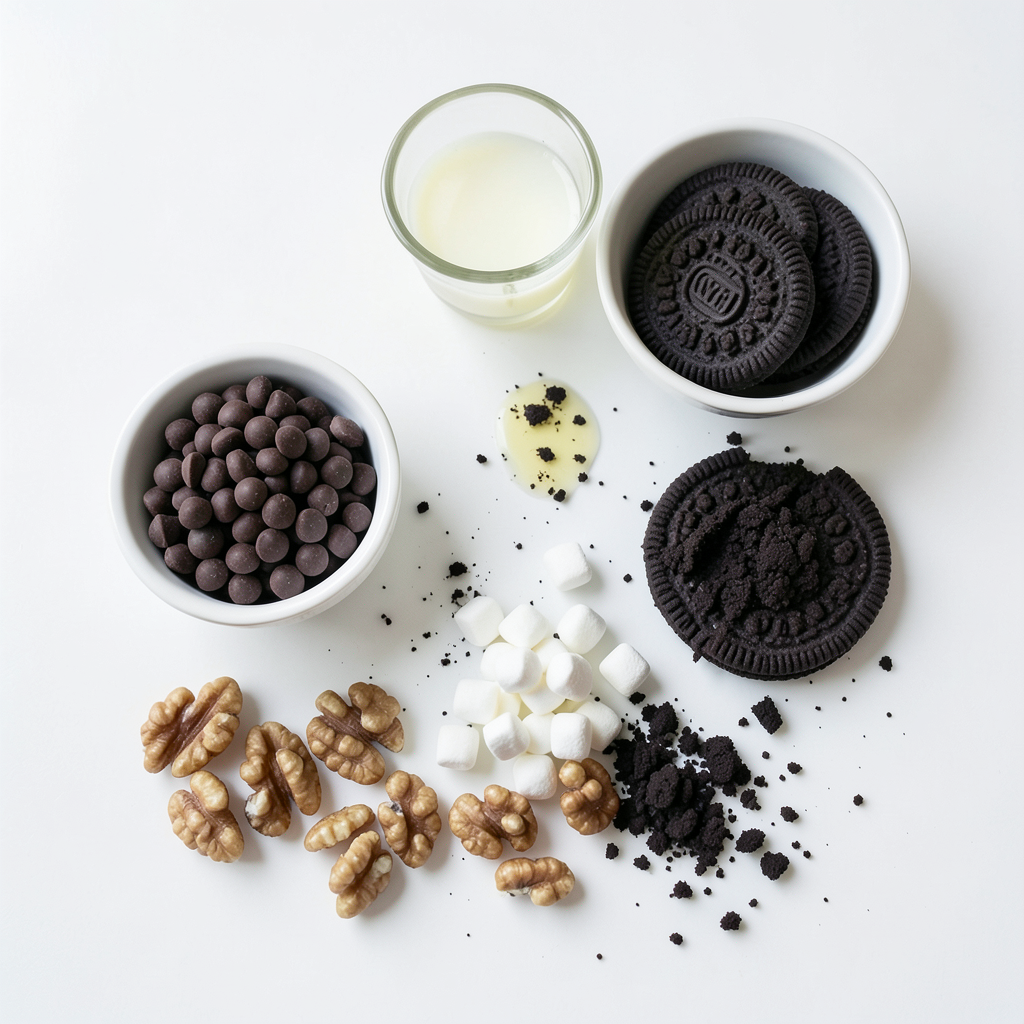
Main Ingredients for Oreo Fudge
- 2 cups semi-sweet chocolate chips
- 1 cup sweetened condensed milk
- 1 teaspoon vanilla extract
To make Oreo fudge, you need three main ingredients. The semi-sweet chocolate chips give the fudge its rich taste. Sweetened condensed milk adds creaminess and sweetness. Vanilla extract enhances the overall flavor.
Add-ins and Optional Ingredients
- 1 cup crushed Oreo cookies
- 1 cup mini marshmallows
- 1/2 cup chopped nuts (such as walnuts or almonds, optional)
- Extra crushed Oreos for topping
You can make your fudge even better with add-ins. Crushed Oreo cookies give a fun texture and flavor. Mini marshmallows make the fudge soft and chewy. If you like nuts, add chopped walnuts or almonds for crunch. Finally, sprinkle extra crushed Oreos on top for a pretty finish.
These ingredients create a tasty treat that everyone will love. You can also customize it based on your taste. Enjoy making this simple and delicious Oreo fudge!
Step-by-Step Instructions
Preparing Your Baking Dish
Start by grabbing an 8x8 inch baking dish. Line it with parchment paper. Leave some paper hanging over the sides. This makes it easy to lift the fudge out later.
Melting the Chocolate Mixture
In a medium saucepan, place the semi-sweet chocolate chips. Add the sweetened condensed milk and vanilla extract. Turn the heat to low. Stir the mix often with a spatula. Keep stirring until the chocolate melts and blends into a smooth, shiny mix.
Mixing in Other Ingredients
Once the chocolate mixture is smooth, take it off the heat. Gently fold in the crushed Oreo cookies, mini marshmallows, and chopped nuts if you want. Mix until everything is well combined and coated.
Final Assembly of the Fudge
Now, pour the fudge mixture into your lined baking dish. Use a spatula to spread it out evenly. Make sure it fills all the corners. Next, sprinkle extra crushed Oreos on top. Lightly press them into the fudge for a nice touch.
Setting the Fudge
Place the baking dish in the refrigerator. Chill it for at least 3 hours. This helps the fudge set firmly, so it’s easier to cut.
Serving the Fudge
When the fudge is set, carefully lift it out using the parchment paper. Set it on a cutting board. Cut it into squares or rectangles, however you like. Enjoy your tasty treat!
Tips & Tricks
Best Practices for Melting Chocolate
To melt chocolate well, keep the heat low. High heat can burn your chocolate. I recommend using a double boiler or a microwave on low power. Stir often until the chocolate is smooth and glossy. This helps avoid lumps and ensures a nice texture.
Customizing Your Fudge
You can change the flavor of your fudge easily. Try adding different extracts like almond or peppermint. For a nutty twist, use peanut butter instead of some chocolate. You can even mix in other cookies or candies for fun flavors. The sky is the limit!
Presentation Ideas
For a pretty display, cut your fudge into neat squares. You can place them on a colorful platter. Drizzling melted chocolate on top adds a fancy touch. Using cupcake liners can also make your fudge look fun and inviting. Small touches like these make a big difference!
Pro Tips
- Chill the Fudge Properly: Allow the fudge to set in the refrigerator for at least 3 hours. This will ensure it firms up nicely and is easy to cut into squares.
- Variations on Toppings: Experiment with different toppings such as crushed pretzels, sprinkles, or even a drizzle of caramel for added flavor and texture.
- Quality Ingredients Matter: Use high-quality semi-sweet chocolate chips for the best flavor and texture. The chocolate is the star of this recipe!
- Storage Tips: Store any leftover fudge in an airtight container in the refrigerator to keep it fresh. It can also be frozen for longer storage.
Variations
Different Flavor Profiles
You can change the flavor of your Oreo fudge easily. Try using different extracts like mint or almond. They add a fun twist to the taste. You can also swap the semi-sweet chocolate chips for white chocolate or dark chocolate. Each type brings its own flavor. Mixing flavors can surprise your taste buds.
Healthier Alternatives
If you want a lighter version, use sugar-free chocolate chips. You can also choose low-fat sweetened condensed milk. For a gluten-free fudge, use gluten-free Oreos. These swaps help you enjoy the fudge without guilt. It’s nice to have options that fit your health goals.
Seasonal Variations
For holiday treats, think about adding peppermint extract. This gives a refreshing taste for the winter season. You can also mix in crushed candy canes. They add a nice crunch and holiday spirit. For fall, try adding pumpkin spice. It makes the fudge feel cozy and perfect for autumn. These seasonal ideas make your fudge special all year round.
Storage Info
How to Store Your Oreo Fudge
To keep your Oreo fudge fresh, use an airtight container. A glass or plastic container works well. Place parchment paper between layers if you stack the fudge. This prevents sticking. Avoid exposure to air, as it can dry out the fudge. Keep it in a cool, dry place away from sunlight.
Shelf Life of Oreo Fudge
You can store Oreo fudge at room temperature for up to one week. For longer freshness, keep it in the refrigerator, where it lasts up to two weeks. If you want to enjoy it later, freezing is a great option.
Freezing Instructions
To freeze your fudge, cut it into squares first. Wrap each piece in plastic wrap. Then, place the wrapped fudge in a freezer bag. Remove as much air as possible before sealing. When you want to eat it, thaw the fudge in the fridge overnight. It will taste just as good as fresh!
FAQs
What is the best way to cut fudge?
To cut fudge, use a sharp knife. Warm the knife in hot water first. This makes cutting easier and cleaner. Cut the fudge into small squares or rectangles. Clean the knife between cuts to keep edges neat.
Can I add other types of cookies or candies to the fudge?
Yes, you can add other cookies like Nutter Butter or Chips Ahoy! Candies like M&M's or Reese's Pieces also work well. Just crush them into small pieces. Mix them in with the Oreos for extra fun and flavor.
How can I tell when the fudge is set and ready to cut?
The fudge is set when it feels firm to the touch. After chilling for at least 3 hours, check if it holds its shape. If it feels soft, leave it in the fridge longer. You want it to be firm but not hard.
Is it possible to make Oreo fudge dairy-free?
Yes, you can make dairy-free Oreo fudge! Use dairy-free chocolate chips and sweetened condensed coconut milk. This keeps the taste similar while making it suitable for those who avoid dairy. Adjust the other ingredients as needed to fit your diet.
Oreo fudge is easy to make and fun to share. You need few main ingredients, like chocolate chips and condensed milk. Add crushed Oreos, marshmallows, or nuts for a tasty twist. Follow the simple steps: melt, mix, pour, and chill. You can customize flavors and keep it fresh for weeks. I hope you enjoy making your Oreo fudge and explore different variations. It’s a treat that everyone loves!


