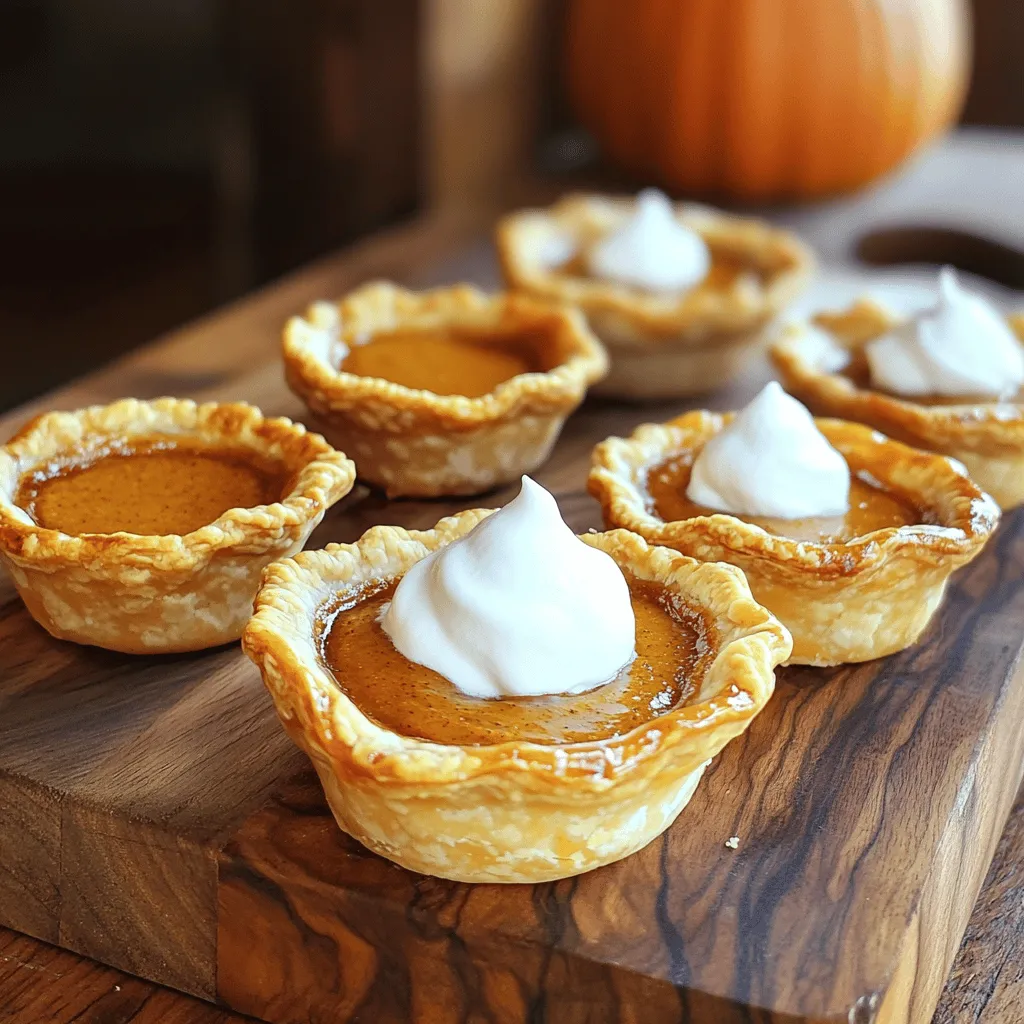
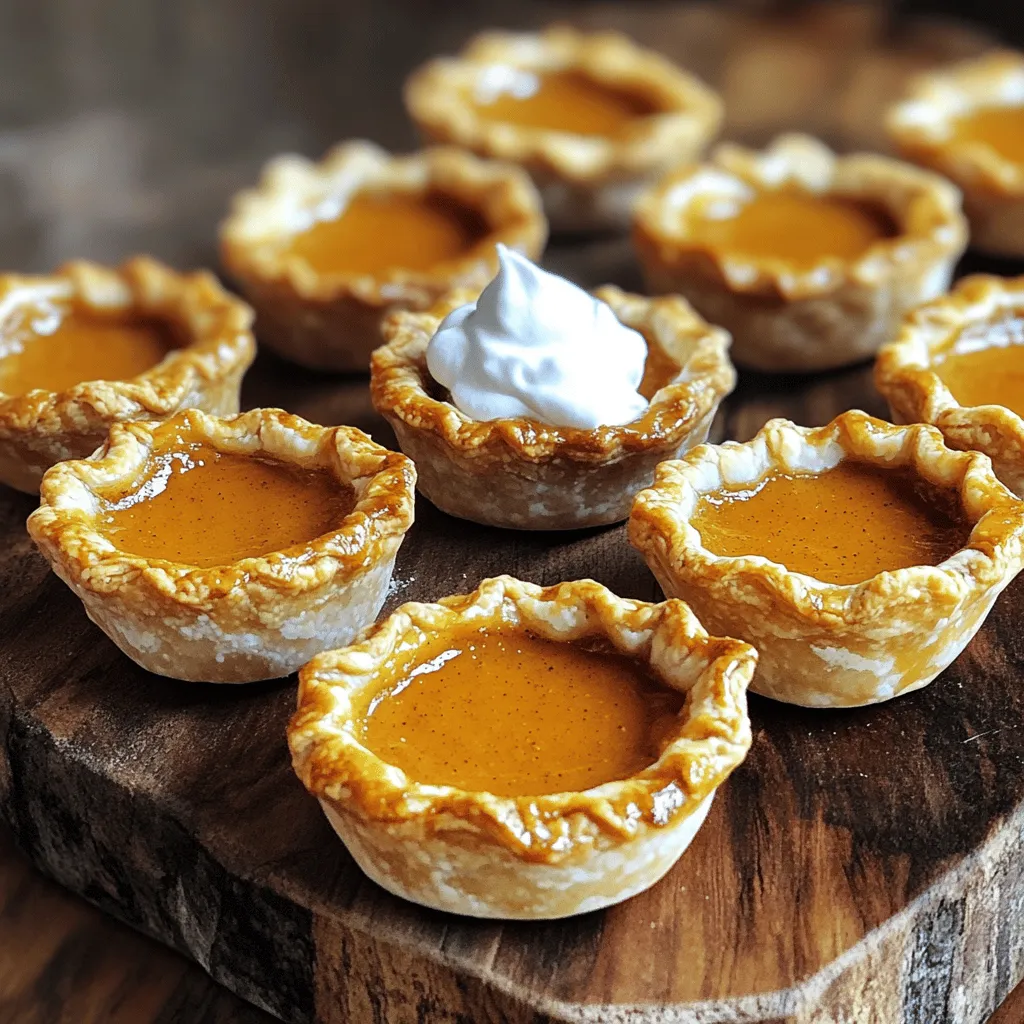
Get ready to indulge in autumn’s favorite flavor with my delightful Mini Pumpkin Pies. These bite-sized treats pack a warm, spiced filling in a flaky crust, perfect for any gathering. I’ll guide you step-by-step, sharing tips and tricks to make the best mini pies every time. Whether you’re a novice or a pro, these easy instructions will help you impress your family and friends. Let’s bake some magic together!
Ingredients
List of Ingredients
To make mini pumpkin pies, gather these simple ingredients:
– 1 cup canned pumpkin puree
– ½ cup brown sugar
– ½ teaspoon ground cinnamon
– ¼ teaspoon ground nutmeg
– ¼ teaspoon ground ginger
– ¼ teaspoon salt
– 2 large eggs
– 1 cup evaporated milk
– 1 package pre-made pie crust (or create your own from scratch)
– Whipped cream, for serving
Measurements and Substitutions
Measuring your ingredients accurately is key for great taste. Use a liquid measuring cup for the pumpkin and milk. A dry measuring cup works best for the sugar and spices. If you do not have brown sugar, you can use white sugar. For eggs, you can substitute with flax eggs if needed. If you want a lighter crust, use phyllo dough instead of pie crust.
Importance of Quality Ingredients
Using good ingredients makes a big difference. Fresh spices will give your pies a brighter flavor. Canned pumpkin puree is fine, but make sure it is pure pumpkin with no added sugar. Quality eggs and milk also add richness. Always choose the best ingredients you can find for the best results. Quality matters in every bite! Enjoy the process and let each ingredient shine through in your mini pumpkin pies.
Step-by-Step Instructions
Preheating the Oven
Start by preheating your oven to 375°F (190°C). This helps cook the mini pies evenly. A hot oven ensures the crust gets nice and crispy.
Preparing the Pumpkin Filling
In a large bowl, mix together the pumpkin puree, brown sugar, cinnamon, nutmeg, ginger, and salt. Stir until everything blends well. The mixture should be smooth and creamy. In another bowl, whisk the eggs until they are light and fluffy. Gradually add the evaporated milk, mixing until it is smooth. Pour this egg mixture into the pumpkin mix. Stir gently until it is well combined with no lumps.
Assembling the Mini Pies
Lightly flour a clean surface. Roll out the pie crust until it’s the thickness you like. Use a cookie cutter or the rim of a glass to cut circles about 4-5 inches wide. Place each circle into a greased muffin tin. Press them down gently to form small pie shells. Use a spoon to fill each crust with the pumpkin filling, filling them about ¾ full to prevent spills.
Baking Process
Place the muffin tin in your preheated oven. Bake the mini pies for 25-30 minutes. They are done when the filling is set. A toothpick inserted in the center should come out clean. Once baked, let the mini pies cool for a few minutes. Carefully lift them out of the muffin tin. You can serve your mini pumpkin pies warm or at room temperature, topped with whipped cream for a creamy finish.
Enjoy making these tasty treats!
Tips & Tricks
How to Achieve Perfectly Set Filling
To get a perfect filling, blend the pumpkin well. Mix the pumpkin puree with the sugar and spices. This helps to create a smooth texture. When adding the eggs and milk, do it slowly. Stir gently until everything is mixed. Over-mixing can add air bubbles, making the filling puff up while baking. For best results, bake until a toothpick comes out clean.
Preventing Crust From Burning
Burnt crust ruins these pies. To keep your crust golden, check the oven temperature. Always preheat to 375°F (190°C). If the edges start browning too fast, cover them with foil. This protects the crust while the filling cooks. Use a light coating of butter on the crust for richness.
Serving Suggestions
Serve these mini pumpkin pies warm for the best taste. Add a dollop of whipped cream on top. You can also sprinkle some cinnamon for extra flavor. For a fun twist, try adding chocolate shavings or a drizzle of caramel. Pair with coffee or hot cider for a cozy treat. Enjoy every bite of this fall delight!
Variations
Different Crust Options
You can use various crusts for mini pumpkin pies. Pre-made pie crusts save time, but homemade crusts taste great too. Try a graham cracker crust for a sweet twist. You can also use a shortbread crust for a buttery flavor. Gluten-free options are available if you need them. Just use gluten-free flour in your homemade crust recipe.
Flavor Enhancements (Spices and Extracts)
Spices add depth to your mini pumpkin pies. Aside from cinnamon, nutmeg, and ginger, you can play with flavors. A pinch of clove brings warmth, while a bit of allspice adds complexity. Consider using vanilla extract for extra sweetness. For a fun twist, try adding a splash of maple syrup. It makes the filling richer and more aromatic.
Creative Toppings and Garnishes
Toppings can make your pies stand out. Whipped cream is classic, but you can get creative. Sprinkle crushed pecans or walnuts on top for crunch. Drizzle caramel sauce for added flavor. For a festive touch, add a sprinkle of cinnamon or a few chocolate shavings. Fresh herbs like mint can also add a pop of color and freshness.
Storage Info
How to Store Leftovers
To keep your mini pumpkin pies fresh, place them in an airtight container. Store them in the fridge for up to four days. This helps keep the crust crispy and the filling tasty. If you have extra whipped cream, store it separately to avoid sogginess.
Freezing Instructions
You can freeze mini pumpkin pies for longer storage. First, let them cool completely. Wrap each pie tightly in plastic wrap. Next, place the wrapped pies in a freezer-safe bag or container. They can last up to three months in the freezer. When you’re ready to enjoy, just thaw them overnight in the fridge.
Reheating Tips
To reheat your mini pumpkin pies, preheat your oven to 350°F (175°C). Place the pies on a baking sheet and cover them with foil. Heat for about 10-15 minutes until warm. This keeps the crust nice and flaky. You can also use a microwave for a quick option, but the crust may not stay crispy. Enjoy your mini pumpkin pies warm, just like when you first baked them!
FAQs
How do I know when my mini pumpkin pies are done?
You can tell your mini pumpkin pies are done when the filling is set. Insert a toothpick into the center. If it comes out clean, they are ready. The edges may also look slightly puffed. Don’t worry if they jiggle a bit; that’s normal. Let them cool for a few minutes before removing them from the tin.
Can I use fresh pumpkin instead of canned?
Yes, you can use fresh pumpkin. Just make sure to cook and puree it first. Cut the pumpkin into pieces, steam or roast until soft. Then, blend it until smooth. This fresh puree gives a rich flavor. However, it may require more work than using canned.
What is the best way to serve mini pumpkin pies?
Serve mini pumpkin pies warm or at room temperature. A dollop of whipped cream adds a nice touch. You can also sprinkle a bit of cinnamon on top. For a fun twist, try adding caramel sauce or nuts for extra crunch. Enjoy them with friends or family for a cozy fall treat!
Can I make these mini pumpkin pies in advance?
Yes, you can make mini pumpkin pies ahead of time. Bake them, then let them cool completely. Store them in the fridge. They last for about three days. For best results, add whipped cream just before serving. This keeps it fresh and fluffy.
What is the recipe for the full version of Mini Pumpkin Pies?It includes pumpkin puree, brown sugar, eggs, and spices. Follow the steps to create these delicious treats at home. Enjoy the taste of fall with every bite!
In this post, we covered how to make delicious mini pumpkin pies. You learned about quality ingredients and key measurements. I shared step-by-step instructions for making the filling and baking. Tips on perfecting the filling and keeping the crust safe were also included. Explore variations and discover how to store and serve safely.
Making mini pumpkin pies is fun and rewarding. Enjoy every bite!