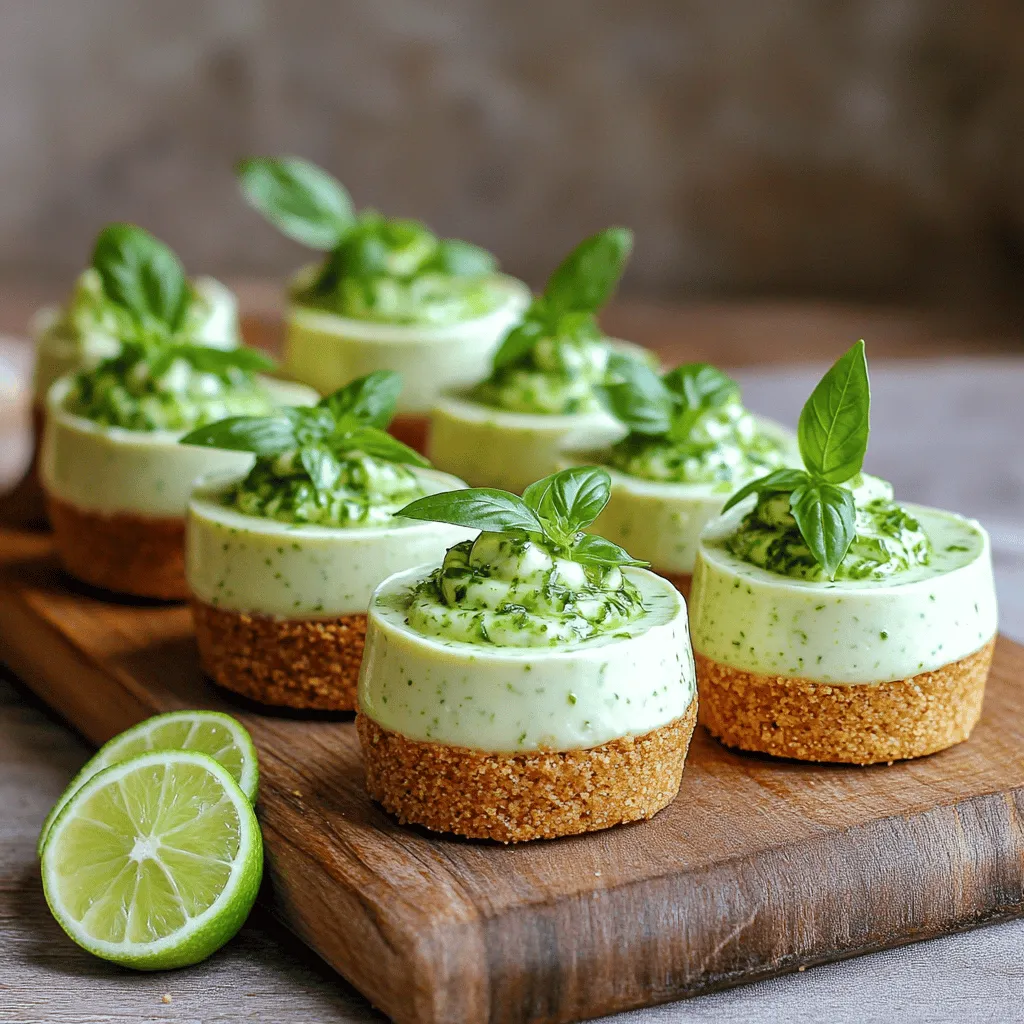
Looking for a fun and easy dessert? Try my No Bake Basil Lime Cheesecake Cups! These delightful treats combine fresh basil and zingy lime for a unique flavor that’s sure to impress. With a simple crust and creamy filling, you can whip them up in no time. Perfect for warm days, gatherings, or just a sweet craving, these cheesecake cups are a must-try! Let’s dive in and make something delicious!
Ingredients
List of Ingredients
To make these No Bake Basil Lime Cheesecake Cups, gather the following:
– Crust Ingredients:
– 1 cup graham cracker crumbs
– 4 tablespoons unsalted butter, melted
– Cream Cheese Filling Components:
– 2 cups cream cheese, softened to room temperature
– 1 cup powdered sugar
– 1/2 cup freshly squeezed lime juice (about 4 limes)
– Zest of 2 limes
– 1/2 cup heavy whipping cream, chilled
– 1/4 cup fresh basil leaves, finely chopped
– A pinch of salt
– Suggested Garnishes:
– Lime slices
– Fresh basil leaves
These ingredients create a bright and creamy dessert. The graham cracker crust offers a sweet crunch. The cream cheese filling balances tangy lime with fresh basil.
Step-by-Step Instructions
Preparation of the Crust
Start by mixing the graham cracker crumbs and melted butter in a bowl. Use your hand or a spoon to stir until the crumbs look like wet sand. This texture is key for a great crust. Next, take six serving cups and divide the crumb mixture evenly between them. Press the crumbs down firmly with your fingers or the back of a spoon. Make sure each cup has a compact and even layer. This crust will hold up the creamy cheesecake filling.
Making the Cheesecake Filling
For the filling, take a large bowl and add the softened cream cheese. Beat it with an electric mixer until smooth. You want a creamy texture with no lumps. Gradually add the powdered sugar, mixing until smooth. Then, pour in the fresh lime juice and zest. Add the finely chopped basil and a pinch of salt. Mix until everything is well combined.
Now, whip the chilled heavy cream in a separate bowl until you see soft peaks form. This part is fun! Gently fold the whipped cream into the cream cheese mixture. Be soft here; you don’t want to lose the airiness. This step makes the cheesecake light and fluffy.
Assembling the Dessert
Now, it’s time to put everything together. Spoon the creamy cheesecake filling into the cups over the crust. Use a spatula to smooth the tops, so they look nice. Cover the cups with plastic wrap and place them in the fridge. Chill for at least 4 hours. This time helps the flavors meld and the cheesecake firm up. When ready, each cup will be a delightful treat bursting with flavor.
Tips & Tricks
Perfecting the Cheesecake Cups
To get the best texture for your cheesecake cups, follow a few simple steps. First, make sure your cream cheese is at room temperature. This helps it blend smoothly. Next, when mixing the filling, beat it until there are no lumps. This gives a nice creamy texture. When you fold in the whipped cream, do it gently. This keeps the filling light and airy.
Chilling is key for this recipe. After you assemble your cups, cover them and place them in the fridge. Allow at least four hours for them to set. The longer they chill, the better the flavors meld together.
Serving Recommendations
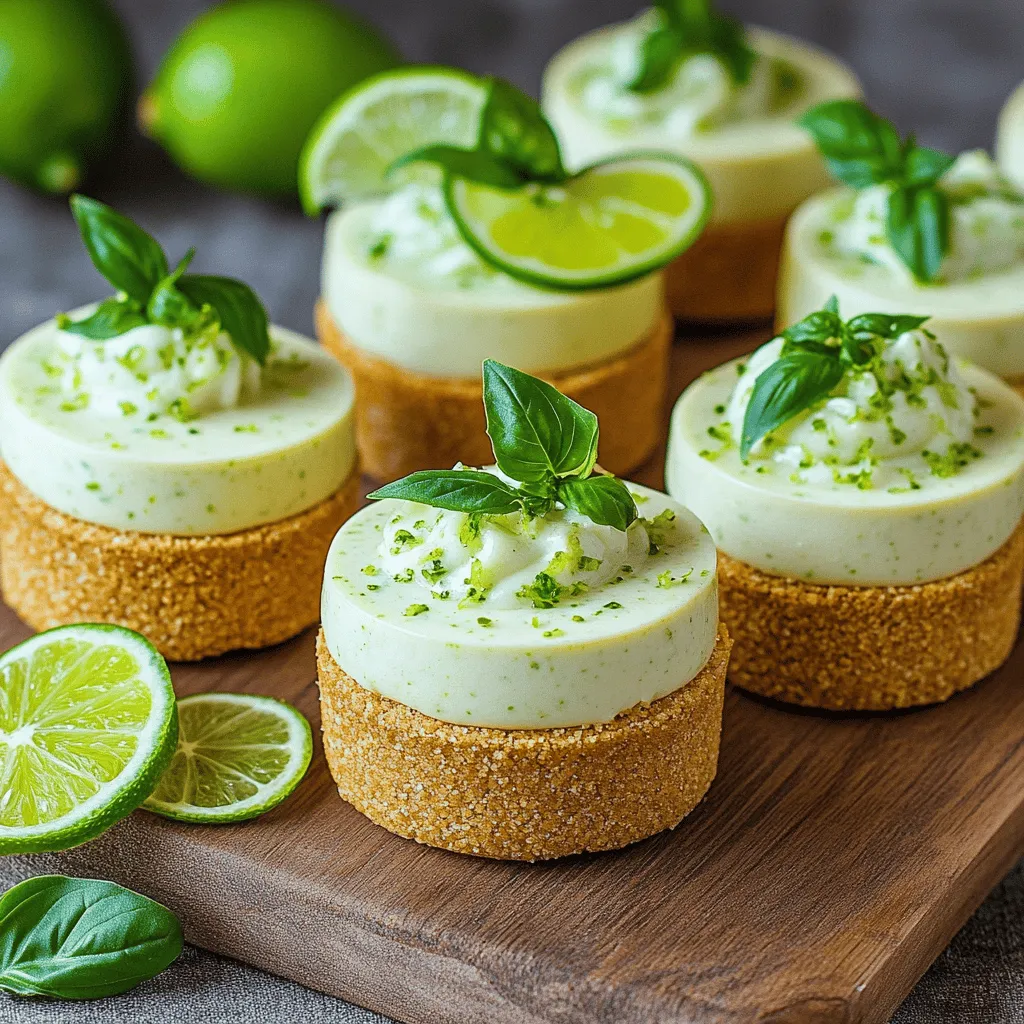
When it comes to serving, presentation makes a big difference. Use clear cups so guests can see the layers. This adds visual appeal. Place the cups on a wooden board or a bright tray. You can surround them with fresh mint or basil leaves and lime slices for extra color.
These cheesecake cups are perfect for many occasions. Serve them at summer parties, barbecues, or even at family dinners. They are a refreshing treat that everyone will love. For a fun twist, pair them with fresh fruit or a drizzle of honey. This adds even more flavor and makes the dessert feel special.
Variations
Ingredient Substitutions
You can change the crust to fit different diets. For a gluten-free option, use gluten-free cookies or almond flour. These will give you a tasty base without gluten. If you want to try a new flavor, use crushed vanilla cookies for a sweet twist.
For the filling, you can switch herbs or add fruit. Instead of basil, try mint or cilantro for a fresh taste. If you love berries, add pureed strawberries or blueberries to the mix. This will give your cheesecake cups a fruity flair.
Serving Suggestions
These cheesecake cups are great on their own, but you can make them even better. Top them with fresh fruits like raspberries or mango slices. You can also drizzle honey or chocolate sauce on top for added sweetness.
If you want to serve a crowd, make a larger batch. Just double the recipe and use a big dish. This way, everyone can enjoy a slice. For smaller servings, use mini cups or shot glasses. These ideas will keep your treats fun and fresh!
Storage Info
Storage Tips for Leftovers
To keep your cheesecake cups fresh, store them in the fridge. Use an airtight container or cover them with plastic wrap. This helps to keep the flavors locked in and prevents drying out. The cheesecake cups stay tasty for about 3 to 5 days. Always check for any signs of spoilage before eating. If you notice any change in smell or texture, it’s best to throw them out.
Freezing Instructions
You can freeze these cheesecake cups for longer storage. To do this, place them in a freezer-safe container. Make sure to wrap them well with plastic wrap to avoid freezer burn. They can last up to 2 months in the freezer. When ready to eat, take them out and let them thaw in the fridge overnight. This way, they maintain their creamy texture and bright flavor. Avoid reheating, as this can change the consistency. Enjoy your delightful treat whenever you wish!
FAQs
Can I use a different herb than basil?
Yes, you can change the herb for new flavors. Some great options include mint, thyme, or rosemary. Mint adds a fresh taste. Thyme gives a warm touch. Rosemary adds a hint of earthiness. Each herb brings its own twist to the cheesecake. Feel free to experiment with your favorite herbs.
How long do these cheesecake cups last?
These cheesecake cups stay fresh for about 3 to 5 days in the fridge. Store them in an airtight container to keep them safe. If you notice any changes in smell or texture, it’s best to toss them. For the best taste, enjoy them within the first few days.
What can I serve with no-bake cheesecake cups?
You can serve these cheesecake cups with fresh fruit, like berries or mango slices. They pair well with whipped cream or a drizzle of honey. For drinks, try serving them with iced tea or lemonade. These additions make the dessert even more delightful.
These cheesecake cups combine creamy goodness with zesty lime and fresh basil. You learned how to craft the perfect crust and filling while exploring tasty variations. Remember, chilling time is key for the best flavor and texture.
Try different herbs or fruits for a personal twist. Enjoy these desserts at any occasion or as a delightful treat any time. With proper storage, your creations can last days. Keep experimenting, and enjoy each refreshing bite!