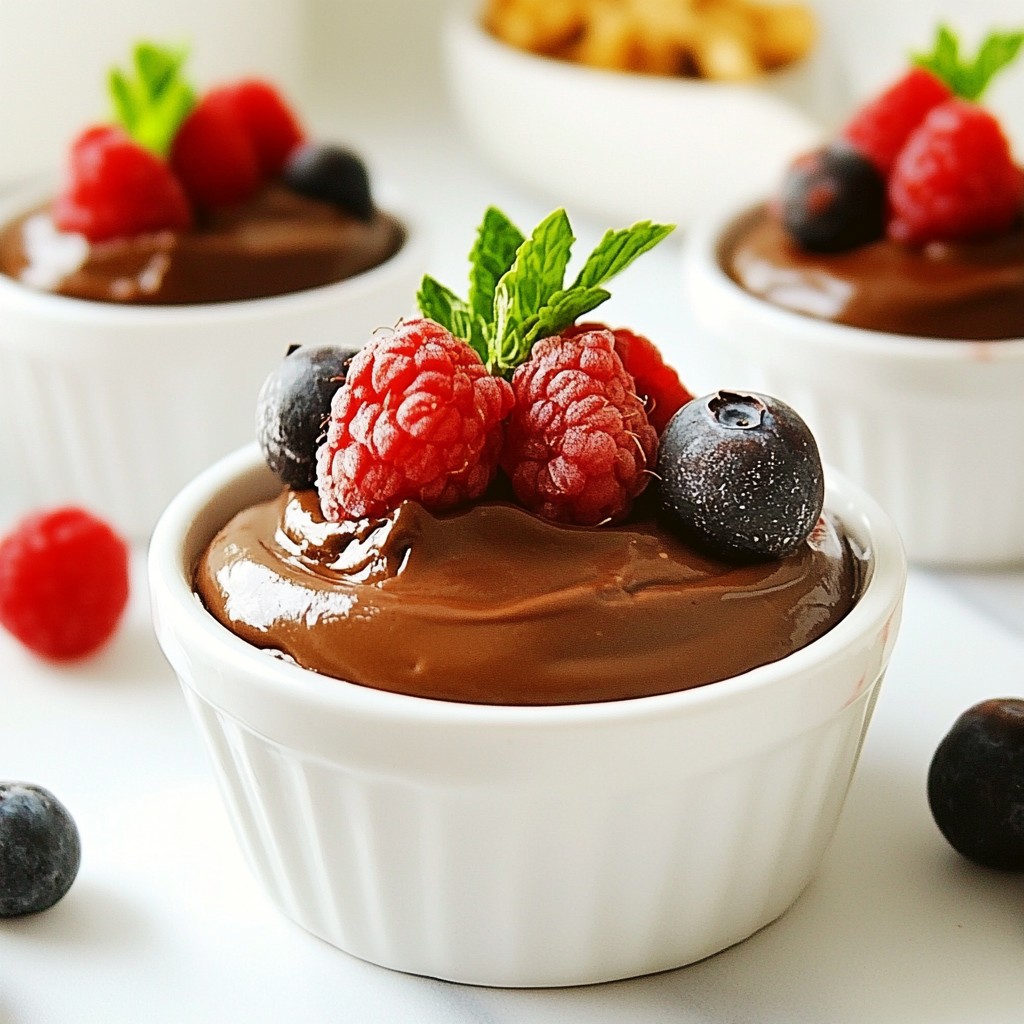
No Bake Lemon Icebox Pie Refreshing Summer Dessert

Looking for a cool and easy dessert to beat the heat? This No Bake Lemon Icebox Pie is your perfect summer treat. With zesty lemon and creamy filling, it’s a delight that requires no baking. You’ll love how simple it is to whip up this refreshing pie with just a few ingredients. Let’s dive into the recipe and satisfy that summer sweet tooth!

Ingredients

List of Ingredients

To make a No Bake Lemon Icebox Pie, gather these ingredients:

– 1 cup graham cracker crumbs

– 1/2 cup unsalted butter, melted

– 1/2 cup granulated sugar

– 1 can (14 oz) sweetened condensed milk

– 1/2 cup fresh lemon juice (about 3-4 lemons)

– Zest of 1 lemon

– 1/4 teaspoon salt

– 1 cup heavy whipping cream

– 2 tablespoons powdered sugar

– Extra lemon zest for garnishing (optional)

You can also try variations. For a twist, add some berries or coconut. You can mix in lime juice instead of lemon juice for a different flavor.

Tools Needed

Here are the essential tools you will need:

– 9-inch pie dish

– Mixing bowls

– Electric mixer or whisk

– Spatula

– Measuring cups and spoons

– Plastic wrap

These tools make your preparation smooth. A good electric mixer helps whip cream quickly. A spatula is great for folding. Having all your tools ready helps you enjoy the process!

Step-by-Step Instructions

Preparation of the Crust

To make the crust, start by mixing graham cracker crumbs with melted butter. Use a medium bowl to combine them well. You want a texture similar to wet sand. This will help the crust hold together.

Next, press this mixture firmly into a 9-inch pie dish. Use your fingers or the bottom of a measuring cup. Make sure it is even across the bottom and up the sides. This step is key for a great crust. Once done, place the crust in the fridge. Let it chill for about 15 minutes to firm up.

Mixing the Filling

Now, let’s make the lemon filling. In a separate bowl, whisk together sweetened condensed milk, fresh lemon juice, lemon zest, granulated sugar, and salt. Start with the milk and add the other ingredients one by one. This order helps the filling thicken nicely.

Whisk until the mixture is smooth and creamy. You will see it getting thicker due to the lemon juice. This is a good sign!

Whipping the Cream

For the whipped cream, use a clean mixing bowl. Pour in heavy whipping cream and add powdered sugar. Use an electric mixer to beat them together. Start on low speed, then increase to high. Whip until you see stiff peaks form.

Be careful not to overwhip. If you go too far, the cream can turn grainy. Stop once it’s light and fluffy.

Assembling and Chilling the Pie

It’s time to combine the filling and whipped cream. Gently fold the whipped cream into the lemon mixture. Use a spatula and make slow, careful motions. This helps keep the whipped cream airy.

Once combined, pour the lemon filling into the chilled graham cracker crust. Smooth the top with a spatula. Cover the pie with plastic wrap and place it in the fridge. Chill for at least 4 hours or overnight. This lets the pie set properly and develop great flavor.

For the full recipe, check out my detailed notes!

Tips & Tricks

Tips for Perfecting Your Pie

To make the best No Bake Lemon Icebox Pie, focus on a few key tips:

Chill Your Tools: Before whipping cream, chill your mixing bowl and beaters. This helps the cream whip faster.

Use Fresh Ingredients: Fresh lemons give the best flavor. Avoid bottled lemon juice if you can.

Adjust Sweetness: If you want it sweeter, add more sugar. For a tart twist, add extra lemon juice.

Thicken the Filling: If your filling is too runny, let it sit for a few minutes before pouring it into the crust.

Serving Suggestions

Here are some fun ways to serve your pie:

Presentation: Slice the pie into even pieces. Serve on chilled plates for a refreshing bite.

Garnish: Top each slice with a little extra lemon zest. This adds color and fresh aroma.

Pair with Fruit: Serve with fresh berries or slices of lemon for a fruity kick.

Minty Touch: Add a mint leaf on top for extra flair and flavor.

These tips and serving ideas will make your No Bake Lemon Icebox Pie a hit at any summer gathering. If you want the full details on how to make it, check the Full Recipe.

Variations

Flavor Variations

You can make this pie even more fun by changing the flavors! Try using lime juice instead of lemon juice. Lime gives a nice tangy taste. Orange juice also works well. It adds a sweet, bright flavor.

Mix-ins can make the pie extra special. Berries like strawberries or blueberries add color and taste. You can fold them into the filling for a fruity twist. Shredded coconut can also be a fun mix-in. It adds a nice texture and tropical flair.

Crust Variations

If you want to switch up the crust, go for it! An Oreo crust adds a rich chocolate flavor. Gluten-free options are also available. You can use almond flour or gluten-free cookies.

Different crusts change the pie’s taste and feel. A cookie crust is sweeter and richer, while a traditional graham cracker crust is lighter. Experiment with what you like best! It’s fun to find your favorite combination.

For more details, check out the Full Recipe.

Storage Info

Best Storage Practices

To keep your No Bake Lemon Icebox Pie fresh, choose an airtight container. A glass or plastic pie dish with a lid works well. Wrap the pie tightly in plastic wrap if you lack a lid. This keeps moisture out and prevents it from getting soggy. Always store the pie in the refrigerator. The cool temperature helps maintain its smooth texture and bright flavor.

Freezing Tips

You can freeze this pie for later enjoyment. First, let it set in the fridge for at least 4 hours. Then, wrap it in plastic wrap and foil. This helps avoid freezer burn. You can store it in the freezer for up to one month. When you’re ready to eat it, thaw it in the fridge overnight. This ensures the pie stays creamy and delicious.

FAQs

Can I make No Bake Lemon Icebox Pie ahead of time?

Yes, you can make this pie a day in advance. It tastes great when chilled. I often prepare it the night before a gathering. This gives the pie enough time to set properly. Just make sure to cover it well before chilling. This way, it stays fresh and delicious.

What can I use instead of sweetened condensed milk?

You can use coconut cream for a dairy-free version. Another option is to mix almond milk with sugar. Just use a 1:1 ratio. Both options work well in this recipe and keep the pie creamy. They also add a unique flavor twist.

How do I know when the pie is fully set?

Look for a firm but slightly wobbly texture. The surface should not jiggle too much. You can also gently press the top; it should feel solid. If it seems firm, it is ready to serve. Chill it longer if you are unsure.

Can I add fresh fruit on top of the pie?

Absolutely! Fresh fruit adds color and flavor. Berries like strawberries or blueberries work great. You can also use sliced kiwi or peaches. They make the pie look beautiful and add a refreshing taste. Plus, the fruit adds vitamins and nutrients!

No Bake Lemon Icebox Pie is easy to make and delicious. You learned key ingredients, tools, and steps to prepare this treat. By following the tips and exploring variations, you can create your own unique pie. Remember to store it correctly for the best taste. With these instructions, you can impress your family and friends. Enjoy making your tasty pie and share it with others!

To make a No Bake Lemon Icebox Pie, gather these ingredients: - 1 cup graham cracker crumbs - 1/2 cup unsalted butter, melted - 1/2 cup granulated sugar - 1 can (14 oz) sweetened condensed milk - 1/2 cup fresh lemon juice (about 3-4 lemons) - Zest of 1 lemon - 1/4 teaspoon salt - 1 cup heavy whipping cream - 2 tablespoons powdered sugar - Extra lemon zest for garnishing (optional) You can also try variations. For a twist, add some berries or coconut. You can mix in lime juice instead of lemon juice for a different flavor. Here are the essential tools you will need: - 9-inch pie dish - Mixing bowls - Electric mixer or whisk - Spatula - Measuring cups and spoons - Plastic wrap These tools make your preparation smooth. A good electric mixer helps whip cream quickly. A spatula is great for folding. Having all your tools ready helps you enjoy the process! To make the crust, start by mixing graham cracker crumbs with melted butter. Use a medium bowl to combine them well. You want a texture similar to wet sand. This will help the crust hold together. Next, press this mixture firmly into a 9-inch pie dish. Use your fingers or the bottom of a measuring cup. Make sure it is even across the bottom and up the sides. This step is key for a great crust. Once done, place the crust in the fridge. Let it chill for about 15 minutes to firm up. Now, let's make the lemon filling. In a separate bowl, whisk together sweetened condensed milk, fresh lemon juice, lemon zest, granulated sugar, and salt. Start with the milk and add the other ingredients one by one. This order helps the filling thicken nicely. Whisk until the mixture is smooth and creamy. You will see it getting thicker due to the lemon juice. This is a good sign! For the whipped cream, use a clean mixing bowl. Pour in heavy whipping cream and add powdered sugar. Use an electric mixer to beat them together. Start on low speed, then increase to high. Whip until you see stiff peaks form. Be careful not to overwhip. If you go too far, the cream can turn grainy. Stop once it's light and fluffy. It’s time to combine the filling and whipped cream. Gently fold the whipped cream into the lemon mixture. Use a spatula and make slow, careful motions. This helps keep the whipped cream airy. Once combined, pour the lemon filling into the chilled graham cracker crust. Smooth the top with a spatula. Cover the pie with plastic wrap and place it in the fridge. Chill for at least 4 hours or overnight. This lets the pie set properly and develop great flavor. For the full recipe, check out my detailed notes! To make the best No Bake Lemon Icebox Pie, focus on a few key tips: - Chill Your Tools: Before whipping cream, chill your mixing bowl and beaters. This helps the cream whip faster. - Use Fresh Ingredients: Fresh lemons give the best flavor. Avoid bottled lemon juice if you can. - Adjust Sweetness: If you want it sweeter, add more sugar. For a tart twist, add extra lemon juice. - Thicken the Filling: If your filling is too runny, let it sit for a few minutes before pouring it into the crust. Here are some fun ways to serve your pie: - Presentation: Slice the pie into even pieces. Serve on chilled plates for a refreshing bite. - Garnish: Top each slice with a little extra lemon zest. This adds color and fresh aroma. - Pair with Fruit: Serve with fresh berries or slices of lemon for a fruity kick. - Minty Touch: Add a mint leaf on top for extra flair and flavor. These tips and serving ideas will make your No Bake Lemon Icebox Pie a hit at any summer gathering. If you want the full details on how to make it, check the Full Recipe. {{image_4}} You can make this pie even more fun by changing the flavors! Try using lime juice instead of lemon juice. Lime gives a nice tangy taste. Orange juice also works well. It adds a sweet, bright flavor. Mix-ins can make the pie extra special. Berries like strawberries or blueberries add color and taste. You can fold them into the filling for a fruity twist. Shredded coconut can also be a fun mix-in. It adds a nice texture and tropical flair. If you want to switch up the crust, go for it! An Oreo crust adds a rich chocolate flavor. Gluten-free options are also available. You can use almond flour or gluten-free cookies. Different crusts change the pie's taste and feel. A cookie crust is sweeter and richer, while a traditional graham cracker crust is lighter. Experiment with what you like best! It’s fun to find your favorite combination. For more details, check out the Full Recipe. To keep your No Bake Lemon Icebox Pie fresh, choose an airtight container. A glass or plastic pie dish with a lid works well. Wrap the pie tightly in plastic wrap if you lack a lid. This keeps moisture out and prevents it from getting soggy. Always store the pie in the refrigerator. The cool temperature helps maintain its smooth texture and bright flavor. You can freeze this pie for later enjoyment. First, let it set in the fridge for at least 4 hours. Then, wrap it in plastic wrap and foil. This helps avoid freezer burn. You can store it in the freezer for up to one month. When you're ready to eat it, thaw it in the fridge overnight. This ensures the pie stays creamy and delicious. Yes, you can make this pie a day in advance. It tastes great when chilled. I often prepare it the night before a gathering. This gives the pie enough time to set properly. Just make sure to cover it well before chilling. This way, it stays fresh and delicious. You can use coconut cream for a dairy-free version. Another option is to mix almond milk with sugar. Just use a 1:1 ratio. Both options work well in this recipe and keep the pie creamy. They also add a unique flavor twist. Look for a firm but slightly wobbly texture. The surface should not jiggle too much. You can also gently press the top; it should feel solid. If it seems firm, it is ready to serve. Chill it longer if you are unsure. Absolutely! Fresh fruit adds color and flavor. Berries like strawberries or blueberries work great. You can also use sliced kiwi or peaches. They make the pie look beautiful and add a refreshing taste. Plus, the fruit adds vitamins and nutrients! No Bake Lemon Icebox Pie is easy to make and delicious. You learned key ingredients, tools, and steps to prepare this treat. By following the tips and exploring variations, you can create your own unique pie. Remember to store it correctly for the best taste. With these instructions, you can impress your family and friends. Enjoy making your tasty pie and share it with others!

No Bake Lemon Icebox Pie

Create a refreshing dessert with this easy No Bake Lemon Icebox Pie recipe! This light and creamy pie combines a delicious graham cracker crust with a zesty lemon filling that's perfect for any occasion. With just a few simple ingredients and minimal preparation, you'll have a delightful treat that everyone will love. Click through to discover the full recipe and impress your friends and family with this citrusy delight!

Ingredients
  

1 cup graham cracker crumbs

1/2 cup unsalted butter, melted

1/2 cup granulated sugar

1 can (14 oz) sweetened condensed milk

1/2 cup fresh lemon juice (approximately 3-4 lemons)

Zest of 1 lemon

1/4 teaspoon salt

1 cup heavy whipping cream

2 tablespoons powdered sugar

Extra lemon zest for garnishing (optional)

Instructions
 

Prepare the Crust: In a medium mixing bowl, blend the graham cracker crumbs with the melted butter until fully combined. Firmly press this crumb mixture into the bottom of a 9-inch pie dish to create an even crust. Place the crust in the refrigerator to chill and firm up for about 15 minutes.

    Mix the Lemon Filling: In a separate bowl, whisk together the sweetened condensed milk, fresh lemon juice, lemon zest, granulated sugar, and salt until the mixture is smooth and well incorporated. You will notice that the filling begins to thicken slightly due to the acidity of the lemon juice.

      Whip the Cream: In another mixing bowl, use an electric mixer to beat the heavy whipping cream and powdered sugar together until stiff peaks form. This will give the pie a wonderfully light and airy texture.

        Combine Cream and Lemon Mixture: Carefully fold the whipped cream into the lemon filling, using gentle motions to avoid deflating the whipped cream. Ensure the two mixtures are fully combined for a silky filling.

          Assemble the Pie: Pour the lemon filling into the prepared graham cracker crust, smoothing the top using a spatula to create an even surface.

            Chill the Pie: Cover the pie with plastic wrap and place it in the refrigerator. Allow it to chill for at least 4 hours or overnight for optimal firmness and flavor development.

              Garnish and Serve: Once the pie is set, remove it from the refrigerator. Optionally, sprinkle extra lemon zest over the top for an added burst of citrus fragrance and color.

                Prep Time: 20 mins | Total Time: 4 hrs 20 mins | Servings: 8

                  - Presentation Tips: Slice the pie into even portions and serve on well-chilled plates for a refreshing experience. For an extra touch, consider adding a sprig of fresh mint on top, enhancing both the look and flavor profile.

                    Leave a Comment

                    Recipe Rating