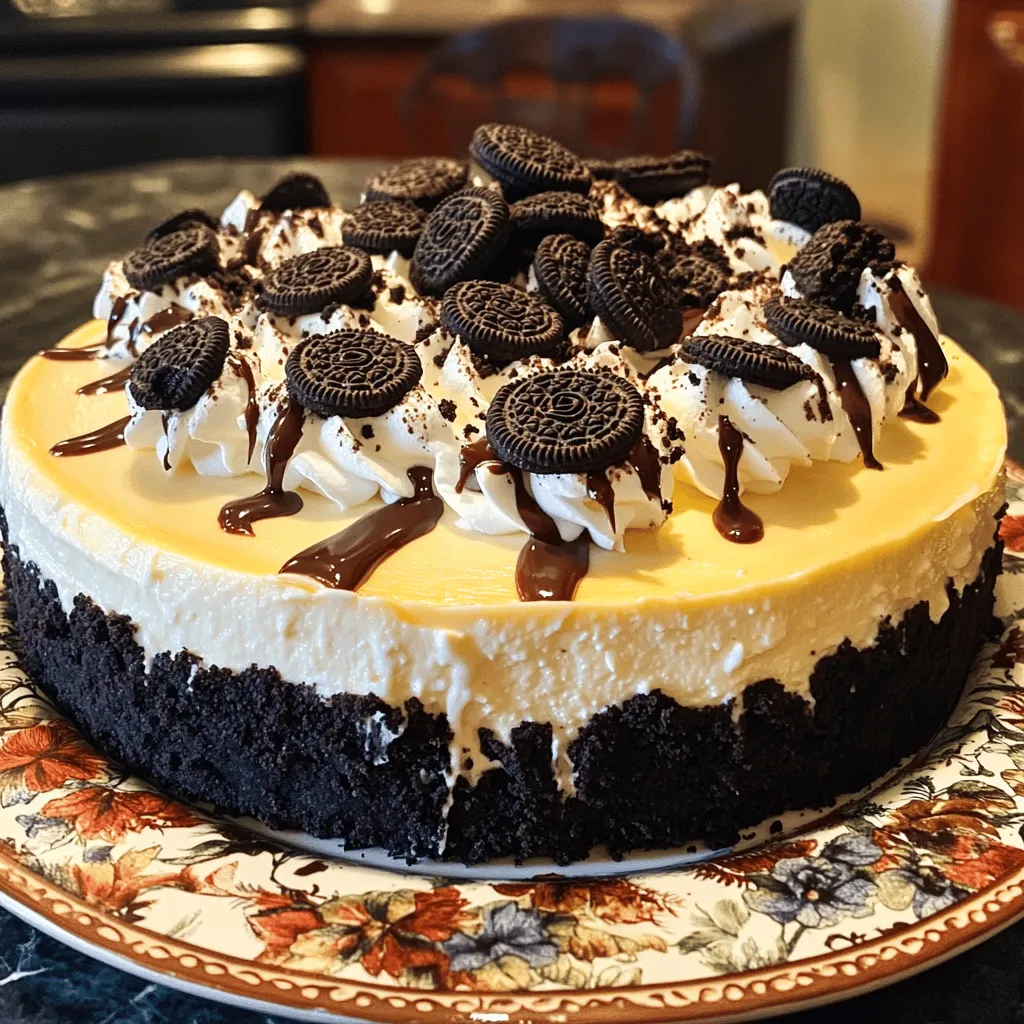
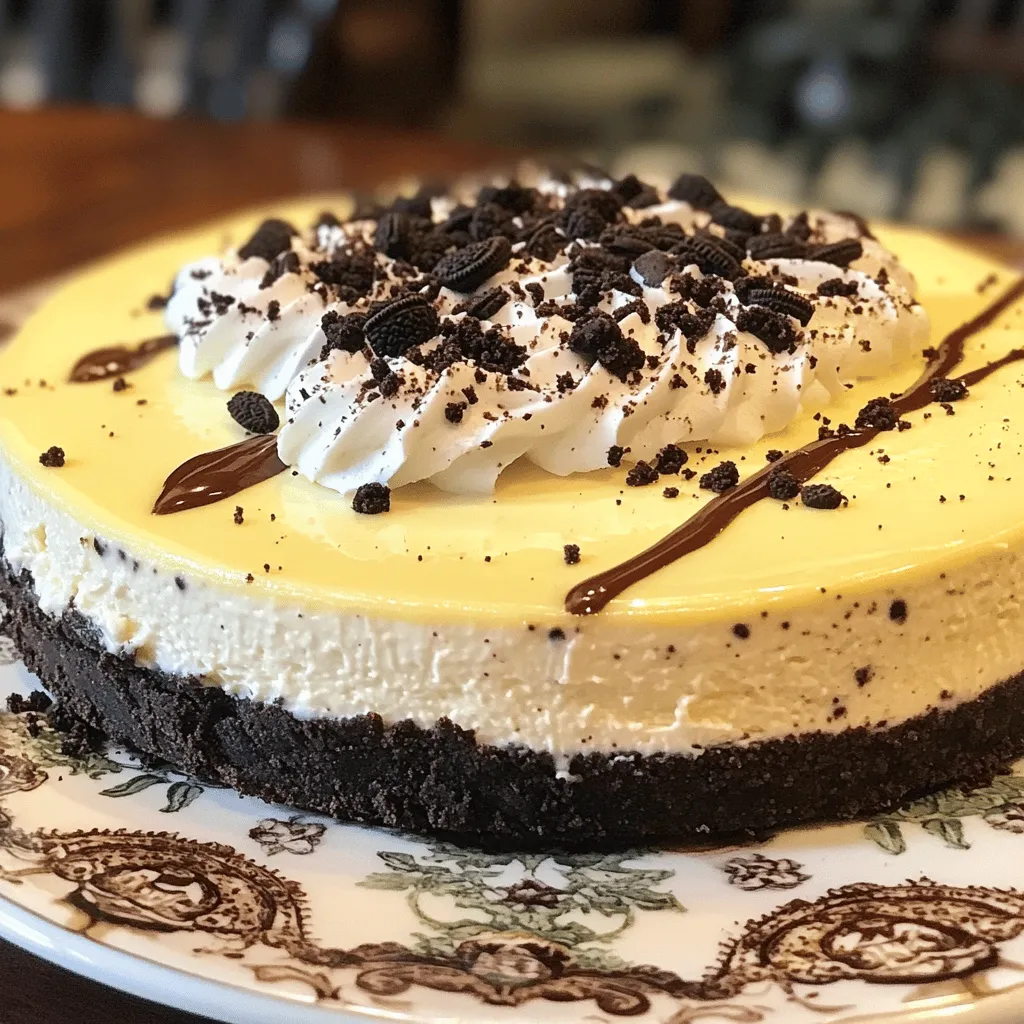
Looking for a sweet treat that’s simple and oh-so-delicious? This No-Bake Oreo Cheesecake is your answer! With just a few ingredients and no oven required, you can whip up this dessert in no time. You’ll impress your family and friends with creamy layers of cheesecake and crunchy Oreo goodness. Stick around, and I’ll guide you step by step to create this delightful dessert everyone will love!
Ingredients
List of Ingredients
– 24 Oreo cookies, finely crushed (reserve a few for garnish)
– 1/4 cup unsalted butter, melted
– 16 oz cream cheese, softened to room temperature
– 1 cup powdered sugar
– 1 teaspoon pure vanilla extract
– 1 cup heavy whipping cream, chilled
– 1/4 cup unsweetened cocoa powder (optional)
Tools You Will Need
– Mixing bowls
– Electric mixer
– 9-inch springform pan
– Spatula
– Measuring cups and spoons
To make a no-bake Oreo cheesecake, you need simple ingredients. First, the Oreo cookies create a rich crust. You will crush them finely, so they mix well with melted butter. The butter helps hold the crust together when you press it into the pan.
Next, you will need cream cheese. Make sure it is soft. This helps it mix smoothly with the sugar and vanilla. Powdered sugar adds sweetness. The vanilla gives a lovely flavor.
For a creamy texture, you will whip heavy cream. This adds lightness to the cheesecake. If you want an extra chocolate flavor, add cocoa powder. It complements the Oreos well.
Gather the tools before you start. You’ll need mixing bowls and an electric mixer. A springform pan is best for easy removal. A spatula helps you spread the filling smoothly. Measuring cups and spoons will ensure you get the right amounts.
With these ingredients and tools, you are ready to create a delightful dessert.
Step-by-Step Instructions
Prepare the Oreo Crust
1. In a medium bowl, combine 24 crushed Oreo cookies with 1/4 cup melted butter.
2. Mix until the cookies are well coated.
3. Transfer this mixture to a 9-inch springform pan.
4. Press it firmly using a glass to create a solid crust.
5. Place the pan in the freezer for 10 to 15 minutes to set.
Make the Cheesecake Filling
1. In a large bowl, beat 16 oz of softened cream cheese until smooth.
2. Gradually add 1 cup powdered sugar and 1 teaspoon vanilla extract.
3. Mix until everything blends well together.
4. For extra chocolate flavor, you can add 1/4 cup cocoa powder and mix again.
Whip the Cream and Combine
1. In a separate bowl, whip 1 cup of chilled heavy cream until stiff peaks form.
2. Gently fold the whipped cream into the cream cheese mixture.
3. Use a spatula to combine, making sure to keep it airy.
Assemble and Chill
1. Pour the creamy filling over the chilled Oreo crust.
2. Smooth the top with a spatula for an even look.
3. Cover the cheesecake with plastic wrap and refrigerate for at least 4 hours.
4. For best results, chill overnight.Enjoy making your No-Bake Oreo Cheesecake!
Tips & Tricks
Achieving the Perfect Texture
To get the right texture, the whipped cream must be stiff. Stiff peaks are key. When you whip the cream, stop when it holds its shape. This step helps make your cheesecake light and fluffy.
Folding is crucial when you mix the whipped cream into the cheese mix. Use a spatula and gently lift the cream from the bottom. This keeps air in the mixture. If you stir too hard, your cheesecake can turn out dense.
Flavor Enhancements
If you’re a chocolate lover, add cocoa powder. It gives a rich chocolate taste. Just mix it with the powdered sugar and cream cheese. This extra step transforms your cheesecake into a chocolate dream.
For toppings, consider crushed Oreos or chocolate chips. Both add richness and texture. You can also drizzle caramel or chocolate sauce on top for an extra sweet treat.
Presentation Suggestions
To make your cheesecake look great, garnish it with crushed Oreos. Sprinkle them on top right before serving. It adds a nice touch and hints at the flavor inside.
Serving with chocolate sauce or whipped cream also enhances the look. A drizzle of sauce adds flair and taste. Place a dollop of whipped cream on the side for a fun and tasty presentation. Each slice will look inviting and delicious. Enjoy this delightful treat!
Variations
Different Flavor Options
You can switch up the classic Oreo flavor for a twist. For a refreshing treat, try a mint Oreo cheesecake. Just use mint-flavored Oreos in the crust and filling. The bright mint flavor gives your cheesecake a fun kick.
If you love peanut butter, a peanut butter Oreo cheesecake is for you. Mix in creamy peanut butter to the filling. This adds a rich, nutty taste that pairs perfectly with the Oreo base. Both options are easy and delicious.
Dietary Adjustments
Need gluten-free options? You can make your cheesecake safe for gluten-free diets. Just use gluten-free Oreo cookies instead of the regular ones. This small change keeps all the flavor without gluten.
For vegans, making a dairy-free cheesecake is simple too. Substitute the cream cheese with a vegan cream cheese alternative. Use coconut cream or cashew cream for the whipped part. This way, everyone can enjoy this tasty treat.
Creative Serving Ideas
Want to serve your cheesecake in a fun way? Try making mini cheesecakes in cupcake liners. This makes a perfect bite-sized dessert. You can easily share them at parties or gatherings.
Another great idea is to use jars for a no-bake Oreo cheesecake. Layer the crust and filling in small jars for a cute presentation. This makes it easy for guests to grab their own. You can even top them with whipped cream and crushed Oreos for extra flair.
Storage Info
How to Store Leftovers
To keep your no-bake Oreo cheesecake fresh, refrigerate it. Wrap it tightly with plastic wrap. This helps prevent it from drying out. It stays good in the fridge for about 3 to 4 days. If you want to save it longer, freezing is a great option.
For freezing, cut the cheesecake into slices first. This makes it easier to thaw only what you need. Place each slice in an airtight container. You can also wrap them in plastic wrap and then foil. This extra layer protects the cheesecake from freezer burn.
Best Practices for Thawing
When you’re ready to enjoy the frozen cheesecake, take it out of the freezer. Place it in the fridge overnight to thaw slowly. This helps keep the texture nice and smooth.
If the crust loses its crispness after thawing, you can re-crisp it. Just pop the slices under the broiler for a minute or two. Watch it closely to avoid burning. You’ll have that delightful crunch back!
Enjoy every layer of this creamy treat.
FAQs
How long does it take to set?
This cheesecake needs to chill for at least four hours. For best results, I recommend leaving it overnight. This allows all the flavors to blend and the texture to firm up nicely. If you rush this step, the cheesecake may not hold its shape when you slice it.
Can I use different types of cookies?
Absolutely! You can swap Oreos for other cookies too. For a fun twist, try using chocolate wafer cookies or graham crackers. If you love mint, mint Oreos work great as well. The key is to find cookies that will hold together when crushed.
What if I don’t have a springform pan?
No worries if you lack a springform pan! You can use a regular pie dish or an 8×8 inch baking dish. Just line the bottom with parchment paper for easy removal. If you use a dish without removable sides, let it cool completely before slicing.
Is this cheesecake suitable for special occasions?
Yes, this cheesecake shines at any event! It looks stunning and tastes amazing, making it a great choice for parties, birthdays, or holidays. People love the creamy texture and rich chocolatey taste. It’s a dessert that will impress your guests and leave them wanting more.
You now know how to make a delicious Oreo cheesecake. We covered the key ingredients, tools, and step-by-step instructions. I shared helpful tips for perfecting texture and flavor. You’ve seen variations to suit different tastes and dietary needs. Lastly, I explained storage tips to keep your dessert fresh. Enjoy making this dessert for any occasion; it’s always a hit! You’ll impress friends and family with your skills. Now, get ready to savor a creamy, rich cheesecake.