Who doesn’t love the cool crunch of mint chocolate chip ice cream? With my no-churn recipe, making this delightful treat at home is easy and fun. You’ll only need a few key ingredients and some simple steps. Plus, I’ll share tips to customize flavors and perfect the texture. Get ready to impress your friends and family with this creamy delight that requires no ice cream maker!
Why I Love This Recipe
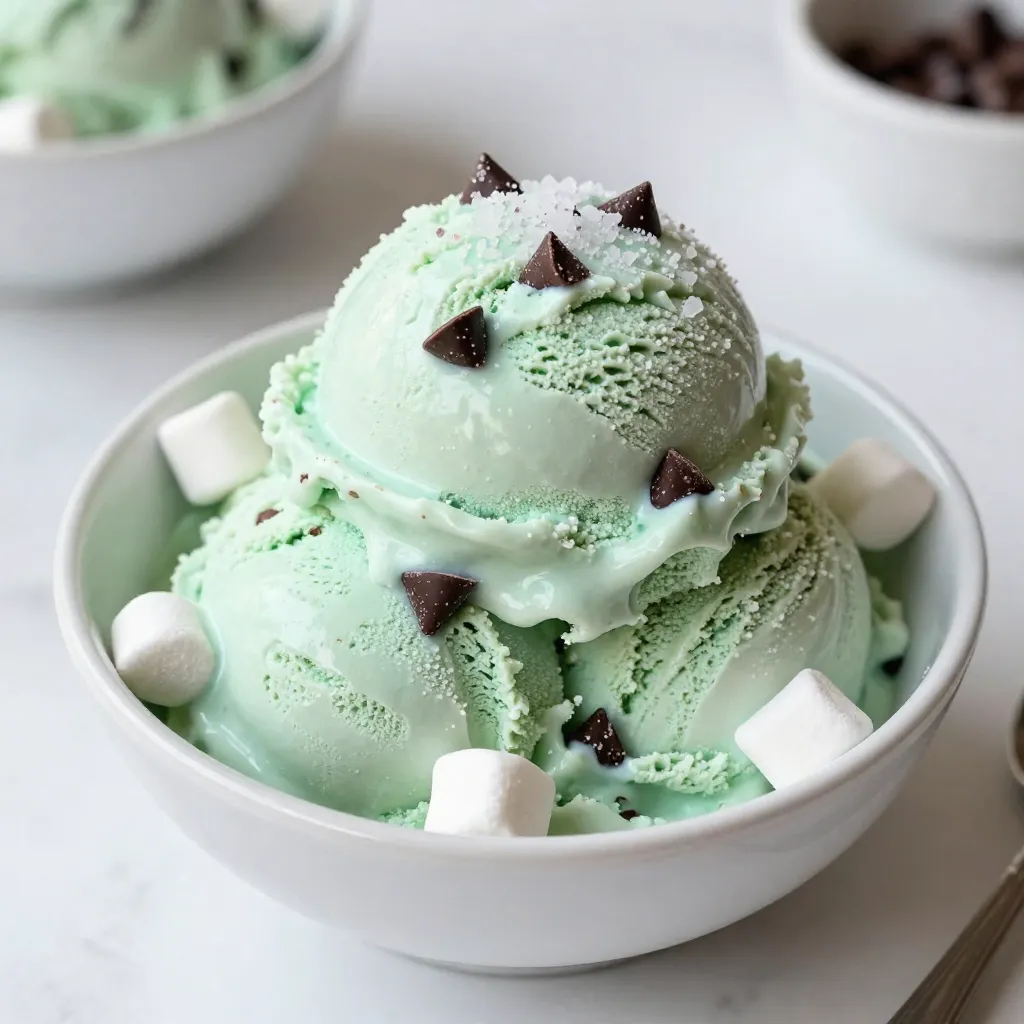
- Refreshing Flavor: The combination of mint and chocolate creates a delightful and refreshing taste that is perfect for warm days.
- Easy to Make: This recipe requires minimal ingredients and simple steps, making it accessible for home cooks of all skill levels.
- Customizable: You can easily adjust the level of mint or add your favorite mix-ins, allowing for a personalized ice cream experience.
- Perfect for Any Occasion: This mint chocolate chip ice cream is a hit at parties, gatherings, or simply as a sweet treat at home.
Ingredients
Essential Ingredients for No-Churn Mint Chocolate Chip Ice Cream
To make this easy ice cream, you need:
– 2 cups heavy whipping cream
– 1 cup sweetened condensed milk
– 1 teaspoon peppermint extract
– 1/4 teaspoon green food coloring (optional)
– 1 cup semi-sweet chocolate chips
– Pinch of sea salt
These ingredients create the perfect base for a creamy, minty treat. The heavy cream gives it a rich texture, while the condensed milk adds sweetness and body.
Optional Ingredients for Extra Flavor and Texture
To take your ice cream up a notch, consider adding:
– 1/2 cup mini marshmallows
These mini marshmallows add a fun chewiness. They make each bite even more enjoyable. The optional food coloring can make your ice cream look festive and fun!
Equipment Needed
You will need some basic kitchen tools:
– A large mixing bowl
– An electric mixer
– A spatula
– An airtight container
Having the right equipment makes the process smooth. The mixer helps whip the cream perfectly, while the spatula ensures you fold gently without losing air.

Step-by-Step Instructions
How to Whip the Cream
To start, grab a large mixing bowl. Pour in 2 cups of heavy whipping cream. Use an electric mixer to beat it on high speed. Keep mixing for about 3 to 5 minutes. Watch for stiff peaks to form. This step makes your ice cream light and fluffy.
Mixing the Condensed Milk Base
In a separate bowl, combine 1 cup of sweetened condensed milk with 1 teaspoon of peppermint extract. If you want a fun green color, add 1/4 teaspoon of green food coloring. Stir until the mixture is smooth and even.
Folding Techniques for Combining Mixtures
Now, it’s time to combine. Gently fold the whipped cream into the condensed milk mixture. Use a spatula for this. Be careful to keep that airy texture. Fold until just combined, but leave some streaks. This helps keep it light.
Adding Chocolate Chips and Marshmallows
Next, add 1 cup of semi-sweet chocolate chips. If you like, toss in 1/2 cup of mini marshmallows for extra texture. Fold these into the mixture gently. Ensure they are spread out evenly throughout.
Preparing the Mixture for Freezing
Transfer the ice cream mixture into an airtight container. Use a spatula to smooth the top. This makes it look nice and even. Sprinkle a pinch of sea salt on top. This little touch enhances the flavors.
Tips & Tricks
Achieving the Perfect Texture
To get that creamy, smooth texture, whip the cream well. Mix it until stiff peaks form. This makes the ice cream light and fluffy. When you fold it into the milk mix, do it gently. You want to keep the air in the cream. If you over-mix, your ice cream may turn out dense.
How to Customize the Flavor Profile
You can change the mint flavor to fit your taste. Add more peppermint extract for a stronger mint kick. For a fun twist, try using different extracts like vanilla or almond. You can also play with the color. If you want a brighter green, add a bit more food coloring. Mix in other flavors like coconut or coffee for a unique taste.
Presentation Suggestions for Serving
Make your ice cream look as good as it tastes. Serve it in bowls or cones. Drizzle some chocolate sauce on top for extra sweetness. Sprinkle mini marshmallows or crushed cookies for added texture. You can even add a sprig of fresh mint to make it pop. These little touches make your dessert even more delightful!
Pro Tips
- Chill Your Mixing Bowl: For an even fluffier whipped cream, chill your mixing bowl and beaters in the freezer for about 10-15 minutes before whipping the cream.
- Use Quality Chocolate: Opt for high-quality semi-sweet chocolate chips to enhance the overall flavor. Good chocolate makes a noticeable difference!
- Customize Your Mint Flavor: If you prefer a stronger mint flavor, increase the peppermint extract gradually, tasting as you go to avoid overpowering the mix.
- Let It Sit Before Serving: Allow the ice cream to sit at room temperature for about 5-10 minutes before scooping. This will make it easier to serve and improve the texture.
Variations
Alternative Flavor Combinations
You can switch up the mint flavor with other fun choices. Try using almond extract for a nutty twist. Lemon or orange zest gives a bright, fresh taste. If you love chocolate, mix in cocoa powder for a richer flavor. You can also use different extracts like coconut or vanilla to change things up.
Dairy-Free or Vegan Options
For a dairy-free version, use coconut cream instead of heavy whipping cream. Look for sweetened condensed coconut milk at stores. This option keeps the creamy texture while being dairy-free. You can also add a splash of almond milk for extra moisture. This way, everyone can enjoy this treat!
Different Mix-Ins to Try
Get creative with your mix-ins! Chopped nuts like pecans or walnuts add a nice crunch. You can also use crushed cookies for added texture. If you love fruit, try adding fresh berries or diced bananas for a fruity twist. Mixing in a swirl of fudge or caramel can take your ice cream to the next level!
Storage Info
Best Practices for Freezing Ice Cream
To keep your Minty Chocolate Dream Delight fresh, use an airtight container. This keeps out air and prevents ice crystals. Make sure to smooth the top of the ice cream before sealing the lid. A sprinkle of sea salt adds flavor and helps with texture.
How Long it Can Last in the Freezer
Your no-churn ice cream can last up to two weeks in the freezer. After this time, it may lose flavor and texture. To enjoy the best taste, try to eat it within this time frame.
Tips for Defrosting and Serving
When ready to serve, take the ice cream out of the freezer. Let it sit at room temperature for about 5 to 10 minutes. This makes scooping much easier. Use a warm scoop for a smoother serve. Enjoy your ice cream in bowls or cones for a fun treat!
FAQs
Can I use a different kind of extract?
Yes, you can! If you want a different flavor, use vanilla or almond extract. These give a unique twist to the ice cream. Just keep the amount the same, about one teaspoon.
What can I substitute for heavy whipping cream?
You could use coconut cream instead of heavy whipping cream. It adds a nice flavor and works well for a creamy texture. Just chill the coconut cream before whipping for the best results.
How do I know when the ice cream is fully frozen?
Check after six hours. The ice cream should feel firm to the touch. If it still feels soft, let it freeze for a few more hours.
Can I use an ice cream maker for this recipe?
You can, but it’s not needed. This no-churn recipe is easy and quick. If you do use an ice cream maker, follow the machine’s instructions after mixing the ingredients.
How can I make this recipe more low-calorie?
To lower the calories, swap heavy cream for light whipped topping. You can also use a sugar-free condensed milk. This keeps the flavor while cutting some calories.
Making no-churn mint chocolate chip ice cream is fun and simple. We covered the key ingredients and helpful tools you need. You learned step-by-step how to whip the cream, mix in the base, and blend in yummy add-ins. I shared tips for texture and fun variations like dairy-free options. Remember, store your ice cream right, and it can last for weeks. With this guide, you can easily create a tasty treat that everyone will love. Enjoy your ice cream journe