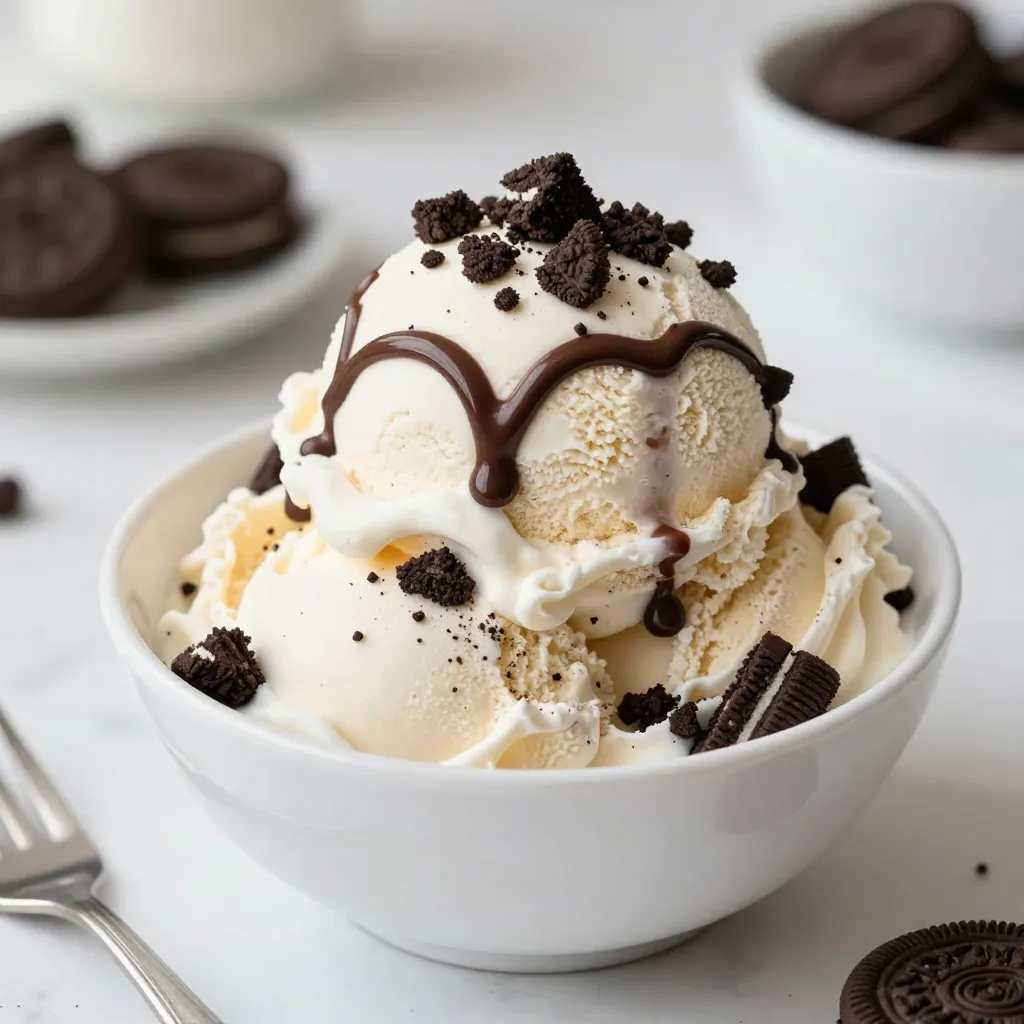
Craving a sweet treat? You’ll love my No-Churn Oreo Ice Cream! This simple dessert comes together without an ice cream maker. Just five main ingredients create a creamy, dreamy delight. Plus, you can customize it with your favorite toppings. Whether it’s summer or any day, this easy recipe will make you the star of the kitchen. Let’s dive into the fun of making this treat!
Why I Love This Recipe
- Rich Creaminess: This dessert combines heavy cream and sweetened condensed milk for a luxuriously creamy texture that melts in your mouth.
- Oreo Bliss: The inclusion of crushed Oreo cookies adds a delightful crunch and chocolatey flavor that perfectly complements the creamy base.
- Easy to Make: With just a few simple ingredients and straightforward steps, this recipe is perfect for both beginner and experienced bakers.
- Perfect for Any Occasion: This Cookies & Cream Delight can be served at parties, gatherings, or as a special treat for yourself; it’s always a hit!
Ingredients
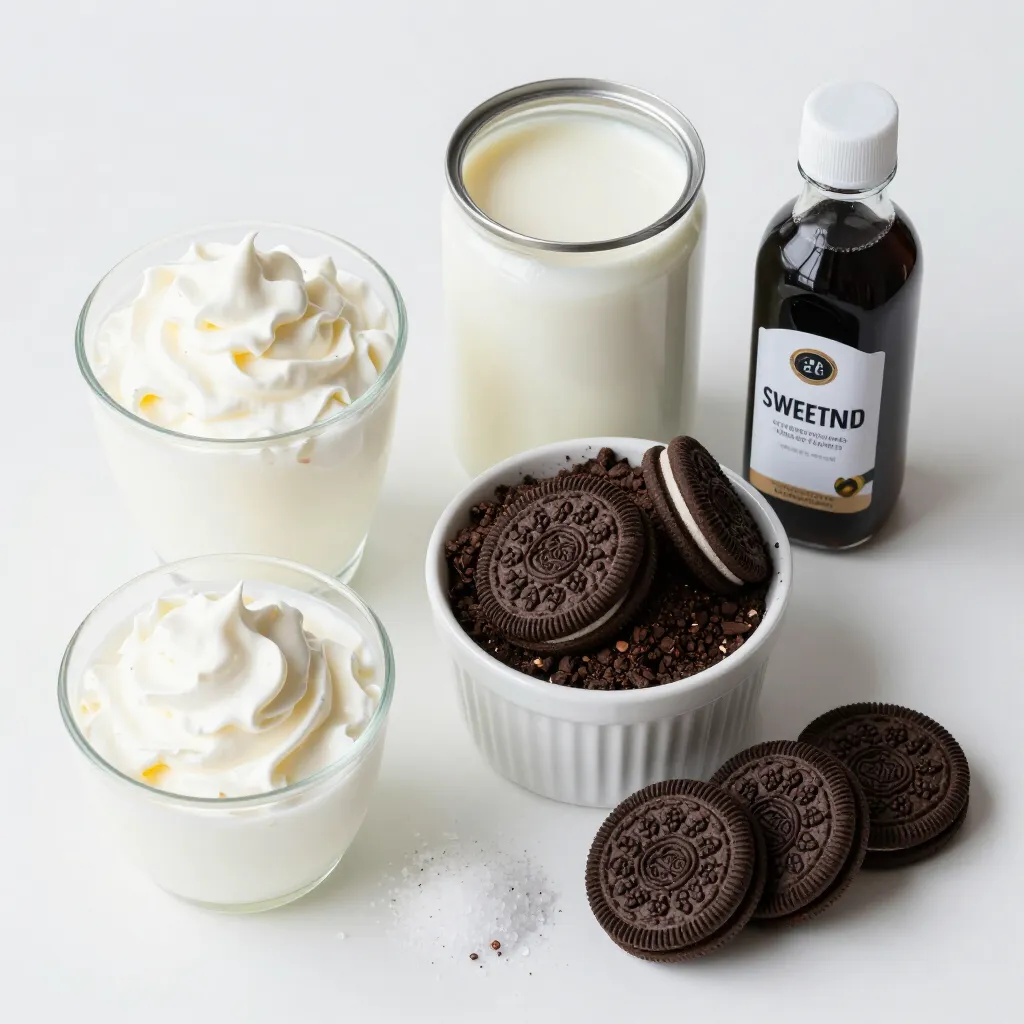
Main Ingredients for No-Churn Oreo Ice Cream
– 2 cups heavy cream
– 1 can (14 oz) sweetened condensed milk
– 1 teaspoon vanilla extract
– 1 cup crushed Oreo cookies (plus extra for topping)
– A pinch of salt
The main ingredients for this no-churn Oreo ice cream are simple and fun. Heavy cream gives the ice cream its creamy texture. Sweetened condensed milk adds sweetness and a rich flavor. Vanilla extract brings warmth to the ice cream. Crushed Oreo cookies provide that beloved cookies and cream taste. Don’t forget a pinch of salt to enhance all the flavors.
Optional Toppings
– Additional crushed Oreos
– Chocolate sauce
– Whipped cream
After making your ice cream, you can get creative with toppings. More crushed Oreos add a nice crunch. Drizzling chocolate sauce gives it a sweet touch. A dollop of whipped cream makes it look fancy and fun. These toppings will make your no-churn Oreo ice cream even more delightful!
Step-by-Step Instructions
Preparing the Whipped Cream
– Begin with 2 cups of heavy cream.
– Pour the cream into a large mixing bowl.
– Use an electric mixer on high speed.
– Beat the cream for 3 to 5 minutes.
– Watch closely until it forms stiff peaks.
– Be careful not to over-whip the cream.
– Over-whipped cream can turn grainy and lose fluffiness.
Combining Ingredients
– Grab another mixing bowl for the next step.
– Add one can of sweetened condensed milk to the bowl.
– Pour in 1 teaspoon of vanilla extract.
– Add a pinch of salt to balance the sweetness.
– Stir gently with a spatula until well mixed.
– Take your whipped cream and fold it in slowly.
– Use a spatula to keep the mixture light and airy.
Final Assembly
– Now, gently fold in 1 cup of crushed Oreo cookies.
– Save some crushed Oreos for topping later.
– Transfer the mixed ice cream into a loaf pan.
– Smooth the top for an even finish.
– Sprinkle the reserved Oreo crumbles on top.
– Seal the container tightly with plastic wrap.
– Place it in the freezer for at least 6 hours.
– This will help it become firm and ready to scoop.
Tips & Tricks
Perfecting the Ice Cream Texture
To get a smooth ice cream, avoid ice crystals. Ice crystals form when the mixture freezes too fast. Here are tips to keep your ice cream creamy:
– Chill your mixing bowls: Before you start, chill your bowls. Cold bowls help keep the cream cold while you whip.
– Don’t over-whip: When whipping cream, stop as soon as you see stiff peaks. Over-whipped cream can turn grainy.
Folding is key to keeping the mixture light. Use a spatula to gently mix the whipped cream and condensed milk. Move the spatula in a circular motion. Turn the bowl as you fold. This helps mix without losing air.
Customization Ideas
You can make this ice cream your own! Try these fun ideas:
– Different cookies: Swap Oreos for other cookies like chocolate chip or peanut butter. Each adds its own twist.
– Flavor variations: Add flavors to the base. For a minty taste, mix in mint extract. For a nutty flavor, try peanut butter.
Experimenting with these options can lead to new favorites.
Serving Suggestions
Serving your homemade ice cream can be fun and creative. Here are some ideas:
– Pair with desserts: Serve it with brownies or pie for a perfect match. The rich flavors blend well.
– Creative presentations: Use cones or fancy bowls. Top with extra crushed Oreos or a drizzle of chocolate sauce. This not only tastes great but looks stunning too!
Make your ice cream special by adding your personal touch.
Pro Tips
- Whipping Cream Perfectly: Make sure your mixing bowl and beaters are cold, as this helps the cream whip faster and achieve better volume.
- Flavor Variations: Experiment with different flavors by adding a tablespoon of peppermint extract or crushed candy canes for a seasonal twist.
- Serving Suggestions: Serve with fresh berries or a sprinkle of chopped nuts for added texture and flavor contrast.
- Storage Tips: For longer storage, wrap the ice cream with plastic wrap before sealing it in an airtight container to preserve its freshness.
Variations
Gluten-Free Options
You can make this treat gluten-free. Instead of regular Oreos, use gluten-free cookies. Brands like Glutino or Kto’s offer great options. Check ingredient labels to ensure they fit your needs. You won’t miss out on taste.
Vegan Version
For a dairy-free option, swap heavy cream with coconut cream. It adds a nice flavor. Use a plant-based sweetened condensed milk too. Brands like Nature’s Charm work well.
– Alternative sweeteners:
Use maple syrup or agave nectar instead of sweetened condensed milk. This keeps it vegan and adds a unique twist.
Flavor Combinations
You can mix things up with fun flavors. Adding fresh fruit like strawberries or bananas gives a refreshing taste. Slice them thin before folding into your ice cream.
– Incorporating chocolate chips:
Add mini chocolate chips for extra crunch. This makes the dessert even more exciting and delicious. You can also swirl in some peanut butter for a rich taste. Enjoy experimenting!
Storage Info
How to Store No-Churn Oreo Ice Cream
To keep your ice cream fresh, use an airtight container. A loaf pan works well too. Make sure to cover it tightly with plastic wrap or a lid. This helps stop air from getting in. Air can cause freezer burn, which ruins the ice cream’s taste.
Shelf Life
This ice cream stays good in the freezer for about 2 to 3 months. After that, it may lose flavor and texture. Look for signs of freezer burn, like ice crystals or a dry surface. If you see these, it might be time to toss it out.
How to Serve After Freezing
When it’s time to serve, take the ice cream out of the freezer. Let it sit for about 5 to 10 minutes. This helps soften it, making it easier to scoop. Use a warm ice cream scoop for the best results. If you want it creamier, let it thaw for a few extra minutes.
FAQs
Can I use a different type of cookie besides Oreos?
Yes, you can! Some great alternatives include:
– Chocolate sandwich cookies
– Vanilla wafers
– Graham crackers
Using these options can give your ice cream a new twist. You can even mix and match for fun flavors.
Is it necessary to use an electric mixer?
Not at all! You can whip the cream by hand. However, an electric mixer saves time and effort. If you choose to hand-whip, be ready for a workout. Whipping by hand takes longer but can be fun. Just make sure to get those stiff peaks!
How long does it take for the ice cream to set?
It usually takes about 6 hours for the ice cream to set. For the best scoopable texture, let it freeze overnight. When ready, the ice cream should be firm but still creamy. If it feels too hard, let it sit for a few minutes before scooping. Enjoy those creamy bites!
This no-churn Oreo ice cream is simple and fun to make. You need just five key ingredients and a few steps to whip up a creamy treat. Don’t forget the optional toppings to add extra flavor. You can customize it with different cookies or flavors too.
Storing your ice cream properly keeps it fresh and tasty. Remember to serve it just right for the best texture. Enjoy this sweet delight on any occasio


