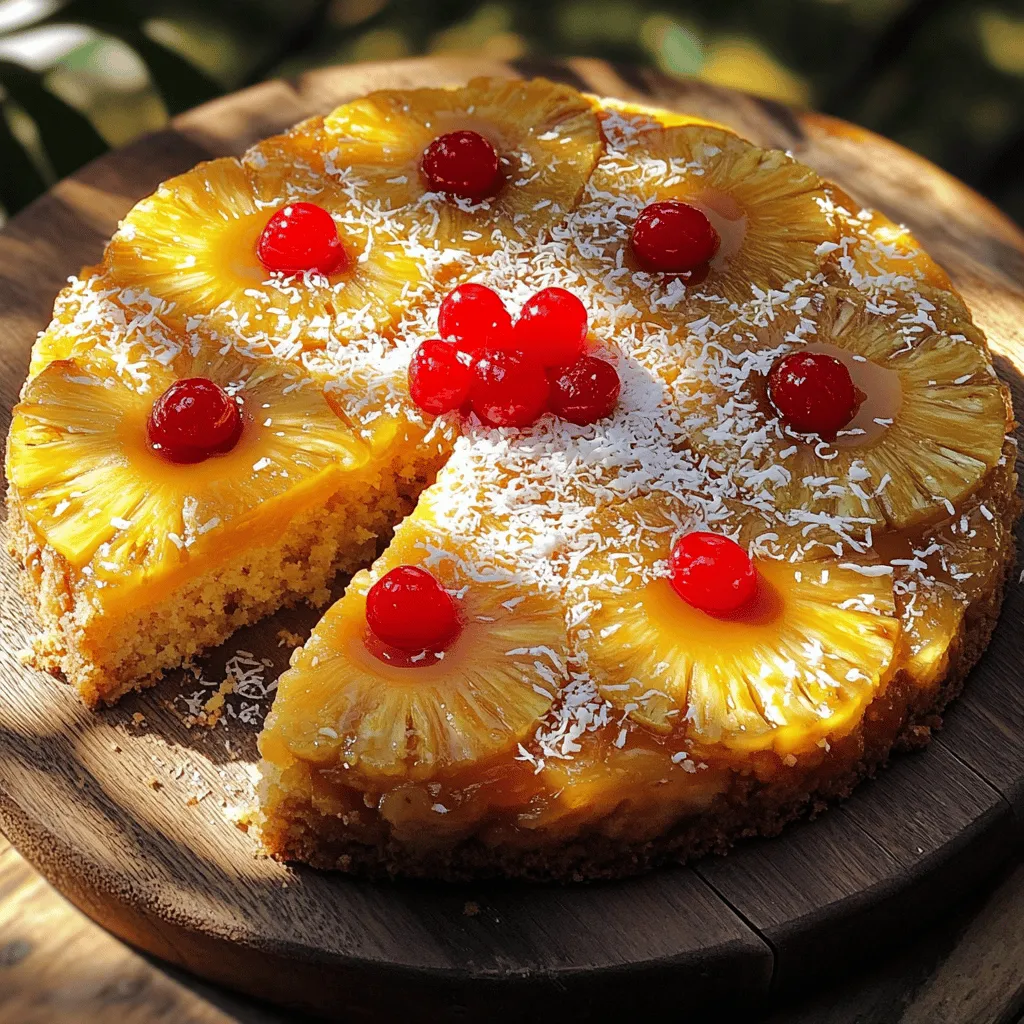
Are you ready to bake a classic dessert that never fails to impress? Pineapple Upside Down Cake is a delightful sweet treat that combines juicy fruit and a moist cake. In this guide, I will share everything you need to know—ingredients, step-by-step instructions, and expert tips. Whether you’re a baking novice or a pro, this recipe will help you create a stunning cake that will wow your guests. Let’s dive in!
Ingredients
To make a delightful Pineapple Upside Down Cake, gather these simple ingredients. Each one plays a key role in giving the cake its rich flavor and texture.
– 1 cup all-purpose flour
– 1 teaspoon baking powder
– 1/2 teaspoon baking soda
– 1/4 teaspoon salt
– 1/2 cup unsalted butter, softened to room temperature
– 1 cup brown sugar, packed firmly
– 2 large eggs at room temperature
– 1 teaspoon vanilla extract
– 1/2 cup milk (whole or 2% preferred)
– 1 can (20 oz) sliced pineapple, well-drained (reserve the juice for later)
– Maraschino cherries for garnish
– 1/4 cup shredded coconut (optional, for an added crunch)
These ingredients blend together to create a cake that is both moist and bursting with flavor. The brown sugar caramelizes, giving the top a beautiful golden look. The pineapple adds sweetness and a touch of tartness.
Step-by-Step Instructions
Preparation Steps
1. Preheat your oven to 350°F (175°C). This step is key for great baking.
2. Prepare a 9-inch round cake pan by greasing it with butter. Lightly dust it with flour or use non-stick spray. This helps the cake come out easily.
3. In a medium bowl, mix 1 cup of all-purpose flour, 1 teaspoon of baking powder, 1/2 teaspoon of baking soda, and 1/4 teaspoon of salt. Whisk until blended. Set this dry mix aside.
4. In a large bowl, cream together 1/2 cup of softened unsalted butter and 1 cup of packed brown sugar. Use an electric mixer on medium speed for 2-3 minutes. The mix should be light and fluffy.
5. Add 2 large eggs one at a time. Mix well after each addition. Then add 1 teaspoon of vanilla extract and blend until smooth.
6. Gradually add the dry flour mix to the butter mix. Alternate with 1/2 cup of milk. Start and end with the flour. Stir gently until just combined. Avoid overmixing to keep the cake light.
Baking Process
1. Pour a small amount of the reserved pineapple juice into the bottom of the cake pan. Just enough to coat the bottom lightly.
2. Arrange the drained pineapple slices in an even layer at the bottom of the pan. Place a maraschino cherry in the center of each slice. If you like, sprinkle shredded coconut over the top.
3. Carefully pour the prepared cake batter over the pineapple and cherries. Use a spatula to spread it evenly.
4. Bake in the preheated oven for 35-40 minutes. The cake is done when a toothpick inserted in the center comes out clean.
5. Once baked, let the cake cool in the pan for about 10 minutes. Then, invert the cake onto a serving plate. The pineapple should be on top. Tap the bottom gently if needed to release it.
6. Allow the cake to cool slightly before serving. Enjoy this delightful treat while warm!
Tips & Tricks
Perfecting the Cake
To make your cake great, avoid overmixing the batter. Mix just until the ingredients blend. If you mix too much, the cake can become tough.
Always check doneness with a toothpick. Insert it into the center of the cake. If it comes out clean, your cake is done. If it has batter on it, bake a few more minutes.
When inverting the cake, let it cool for about 10 minutes. This step helps it release from the pan. Tap gently on the bottom to help it come out. Place a serving plate on top of the pan. Flip it over quickly. The pineapple should be on top.
Presentation Suggestions
For a lovely touch, garnish with whipped cream or ice cream. A dollop of cream adds a rich flavor. A scoop of ice cream makes it fun and cool.
Add fresh mint for a pop of color. Just a few leaves make the dish look bright. It also adds a fresh taste.
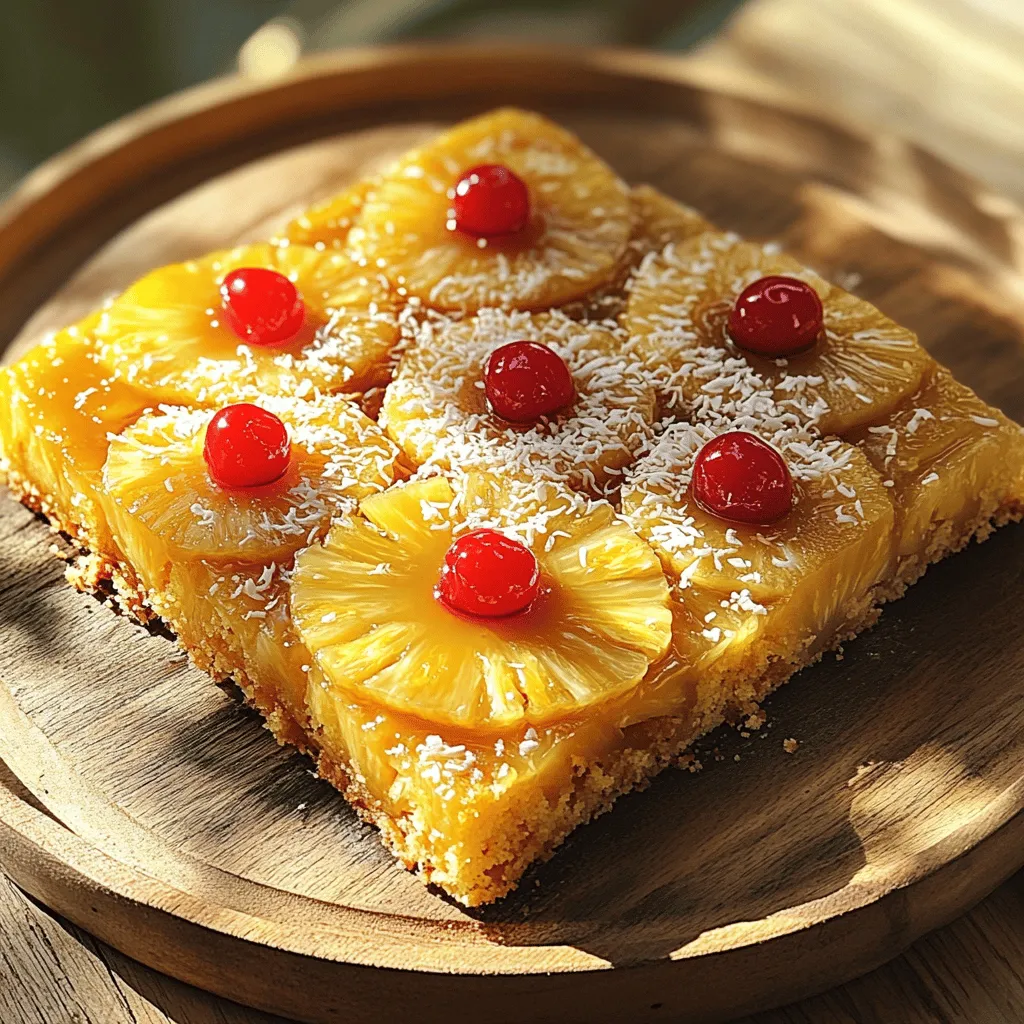
When serving for special occasions, slice the cake neatly. Serve on pretty plates for a nice look. You can even sprinkle some shredded coconut on top for extra flair.
Variations
Flavored Alternatives
You can make this cake even more fun with different flavors. Here are some ideas:
– Tropical twists with different fruits: Try using mango, peaches, or even berries. Each fruit adds a unique taste and twist.
– Coconut-infused batter or toppings: Mix shredded coconut into the batter. You can also sprinkle it on top before baking for a crunchy finish.
– Using flavored extracts for extra zest: Add almond or coconut extract to the batter. This small change adds a big flavor boost.
Dietary Alternatives
You can easily adapt this cake for different diets. Here are some options:
– Gluten-free substitutions: Use a gluten-free flour blend instead of all-purpose flour. This keeps the cake soft and tasty.
– Dairy-free options for the recipe: Swap regular milk for almond or oat milk. Use coconut oil instead of butter for a rich flavor.
– Adjusting for low sugar or healthier versions: Try using a natural sweetener like honey or maple syrup. You can also reduce the sugar by a third without losing taste.
Storage Info
Proper Storage Techniques
To keep your leftover pineapple upside down cake fresh, store it in an airtight container. This will help prevent it from drying out.
1. Wrap the Cake: If you don’t have a container, wrap the cake tightly in plastic wrap. This keeps it moist and flavorful.
2. Refrigerate: Place the wrapped cake in the fridge if you plan to eat it within a few days. It should stay good for about 3 to 5 days.
3. Freezing Options: For longer storage, you can freeze the cake. Slice it into pieces for easy serving later. Wrap each slice in plastic wrap and then place the slices in a freezer bag. This way, you can grab a piece whenever you want!
Reheating Instructions
When you’re ready to enjoy your cake again, reheating it is simple. This will help keep it soft and tasty.
– Microwave Method: Place a slice on a microwave-safe plate. Heat it for about 10-15 seconds. Check to see if it’s warm enough. If not, heat in 5-second intervals.
– Oven Method: For a more even heat, preheat your oven to 350°F (175°C). Wrap the cake in foil and heat for about 10-15 minutes. This helps maintain its moisture and flavor.
Enjoy your delicious cake warm, and it will taste as good as fresh!
FAQs
Common Questions
How do I prevent my cake from sticking to the pan?
To stop the cake from sticking, grease the pan well. Use butter or non-stick spray. Lightly dust the pan with flour after greasing. This makes it easier to remove the cake later.
Can I use fresh pineapple instead of canned?
Yes, you can use fresh pineapple! Just slice it into rings and make sure to drain any juice. Fresh pineapple gives a brighter taste and a nice texture.
What can I serve with Pineapple Upside Down Cake?
You can serve this cake with a scoop of vanilla ice cream. Whipped cream also works well. Fresh fruit or a sprig of mint adds color and flavor too.
Troubleshooting Tips
Troubleshooting when the cake sinks in the middle
If your cake sinks, it might be due to overmixing the batter. Always mix until just combined. Too much air in the batter can cause it to deflate.
What to do if the cake is too dry
If the cake turns out dry, it may have baked too long. Next time, check for doneness a few minutes early. You can also add a little extra milk to the batter for moisture.
Adjustments for high-altitude baking
At high altitudes, you may need to reduce the sugar and increase the liquid. Lower the baking powder a bit too. This helps the cake rise without sinking.
This blog post covered how to make a delicious Pineapple Upside Down Cake. We explored the key ingredients like flour, butter, and canned pineapple. I shared easy steps to prepare and bake the cake. You learned helpful tips to avoid common mistakes and ways to make it look tasty. We also discussed fun variations and proper storage techniques. Remember, each step matters for a perfect cake. Enjoy baking this delightful treat and share it with family and friends!


