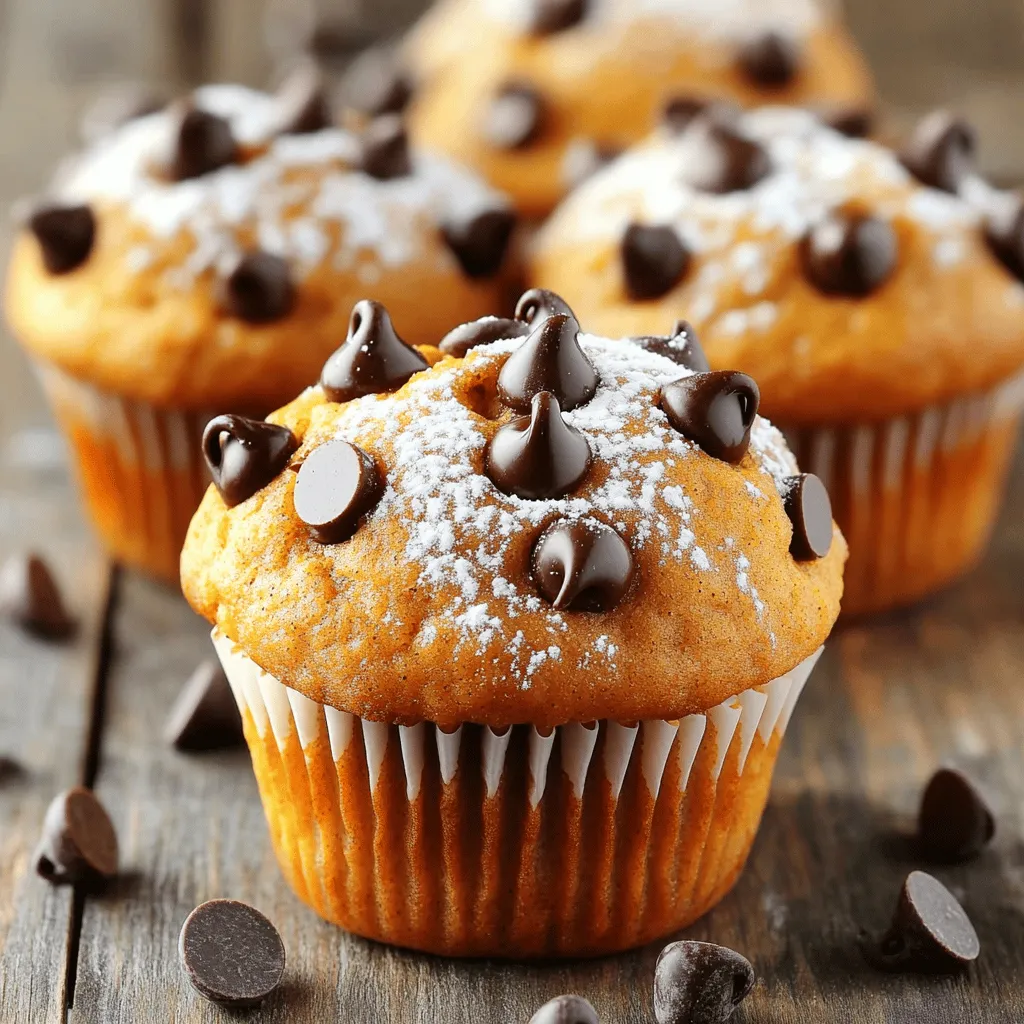
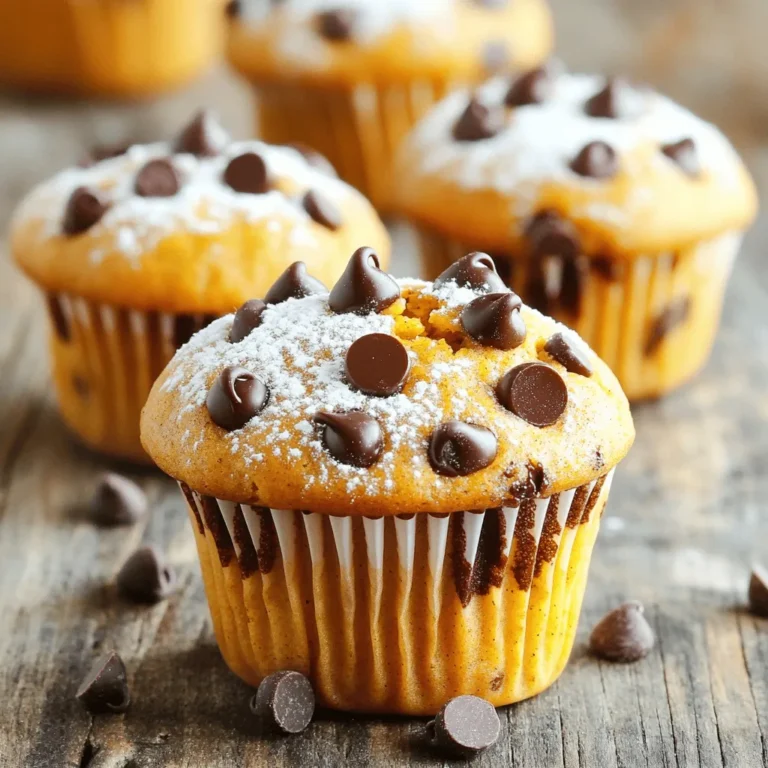
If you love warm, fluffy muffins, you’re in for a treat! My Pumpkin Chocolate Chip Muffins are delicious and super easy to make. They combine rich pumpkin flavor with sweet chocolate chips for an irresistible bite. In this post, I’ll guide you through the simple ingredients, step-by-step baking, and some fun variations. Whether you’re baking for a cozy breakfast or a fall gathering, these muffins will wow everyone. Let’s dive in!
Ingredients
Key Ingredients List
– 1 cup pumpkin puree (canned or homemade)
– 1/2 cup granulated sugar
– 1/2 cup packed brown sugar
– 1/2 cup vegetable oil (or melted coconut oil)
– 2 large eggs (room temperature)
– 1 teaspoon pure vanilla extract
– 1 1/2 cups all-purpose flour
– 1 teaspoon baking soda
– 1 teaspoon baking powder
– 1 teaspoon ground cinnamon
– 1/2 teaspoon ground nutmeg
– 1/4 teaspoon ground ginger
– 1/4 teaspoon fine sea salt
– 1 cup semi-sweet chocolate chips (or a mix of dark and milk chocolate)
Tips for Ingredient Quality
Using fresh ingredients makes a big difference. Choose pure pumpkin puree, not pumpkin pie filling. The sugars give your muffins sweetness and moisture. Always use room temperature eggs to help with mixing. When you use quality chocolate chips, the taste improves. Look for semi-sweet or dark chocolate for a rich flavor. Fresh spices lend a better taste than old ones.
Common Substitutions
You can swap vegetable oil for melted coconut oil if you want a different flavor. If you don’t have brown sugar, you can use more granulated sugar. Applesauce can replace oil for a lighter muffin. For gluten-free muffins, use a gluten-free flour blend. If you want fewer calories, try using a sugar substitute. You can also replace chocolate chips with dried fruits or nuts for a twist.
Step-by-Step Instructions
Preparation Steps Overview
Start by gathering all your ingredients. You will need pumpkin puree, sugars, oil, eggs, and vanilla. You also need flour, leavening agents, spices, and chocolate chips. Preheat your oven to 350°F (175°C). Line a muffin tin with paper liners for easy cleanup.
Detailed Baking Instructions
1. In a large bowl, mix pumpkin puree, granulated sugar, brown sugar, vegetable oil, eggs, and vanilla extract. Whisk it well until smooth and creamy.
2. In another bowl, sift together flour, baking soda, baking powder, cinnamon, nutmeg, ginger, and salt. This step helps mix the dry ingredients well.
3. Slowly add the dry mix to the wet mix. Stir gently until just combined. It’s okay if you see some flour streaks; don’t overmix.
4. Fold in the chocolate chips with a spatula. Make sure they are mixed evenly in the batter.
5. Use a spoon or ice cream scoop to fill each muffin cup about two-thirds full. This allows space for the muffins to rise while baking.
6. Place the muffin tin in the oven and bake for 18 to 22 minutes. Keep an eye on them as they bake.
Doneness Testing
To check if your muffins are done, insert a toothpick into the center of a muffin. If it comes out clean or with a few moist crumbs, they are ready. If it has wet batter, bake for a few more minutes. Once they are done, let them cool in the pan for about 5 minutes. Then, transfer them to a wire rack to cool completely.
Tips & Tricks
How to Achieve Moist Muffins
To make moist muffins, use fresh pumpkin puree. You can use canned puree, too. Both add great flavor. The oil keeps muffins soft. I recommend vegetable oil or melted coconut oil. Do not skip the eggs. They add moisture and help with structure. Use room temperature eggs for the best results.
Preventing Overmixing
Overmixing is a common mistake. When you mix too much, muffins can turn out dense. To avoid this, mix the wet and dry ingredients until just combined. You should still see some streaks of flour. Gently fold in the chocolate chips. This helps keep the batter light and fluffy.
Ideal Cooling Techniques
Cooling muffins properly is key to great texture. After baking, let them cool in the pan for about 5 minutes. This makes them easier to remove. Then, transfer them to a wire rack. This allows air to circulate around the muffins. Avoid stacking them until they are fully cooled. This keeps them from getting soggy.

Variations
Flavor Enhancements (Nuts, Spices, etc.)
You can make these muffins even tastier. Adding nuts like walnuts or pecans gives a nice crunch. Chopped nuts pair well with the soft muffins. You can also spice things up by adding a pinch of cloves or allspice. This twist will give your muffins a warm, cozy flavor.
Dietary Variations (Gluten-Free, Vegan Options)
If you need a gluten-free option, use a gluten-free flour blend. This swap works well in this recipe. For a vegan version, replace the eggs with flax eggs. Mix one tablespoon of ground flaxseed with three tablespoons of water. Let it sit for a few minutes to thicken. Use a plant-based oil instead of vegetable oil, and you’re all set!
Seasonal Additions (Cranberries, Pecans, etc.)
Seasonal flavors can make these muffins special. Adding dried cranberries gives a tart burst that balances the sweetness. Chopped pecans can add a lovely nutty taste, too. You can even sprinkle pumpkin seeds on top for a festive touch. These small changes can bring a new life to your pumpkin chocolate chip muffins!
Storage Info
Best Practices for Storing Muffins
To keep your pumpkin chocolate chip muffins fresh, store them in an airtight container. You can line the container with paper towels. This helps absorb moisture. Place the muffins inside and seal the lid tightly. This method keeps them soft and tasty for days. Keep them at room temperature for up to three days. If you want to store them longer, freezing is a great option.
Freezing and Thawing Tips
Freezing muffins is easy and effective. First, let your muffins cool completely. Then, wrap each muffin in plastic wrap. Next, place the wrapped muffins in a freezer-safe bag. This way, they won’t stick together. These muffins can freeze well for up to three months. When you’re ready to enjoy one, simply take it out and thaw it at room temperature. You can also heat it in the microwave for a warm treat!
Shelf Life and Freshness
When stored properly, your pumpkin chocolate chip muffins will taste their best for several days. At room temperature, they stay fresh for about three days. After that, they may begin to dry out. In the freezer, they maintain their flavor and texture for up to three months. Remember, if you notice any signs of spoilage, it’s best to discard them. Enjoy your fluffy muffins while they’re still fresh!
FAQs
How to Make Pumpkin Chocolate Chip Muffins from Scratch?
To make pumpkin chocolate chip muffins from scratch, follow these steps:
1. Preheat your oven to 350°F (175°C).
2. Line a muffin tin with paper liners.
3. In a bowl, mix 1 cup of pumpkin puree, 1/2 cup of granulated sugar, and 1/2 cup of brown sugar.
4. Add 1/2 cup of vegetable oil, 2 room temperature eggs, and 1 teaspoon of vanilla extract.
5. Whisk until smooth.
6. In another bowl, sift 1 1/2 cups of flour, 1 teaspoon of baking soda, 1 teaspoon of baking powder, and spices (cinnamon, nutmeg, ginger, and salt).
7. Gradually add the dry mix to the wet mix. Stir gently.
8. Fold in 1 cup of chocolate chips.
9. Fill muffin cups two-thirds full with batter.
10. Bake for 18-22 minutes.
Let them cool before serving.
Can I Use Fresh Pumpkin Instead of Canned?
Yes, you can use fresh pumpkin. First, cook the pumpkin until soft. Then, scoop out the flesh and puree it. This gives your muffins a fresh taste. Fresh pumpkin adds moisture and flavor. Just be sure to measure the puree accurately, similar to the canned version.
What Are the Best Serving Suggestions?
Serve your muffins warm with butter or cream cheese. They pair well with coffee or tea. You can also dust them with powdered sugar for a sweet touch. For a fun twist, add extra chocolate chips on top. Enjoy them fresh, or share with friends for a cozy treat!
This blog post covered key ingredients, baking steps, and tips for great muffins. We explored how to choose high-quality ingredients and make smart substitutions. You learned ways to keep muffins moist and how to cool them right. We also discussed fun variations, storage tips, and answered common questions.
Remember to experiment with flavors that excite you. Happy baking, and enjoy your delicious creations!


