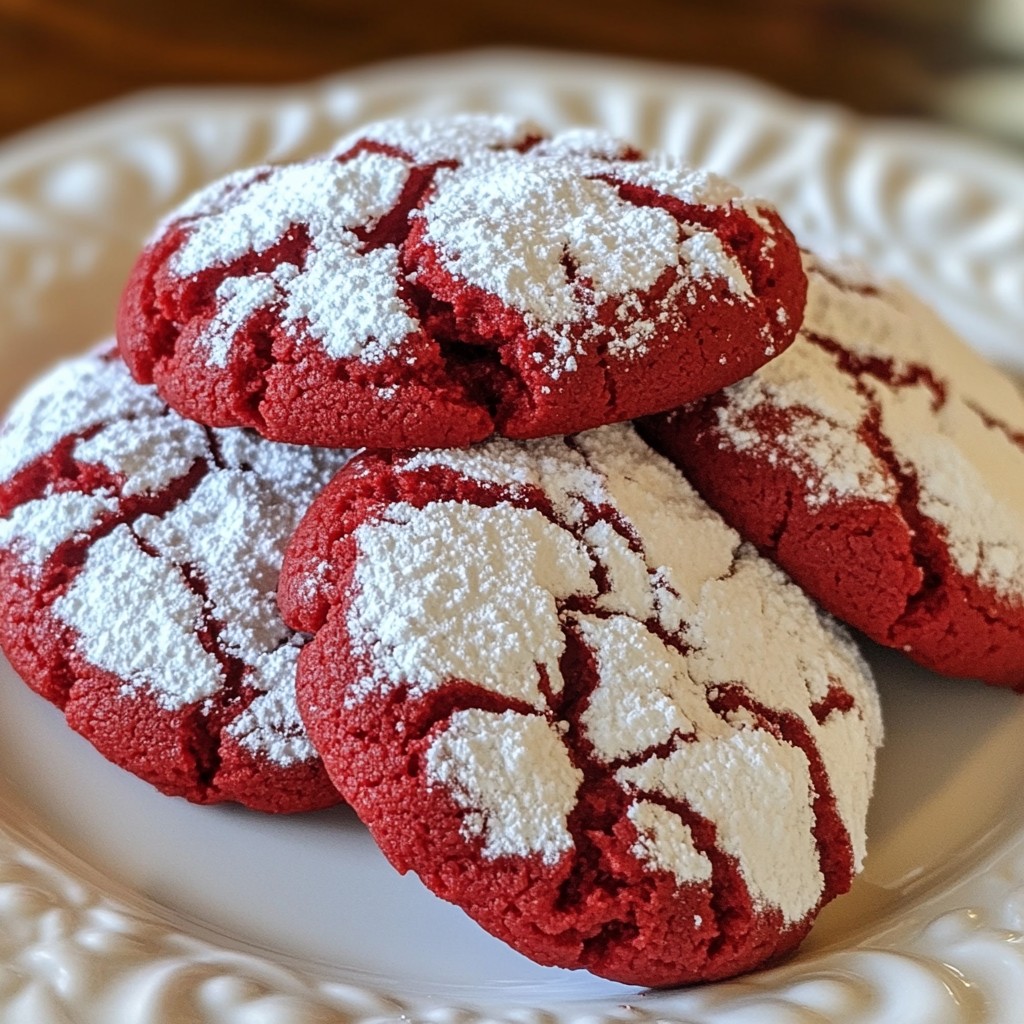
Looking for a treat that steals the show this holiday season? Red Velvet Crinkle Cookies are a must-try! Their vibrant color and soft, chewy texture make them perfect for festive gatherings. In this post, I’ll guide you through easy steps, ingredient swaps, and handy tips to ensure your cookies come out delicious every time. Get ready to impress your friends and family with these irresistible delights!
Why I Love This Recipe
- Vibrant Color: The striking red color of these cookies adds a festive touch to any occasion, making them perfect for celebrations.
- Rich Flavor: The combination of cocoa powder and vanilla extract creates a deep, rich flavor that chocolate lovers will adore.
- Soft and Chewy Texture: These cookies boast a delightful soft center with a slightly crisp exterior, offering a satisfying bite.
- Easy to Make: With simple ingredients and straightforward steps, this recipe is accessible for bakers of all skill levels.
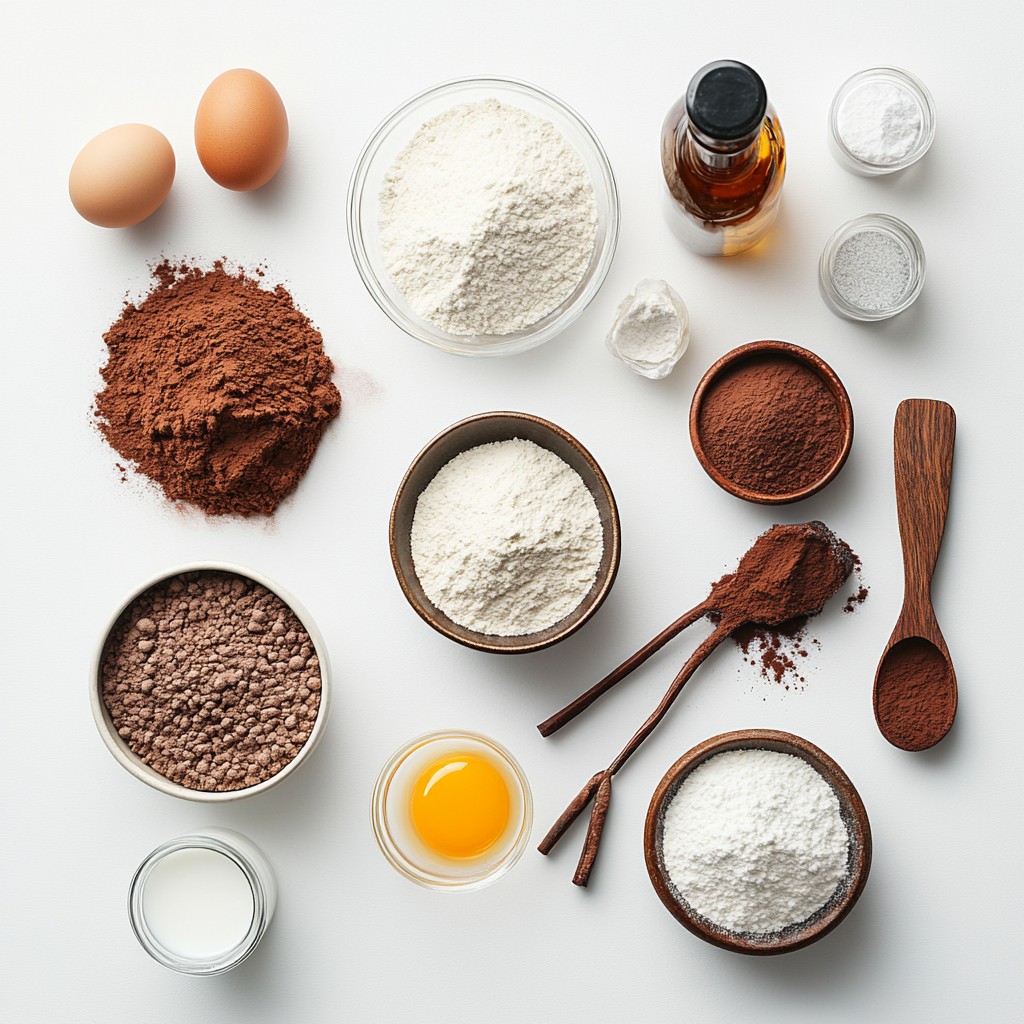
Ingredients
List of Ingredients
- 2 cups all-purpose flour
- 1/2 cup unsweetened cocoa powder
- 1 teaspoon baking powder
- 1/2 teaspoon baking soda
- 1/2 teaspoon salt
- 1 cup granulated sugar
- 1/2 cup vegetable oil
- 1 large egg
- 2 tablespoons milk
- 1 tablespoon red food coloring
- 1 teaspoon pure vanilla extract
- 1/2 cup powdered sugar (for rolling)
Measurement Quantities
When measuring, be precise for best results. Use a dry measuring cup for flour and cocoa. For sugar, fill the cup and level it off. Liquid ingredients like oil and milk should be measured in a liquid measuring cup for accuracy.
Ingredient Substitutions
You can make small changes to fit your needs:
- Use coconut oil or melted butter instead of vegetable oil for a different flavor.
- Swap the egg for a flax egg (1 tablespoon flaxseed meal mixed with 2.5 tablespoons water) for a vegan option.
- If you don’t have red food coloring, beet juice can give a nice color.
- Use almond milk or oat milk in place of regular milk for a dairy-free version.
Feel free to mix and match to make these cookies suit your taste!
Step-by-Step Instructions
Preheating the Oven
First, you need to preheat your oven to 350°F (175°C). This step is key for even baking. While the oven heats up, line a baking sheet with parchment paper. This makes it easy to lift the cookies off later.
Preparation of Dry Ingredients
Next, grab a medium bowl. Whisk together these dry items:
- 2 cups all-purpose flour
- 1/2 cup unsweetened cocoa powder
- 1 teaspoon baking powder
- 1/2 teaspoon baking soda
- 1/2 teaspoon salt
Mix them well and set aside. This blend adds structure and flavor to your cookies.
Mixing Wet Ingredients
Take a large mixing bowl and add:
- 1 cup granulated sugar
- 1/2 cup vegetable oil
Whisk these together until they are smooth. This process helps to dissolve the sugar.
Combining Ingredients
Now, add to the sugar mixture:
- 1 large egg
- 2 tablespoons milk
- 1 tablespoon red food coloring
- 1 teaspoon pure vanilla extract
Beat this mixture until it looks uniform. You want it fully blended for the best taste.
Chilling the Dough
Take the bowl with your mixed dough and cover it. Place it in the fridge for 30 minutes. Chilling helps firm up the dough. This makes it easier to shape later.
Shaping and Baking Cookies
After chilling, scoop out the dough using a tablespoon or cookie scoop. Roll each piece into a ball. Then roll the ball in powdered sugar until coated.
Arrange the dough balls on your prepared baking sheet, leaving about 2 inches between each. Bake in the preheated oven for 10-12 minutes. Look for cookies with firm edges and soft centers.
Once done, cool the cookies on the sheet for 5 minutes. After that, move them to a wire rack to cool completely. Enjoy your beautiful and tasty red velvet crinkle cookies!
Tips & Tricks
Achieving the Perfect Texture
To get soft and chewy red velvet crinkle cookies, follow these steps:
- Chill the dough: This step is key. Chill for at least 30 minutes. It helps the cookies keep their shape.
- Don’t over-mix: When combining wet and dry ingredients, mix just until you see no flour. Over-mixing makes cookies tough.
- Check for doneness: Look for firm edges and soft centers. This balance gives the perfect texture.
Avoiding Common Baking Mistakes
Baking can be tricky. Here are some tips to avoid mistakes:
- Use fresh ingredients: Make sure your baking powder and soda are fresh. Old ingredients can ruin your cookies.
- Measure correctly: Use a kitchen scale if you can. If not, spoon flour into the measuring cup and level it off.
- Don’t skip the parchment paper: It prevents sticking and helps with even baking.
Using the Right Tools and Equipment
Having the right tools makes baking easier. Here’s what I recommend:
- Mixing bowls: Use both medium and large bowls for dry and wet ingredients.
- Whisk or mixer: A whisk works well, but an electric mixer saves time.
- Cookie scoop: This tool helps make even-sized cookies. It ensures they bake at the same rate.
- Parchment paper: Line your baking sheet for easy cookie removal and less mess.
These tips and tricks will help you bake the best red velvet crinkle cookies!
Pro Tips
- Chill for Success: Chilling the dough not only makes it easier to handle but also helps the cookies maintain their shape while baking.
- Perfectly Powdered: For a beautiful finish, roll the dough balls in powdered sugar right before baking; this creates the signature crinkle effect.
- Watch the Bake Time: Keep a close eye on the cookies while they bake. Slightly underbaking them will result in a soft, chewy center.
- Storage Tips: Store the cooled cookies in an airtight container to keep them fresh and maintain their delightful texture for days.
Variations
Red Velvet Crinkle Cookies with White Chocolate Chips
You can add white chocolate chips for a sweet twist. Simply mix in a cup of chips into the cookie dough after combining the wet and dry ingredients. The creamy sweetness of the chips contrasts well with the rich cocoa flavor. They will melt slightly while baking, adding a gooey texture to each bite. I love how the chips give the cookies a festive touch too!
Gluten-Free Red Velvet Crinkle Cookies
To make gluten-free cookies, swap the all-purpose flour with a gluten-free blend. Ensure the blend contains xanthan gum to maintain the cookie structure. Follow the rest of the recipe as is. You’ll still get that lovely crinkle and rich taste, but without the gluten. These cookies will be a hit with everyone, regardless of dietary needs!
Seasonal Flavor Variations (e.g., peppermint, orange zest)
Get creative with seasonal flavors! Add a teaspoon of peppermint extract for a refreshing minty taste. This makes them perfect for winter holidays. For a spring twist, mix in a teaspoon of orange zest. The citrus brightens up the flavors and adds a lovely aroma. These variations keep your cookie game exciting all year round!
Storage Info
Storing Baked Cookies
Once your red velvet crinkle cookies cool, store them in an airtight container. This keeps them fresh for days. If you want them to last longer, you can place parchment paper between layers of cookies. This prevents them from sticking together.
Freezing Cookie Dough
You can freeze the cookie dough for later use. Simply roll the dough into balls and place them on a baking sheet. Freeze them for about an hour. Once firm, transfer the dough balls to a freezer bag. They can last up to three months in the freezer.
Best Practices for Maintaining Freshness
To keep your cookies fresh, store them in a cool, dry place. Avoid areas with heat or moisture. For added flavor, consider adding a slice of bread in the container. This keeps the cookies soft and moist. Always check for any signs of spoilage before enjoying your treats.
FAQs
How do I prevent my cookies from spreading too much?
To prevent your cookies from spreading, chill the dough before baking. Cold dough holds its shape better. After mixing, let the dough rest in the fridge for at least 30 minutes. This firms up the fats and makes the cookies puff up instead of spreading out. Also, use parchment paper on your baking sheet. This helps keep the cookies from getting too flat.
Can I use less sugar in the recipe?
Yes, you can reduce the sugar in the recipe. However, keep in mind that sugar adds sweetness and helps with texture. If you cut the sugar by 1/4 cup, the cookies will still taste good. Just know they might be less chewy. You can also try using a sugar substitute if you want. Just follow the package guidelines for the right amount.
What can I substitute for red food coloring?
If you want a natural option, use beet juice as a substitute. It gives a nice color without artificial additives. Another choice is pomegranate juice, but it might change the flavor slightly. If you want a lighter color, you can use a tiny bit of powdered hibiscus flower. This also adds a hint of flavor while keeping the vibrant look.
We covered all the key steps to bake delicious cookies. We discussed ingredients, measurements, and how to substitute. I shared detailed instructions, plus tips to avoid mistakes. You’ll find cool cookie variations to try and smart storage tips too.
Baking cookies can be fun and easy. With practice, you will create tasty treats every time. Enjoy experimenting with flavors and impressing your friends!


