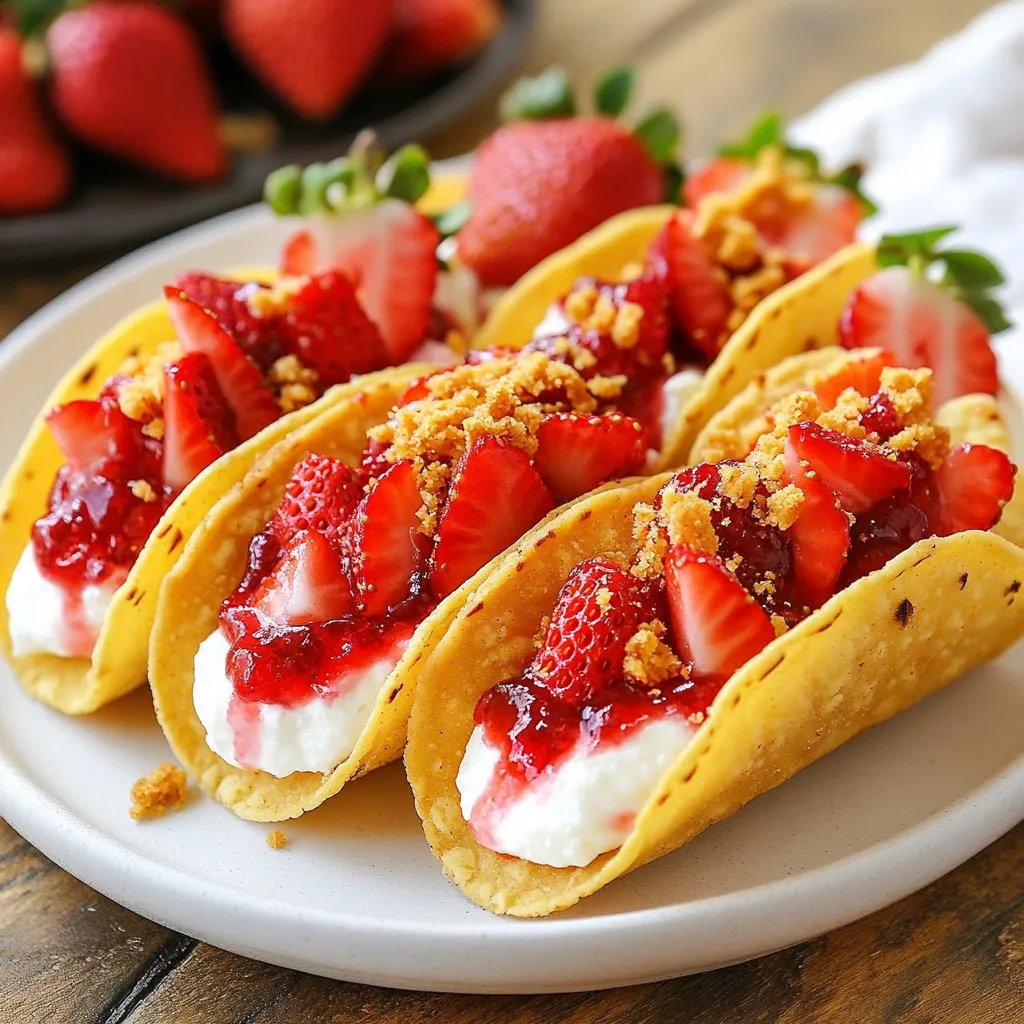
Get ready for a tasty twist on dessert with my Strawberry Crunch Cheesecake Tacos! These simple and sweet treats combine creamy cheesecake filling with fresh strawberries and a crunchy topping, all wrapped in a delicious taco shell. Perfect for parties or just a fun family treat, I’ll guide you step-by-step to create this delightful dessert. Let’s dive into the ingredients and start making these yummy tacos!
Why I Love This Recipe
- Deliciously Unique: These cheesecake tacos offer a fun twist on traditional desserts, combining the creamy richness of cheesecake with the playful shape of a taco.
- Fresh Ingredients: Using fresh strawberries and creamy filling ensures every bite is bursting with flavor and sweetness, making them a crowd-pleaser.
- Easy to Assemble: With store-bought taco shells and simple mixing, these tacos are quick to prepare, perfect for a last-minute dessert or party treat.
- Textural Contrast: The combination of creamy filling and crunchy freeze-dried strawberries creates a delightful contrast that enhances the overall experience.
Ingredients
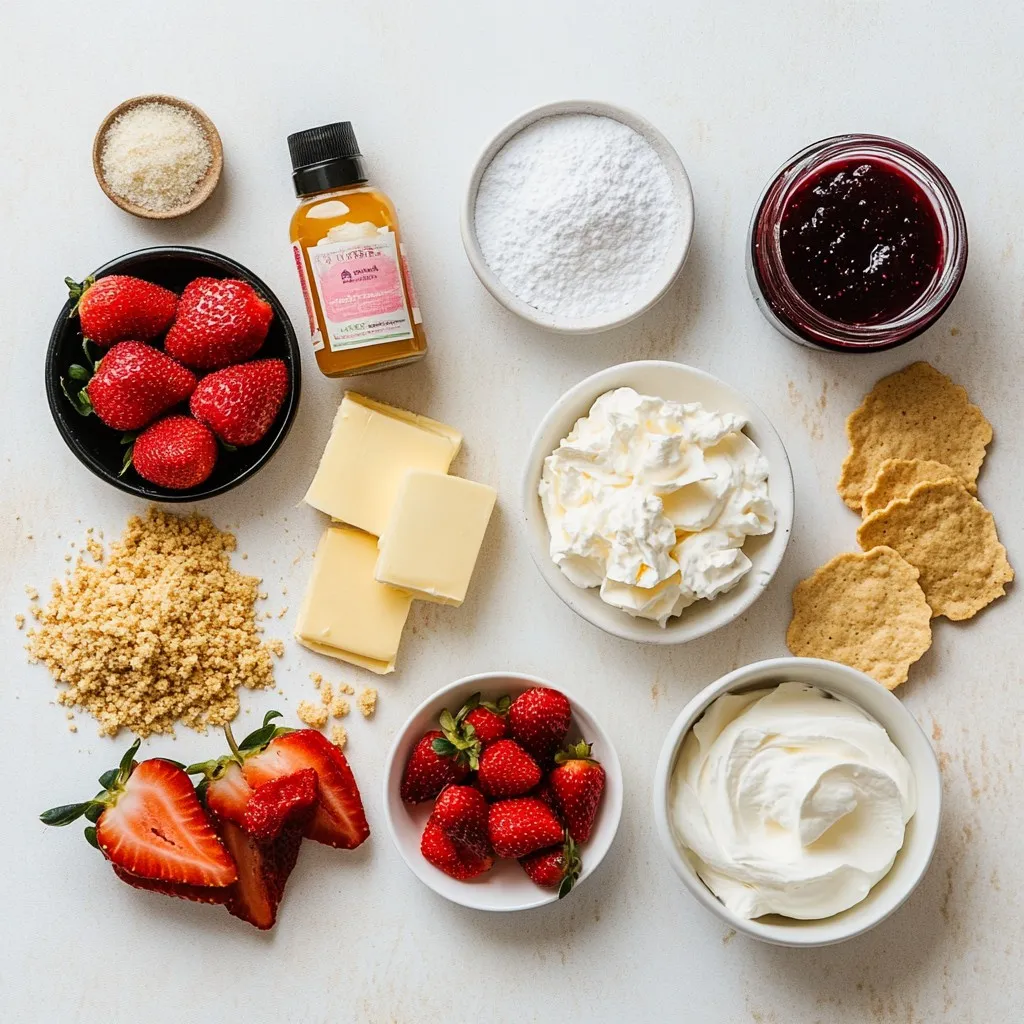
List of Ingredients
– 1 cup graham cracker crumbs
– 1/2 cup unsalted butter, melted
– 1 cup cream cheese, softened
– 1/2 cup powdered sugar
– 1 teaspoon vanilla extract
– 1 cup heavy whipping cream
– 1 cup fresh strawberries, chopped
– 1/4 cup strawberry jam
– 1/4 cup crushed freeze-dried strawberries
– Mini taco shells (store-bought)
Using fresh strawberries makes a big difference. They add bright flavor and color. High-quality cream cheese gives the filling a rich taste. Unsalted butter helps control the salt level in the graham cracker crust. I always recommend using freeze-dried strawberries for that extra crunch. They add a fun texture and a burst of strawberry flavor. The combination of these ingredients creates a delightful treat that will impress anyone.
Step-by-Step Instructions
Preparing the Taco Shells
Preheat your oven to 350°F (175°C). Arrange the mini taco shells on a baking sheet. Make sure they sit in a single layer. Bake them for 5 to 7 minutes. You want them to be light and fragrant. Once they are done, take them out and let them cool completely.
Making the Cheesecake Filling
Grab a large mixing bowl and beat the softened cream cheese. Use an electric mixer on medium speed. Mix until it becomes smooth and creamy. Slowly add the powdered sugar and vanilla extract. Keep mixing until everything blends well and looks fluffy.
Whipping the Cream
In a separate bowl, whip the heavy cream using a clean electric mixer. Set it to high speed. Watch for stiff peaks to form. A good tip is to chill your bowl and beaters first. This helps the cream whip better. Once ready, fold the whipped cream into the cream cheese mixture gently. Use a spatula to keep it light and airy.
Preparing the Strawberry Mixture
In another bowl, combine the chopped strawberries with the strawberry jam. Gently mix until each piece of strawberry is coated with jam. This adds sweetness and juiciness to your filling.
Assembling the Tacos
Take your cooled taco shells and spoon the creamy cheesecake filling into each one. Fill them about halfway. For the top, add a generous spoonful of strawberry-jammed strawberries. Make sure to fill them to the brim for an appealing look.
Adding the Crunch
To finish, sprinkle crushed freeze-dried strawberries on top of each taco. Use a good amount to add a delightful crunch. This also adds a vibrant color to your tacos.
Chilling the Tacos
Place the assembled tacos in the refrigerator for at least 30 minutes. This chilling time helps the flavors mix well and allows the filling to set nicely. Enjoy this simple and sweet treat!
Tips & Tricks
Perfecting the Cheesecake Texture
To get the best cheesecake texture, start with room temperature cream cheese. Cold cream cheese is hard to mix. It can leave lumps in your filling. Let it sit out for about 30 minutes before you start. This makes it easier to blend.
Mix the cream cheese on medium speed. Add the powdered sugar and vanilla slowly. This will help you get a smooth and creamy mix. Avoid overmixing. This can add too much air and make the filling too fluffy.
Serving Suggestions
For a fun presentation, serve the tacos on a bright platter. You can add fresh mint leaves under the tacos for color. Arrange whole strawberries around them for extra charm.
Pair these tacos with a scoop of vanilla ice cream. The cool creaminess balances the sweet strawberry crunch. You can also serve them with whipped cream for a richer treat.
Common Mistakes to Avoid
One big mistake is overmixing the filling. This can ruin the smooth texture you want. Mix just until combined for the best results.
Another mistake is skipping the chilling step. Chilling the tacos for at least 30 minutes helps the flavors mix. It also makes the filling firm up. Don’t rush this step if you want the best flavor and texture.
Pro Tips
- Chill Your Tools: For the best whipped cream results, chill your mixing bowl and beaters in the freezer for about 10-15 minutes before whipping. This helps the cream whip up faster and to a better volume.
- Fresh Strawberries: Use ripe, fresh strawberries for the best flavor. If strawberries are out of season, consider using frozen strawberries that have been thawed and drained.
- Customize Your Crunch: Experiment with different toppings such as crushed nuts or granola for added texture. Each topping can bring a unique flavor profile to your cheesecake tacos.
- Make Ahead: These tacos can be made a day in advance. Just assemble them, chill, and keep them covered in the refrigerator until ready to serve for the best flavor and texture.
Variations
Different Fruit Options
You can swap strawberries for other fruits. Blueberries and raspberries work great too. Just use the same method to mix them in with the jam. Their tartness adds a new twist. You can even use chopped peaches or mangoes. Each fruit gives its own flavor and color. Feel free to experiment with whatever is in season. Your tacos will be a fun surprise each time!
Flavor Tweaks
Want to jazz up the cream cheese? Try adding lemon zest for a fresh taste. It brightens the flavors and makes the filling pop. You could also mix in a bit of cocoa powder for a chocolatey flair. Just remember not to overpower the cream cheese. A little goes a long way. These small changes can make your tacos special and fun!
Dietary Substitutes
If you need gluten-free options, use gluten-free graham crackers. They work just as well in the crust. For dairy-free tacos, try vegan cream cheese and whipped coconut cream. Both options taste great and keep the spirit of the dish. You can still enjoy these tasty tacos without missing out on flavor!
Storage Info
How to Store Leftovers
To store leftovers, use an airtight container. This keeps the tacos fresh. Place the tacos in the fridge. Make sure to separate layers with parchment paper. This prevents sticking.
Freezing Instructions
You can freeze these tacos, but it’s best to freeze the filling and shells separately. For the filling, scoop it into a freezer-safe bag. Press out as much air as you can before sealing. For taco shells, wrap them in plastic wrap. This keeps them safe from freezer burn.
Shelf Life
In the fridge, these tacos last about three days. If frozen, the filling can last up to three months. Taco shells can be frozen for six months. Remember to label your containers, so you know when to use them!
FAQs
How do I prevent the taco shells from getting soggy?
To keep your taco shells crispy, you must bake them first. Preheat your oven to 350°F (175°C) and toast the mini taco shells for about 5-7 minutes. This helps them hold their shape and texture. Once baked, let them cool completely before filling. Avoid adding the cheesecake mix too early. If you wait until right before serving, they will stay crunchy.
Can I use regular taco shells instead of mini ones?
Yes, you can use regular taco shells! However, I recommend mini shells for bite-sized treats. Mini shells are fun and easy to eat. Regular shells may hold more filling, but they can be harder to manage. If using larger shells, adjust the filling amount. This way, everyone can enjoy their taco without spilling.
Can I make these cheesecake tacos ahead of time?
You can prepare much of this treat ahead! Make the cheesecake filling and the strawberry mixture the day before. Store them in the fridge in separate containers. Just assemble the tacos on the day you plan to serve them. This keeps the shells crunchy. Chilling the filled tacos for at least 30 minutes helps everything meld together nicely.
This blog post walked you through making delicious cheesecake tacos. We covered ingredients, step-by-step instructions, and helpful tips. You learned how to prepare the taco shells, make a fluffy filling, and assemble your treats.
Remember, using high-quality ingredients and following chill times is key. Explore variations with fruits and flavors to keep it exciting. Enjoy these treats fresh or stored carefully. You can impress friends and family with this fun dessert. Now, grab your ingredients and start making your cheesecake tacos toda


