Craving a sweet treat that’s quick and easy? Look no further! I’ve got a simple no-bake peanut butter bar recipe that’s perfect for satisfying your snack need. Using just a few key ingredients, these bars are delicious and can easily fit into your busy lifestyle. I’ll walk you through every step, from mixing to chilling, so you can enjoy these tasty bars in no time. Let’s get started!
Ingredients
Key Ingredients
– Natural peanut butter: Choose creamy for a smooth texture or crunchy for bites of nut.
– Honey or maple syrup: Use honey for sweetness or maple syrup for a vegan option.
– Rolled oats: Ensure oats are gluten-free if needed to meet dietary needs.
Optional Ingredients
– Vanilla protein powder: This adds protein and boosts nutrition. It’s great if you want extra energy.
– Dark chocolate chips: You can choose regular or mini chips for a more chocolatey treat.
– Unsweetened cocoa powder: This gives a rich chocolate flavor and can enhance the taste without extra sugar.
Step-by-Step Instructions
Preparation
1. First, grab a medium saucepan. Add 1 cup of natural peanut butter and 1/2 cup of honey (or maple syrup) to it.
2. Place the saucepan on low heat. Stir the mixture with a spatula for about 2-3 minutes. Keep stirring until it is smooth and well blended.
3. Remove the saucepan from the heat. Now, stir in 1 teaspoon of pure vanilla extract and a pinch of salt. This helps to bring out the rich flavors.
Combining Dry Ingredients
1. Next, take a large mixing bowl. Add in 2 cups of rolled oats, 1/2 cup of vanilla protein powder (if you choose to use it), and 1/4 cup of unsweetened cocoa powder.
2. Mix these dry ingredients together well. This ensures that everything is evenly combined before adding the wet ingredients.
Forming the Bars
1. Carefully pour the warm peanut butter mixture over the dry ingredients in your large bowl.
2. Use your spatula to fold everything together. Make sure all the oats are coated and no dry oats are left.
3. Now, gently fold in 1/2 cup of dark chocolate chips, mixing them in without breaking them.
4. Line an 8×8 inch square baking dish with parchment paper. Leave some overhang for easy removal later.
5. Transfer the mixture into the prepared dish. Use your spatula to press it down firmly. Make sure it is an even and compact layer.
6. Once pressed down, put the dish in the refrigerator for at least 1 hour. This helps the bars to set and firm up.
7. After they are firm to the touch, lift the bars out using the parchment paper overhang. Place on a cutting board and slice them into squares or rectangles.
Tips & Tricks
Serving Suggestions
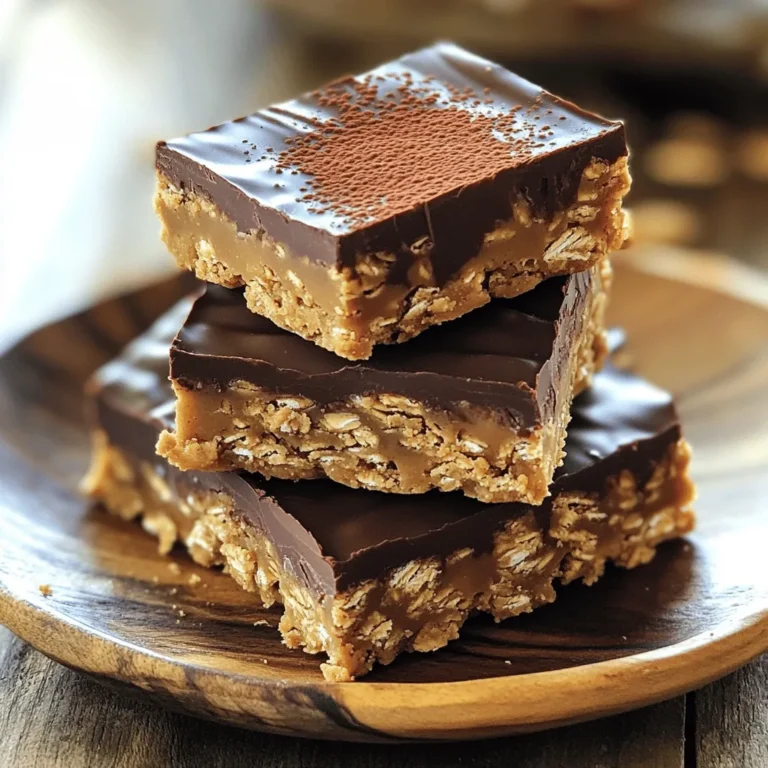
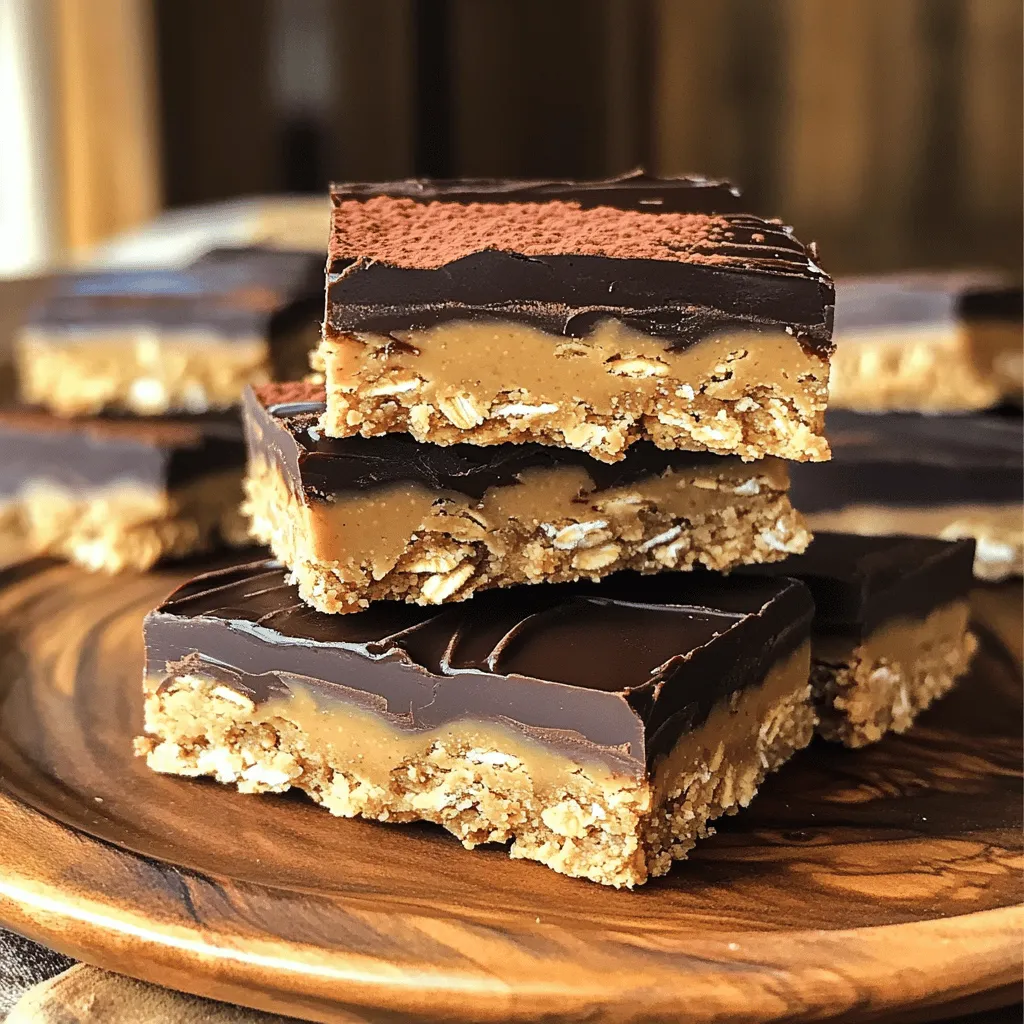
To make your no bake peanut butter bars look great, stack them on a nice plate. You can drizzle melted dark chocolate on top for a fancy touch. A sprinkle of sea salt adds a little flair, too. This will make your treat look extra tempting!
Common Mistakes to Avoid
One common mistake is not pressing the mixture down firmly enough. This can make the bars crumbly. Make sure to pack the mixture tightly in the baking dish. Another mistake is over-mixing the chocolate chips. Just fold them in gently so they stay whole. This keeps the texture nice!
Healthier Alternatives
If you want a lower sugar option, use less honey or maple syrup. You can also try using a sugar substitute. For nut butter, you can swap peanut butter for almond or cashew butter. This gives you a different taste while keeping the bars delicious!
Variations
Flavor Variations
You can make your no bake peanut butter bars even more exciting by adding a few spices. Try mixing in cinnamon or nutmeg for warmth and depth. These spices can enhance the nutty flavor of peanut butter. Adding dried fruits like raisins or cranberries can also boost both taste and nutrition. Seeds such as chia or flax add crunch and healthy fats. These simple changes can turn your bars into a new treat each time!
Texture Variations
The type of peanut butter you choose will change the texture of your bars. Crunchy peanut butter adds delightful bits, while smooth peanut butter creates a creamy finish. You can also play with different oats. Quick oats give a finer texture, while old-fashioned oats add a heartier bite. Experimenting with these options allows you to find your perfect texture.
Dietary Modifications
If you want to make a vegan version, just use maple syrup instead of honey. This small swap keeps the bars sweet and plant-based. For those needing gluten-free options, ensure your rolled oats are certified gluten-free. This way, everyone can enjoy these tasty treats without worry.
Storage Info
Best Storage Practices
To keep your no bake peanut butter bars fresh, store them in an airtight container. This helps prevent moisture and keeps them from drying out. You can keep them in the fridge for a firmer texture. If you prefer a softer bite, you can leave them at room temperature for a short time. Just remember, they will last longer when chilled.
Freezing Tips
If you want to save your bars for later, freezing is a great option. Cut the bars into squares or rectangles before freezing. Wrap each piece in plastic wrap and place them in a freezer-safe bag. This way, they won’t stick together. When ready to enjoy, take out the bars and let them thaw in the fridge overnight. This keeps their taste and texture just right.
Shelf Life
These bars can last up to two weeks in the fridge. If you freeze them well, they can last up to three months. Watch for signs of spoilage, like an off smell or a change in color. If they look or smell different, it’s best to toss them. Enjoy your tasty treats while they are fresh!
FAQs
How long do No Bake Peanut Butter Bars last?
No bake peanut butter bars last up to one week in the fridge. They stay fresh and tasty when stored in an airtight container. If you freeze them, they can last up to three months. Just wrap each bar well to prevent freezer burn.
Can I substitute peanut butter for another nut butter?
Yes, you can use almond or cashew butter instead of peanut butter. These nut butters will give your bars a different taste. Almond butter has a milder flavor, while cashew butter is creamier. Both options work well and keep the bars delicious.
Is it necessary to refrigerate these bars?
Refrigeration is essential for the best texture and taste. Chilling the bars helps them firm up, making them easier to cut and eat. A cold bar has a nice, chewy texture that many enjoy. If you like a firmer bite, always refrigerate these bars.
In this post, we explored making no-bake peanut butter bars. You learned about key and optional ingredients, from peanut butter to chocolate chips. I shared step-by-step instructions, tips, and variations to customize your bars. Remember, well-pressed mixtures and storage practices keep them fresh. Experiment with flavors and textures to find your favorite. This simple recipe can fit many diets and preferences. Enjoy your tasty treats; they are worth the effort!

