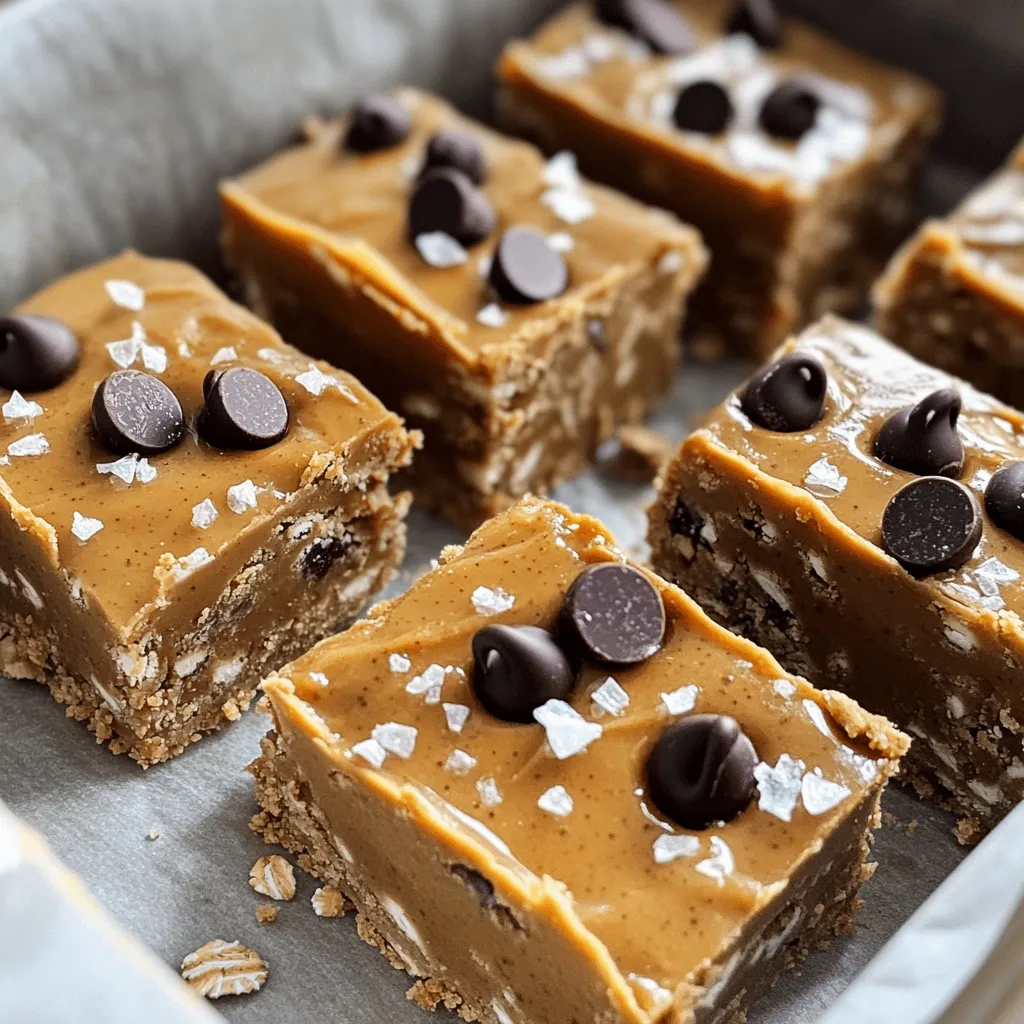
Are you ready for a quick, tasty treat? These No Bake Peanut Butter Bars are easy to make and delicious to eat. With just a handful of simple ingredients, you can whip up a snack that satisfies your sweet tooth. Whether you need an after-school treat or a gluten-free dessert, this recipe has you covered. Let’s dive into how to make these yummy bars step by step!
Ingredients
To make delicious no bake peanut butter bars, gather these simple ingredients:
– 1 cup natural peanut butter (smooth or crunchy)
– 1/2 cup pure maple syrup
– 1 cup rolled oats (old-fashioned or quick)
– 1/2 cup almond flour (or any nut flour)
– 1/2 cup dark chocolate chips (vegan if desired)
– 1 teaspoon pure vanilla extract
– 1/4 teaspoon fine sea salt
– Optional: Chopped nuts (like walnuts or pecans) or seeds (like chia or sunflower seeds) for topping
Each ingredient plays an important role. The peanut butter gives a rich taste. Maple syrup adds sweetness and binds the bars. Oats provide texture and heartiness. Almond flour helps with a soft, chewy base. Dark chocolate chips add a sweet touch and a hint of indulgence. Vanilla extract enhances flavor, while sea salt balances everything perfectly. You can add optional toppings for extra crunch and flavor.
Step-by-Step Instructions
Preparation Steps
1. In a medium bowl, mix the peanut butter and maple syrup.
2. Use a spatula or whisk until it is smooth and creamy.
3. Add vanilla extract and sea salt. Stir well to mix evenly.
4. In a larger bowl, combine the rolled oats and almond flour.
5. Make sure there are no clumps in the dry mix.
6. Pour the peanut butter mixture over the oats and flour.
7. Stir with a wooden spoon until you have a thick, sticky dough.
Baking Preparation
1. Take an 8×8 inch baking pan and line it with parchment paper.
2. Let the edges hang over for easy removal later.
3. Spoon the mixture into the lined pan.
4. Press it down firmly and evenly with a spatula or your hands.
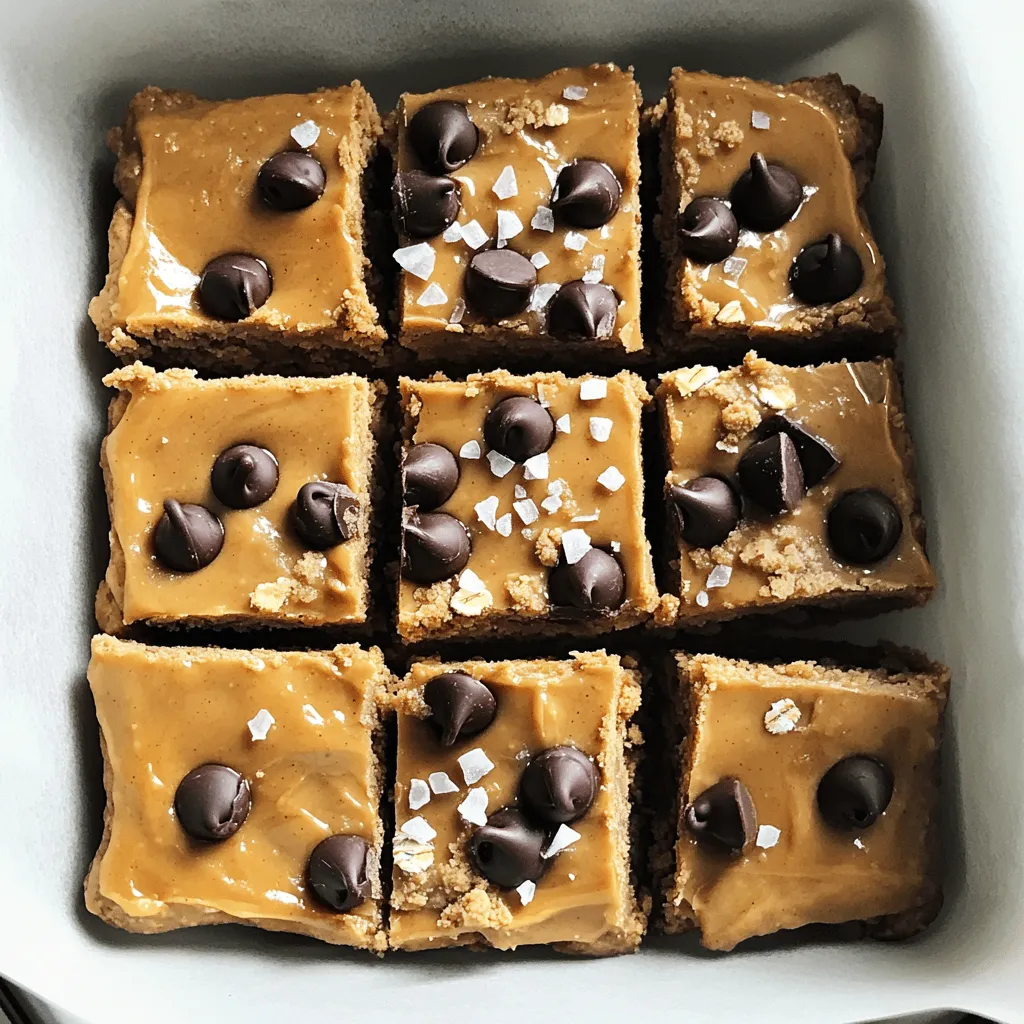
Finalizing the Bars
1. Spread the dark chocolate chips evenly over the pressed mixture.
2. Gently press the chips down into the surface.
3. If you want, sprinkle chopped nuts or seeds on top for texture.
4. Place the pan in the fridge and chill for at least 2 hours.
5. Once firm, lift the bars out using the parchment paper.
6. Cut them into squares or rectangles with a sharp knife.
Tips & Tricks
Perfecting the Recipe
To get the best no bake peanut butter bars, focus on the consistency of peanut butter. Use a natural peanut butter. It should be smooth and creamy. If it’s too thick, your bars may turn out dry. For sweetness, adjust the sweetness level by adding more or less maple syrup. Test the mix with a small bite. You want a balanced flavor. Lastly, ensuring proper chilling time is key. Chill the bars for at least 2 hours. This helps them set well and makes cutting easier.
Serving Suggestions
When serving, presentation tips for serving can make a big difference. Use a decorative plate to show off your bars. Garnish with extra chocolate chips and a sprinkle of sea salt. For a fun touch, stack the bars and use decorative toothpicks. This makes serving easy. If you want pairing ideas, try these bars with fresh fruit or a cup of coffee. They also work well as an afternoon snack or dessert after dinner.
Common Mistakes to Avoid
Be mindful of overmixing the ingredients. Too much mixing can make the bars tough. Mix just until everything is combined. Another mistake is not pressing down firmly enough in the baking pan. If you don’t press firmly, the bars may crumble. Use your hands or spatula to create a compact layer. Both steps will help you make the perfect no bake peanut butter bars.
Variations
Flavor Adaptations
You can easily change the flavor of your no bake peanut butter bars. Adding cocoa powder gives a rich chocolate taste. Just mix in a few tablespoons of cocoa powder with the dry ingredients. This small tweak makes a big difference! You can also incorporate protein powder or superfood powders. This adds extra nutrition and helps keep you full.
Dietary Modifications
If you need gluten-free options, use certified gluten-free oats. This keeps the bars safe for those with gluten issues. For nut-free alternatives, try sunflower seed butter instead of peanut butter. It tastes great and works well in this recipe.
Texture Options
Want a bit of crunch? Use crunchy peanut butter instead of smooth. This gives a fun texture. You can also add dried fruits or seeds. Some good choices are raisins, cranberries, or pumpkin seeds. These add flavor and make your bars even more interesting!
Feel free to explore these variations to make your no bake peanut butter bars your own.
Storage Info
Best Practices for Storage
To keep your no bake peanut butter bars fresh, store them in the refrigerator. Use an airtight container to prevent any moisture from getting in. This keeps the bars firm and tasty. They will last about one week in the fridge. If you want to enjoy them later, freezing is a great option.
Freezing Instructions
To freeze the bars, cut them into squares first. Wrap each square tightly in plastic wrap. Then, place them in a freezer-safe bag or container. This helps to keep them fresh and tasty for up to three months. When you are ready to eat, take out a bar and let it thaw in the fridge. For the best texture, do not thaw at room temperature.
Reusing and Repurposing Leftovers
If you have leftover bars, they can be a fun snack. You can crumble them over yogurt for added crunch or mix them into smoothies for a protein boost. They also make a great topping for oatmeal or even pancakes. Enjoy getting creative with these delicious treats!
FAQs
How can I make No Bake Peanut Butter Bars vegan?
To make these bars vegan, choose maple syrup as your sweetener. Use dark chocolate chips labeled vegan. For the nut flour, almond flour works well and is vegan. You can also use other nut or seed butters in place of peanut butter if you prefer.
How long do these bars last in the fridge?
These bars stay fresh for about one week in the fridge. Store them in an airtight container. If you want them to last longer, you can freeze them. They will keep well for up to three months in the freezer.
Can I substitute the maple syrup with honey or agave?
Yes, you can swap maple syrup with honey or agave. Honey is not vegan, but it works well if you don’t mind. Agave syrup is a great vegan option and has a similar sweetness to maple syrup. Adjust the amount based on your taste.
What is the best way to cut the bars nicely?
For clean cuts, use a sharp knife. Wipe the knife with a damp cloth between cuts. This helps keep the edges neat. You can also chill the bars for at least two hours before cutting them. This makes them firmer and easier to slice.
Can I make these bars without oats?
Yes, you can make these bars without oats. You can replace oats with more almond flour or ground nuts. This change may alter the texture a bit, but they will still be delicious. Just ensure you adjust the other ingredients to keep the right consistency.
These no-bake peanut butter bars are simple, tasty, and good for you. We covered the key ingredients, preparation steps, and tips for success. You can also explore fun variations for different flavors and textures. Storing these bars is easy, whether in the fridge or freezer. With the right methods, you can enjoy them for weeks. Try out recipes and share with friends and family. You will love how they turn out! Enjoy making and munching on your delicious creation.