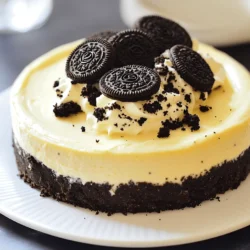
No-Bake Oreo Cheesecake
Indulge in the rich and creamy delight of this Heavenly No-Bake Oreo Cheesecake! Made with simple ingredients like Oreo cookies, cream cheese, and whipped cream, this easy recipe is perfect for any dessert lover. Learn how to create a luscious cheesecake without turning on the oven and impress your friends and family.